Friday, 28 February 2014

Lined Skirt with Fitted Waistband Tutorial

 This project has been so long in the making that I was super relieved it still fitted me! Actually it is a little bit big. Maybe cutting down on sugar is doing me some good. 

Anyway, I've created this tutorial of the making process. I hope you find it useful for your next skirt making project.


I started by adapting a vintage Butterick pattern to take out the waist darts and create a wide fitted waist band.

I did this by tracing bands from the pattern, cutting the darts out, then adding a seam to the edges of the band and skirt. 

Lay the pattern out onto the fabric, making sure to match the straight grain lines on the pattern with the straight edge of the fabric's fold and selvage. 

 Place the front skirt panel and front band facing on the fold of the fabric. 

For the skirt bands place the pattern pieces on the bias of the fabric so the fabric pattern runs on the diagonal.
This is slightly trickier with the front folded panel. You may need to cut it half at a time to keep the pattern correct.
 Pin the kick pleat back and use the front and back pattern pieces to cut out the skirt lining.


Iron interfacing onto the fitted bands. Pin the bands onto the front and back panels by pining at each end then easing in the centre and matching the edges of the fabric. Sew them together. Overlock the raw edges and press the seam upwards.

 Overlock the centre back seam.

Pin the outside of the zip onto the right side of the skirt panel. Use a standard machine foot to sew the zip in, one side at a time. 
 Take care to align the two band seams.
Line up the remainder of the centre back seam and pull the tail of the zip out of the way. Starting from the top of the kick pleat, sew the centre back seam. Sew as close to the zip stitching as possible without catching the zip.
 Finished zip and seam.
Pin the skirt front and back together.
 Sew the side seam. Overlock the raw edges separately and press the seams open. 
 To complete the kick pleat, overlock the raw edge, then pin the overlocking to the inside and sew down. This stops the overlocking from being visible.  
 Press the kick pleat into place and secure with a top stitch.
Finish the outside of the kick pleat hem by folding the hem in against itself and sewing along the finished hem line.
 The finished outside edge of the kick pleat hem. The inside hem is simply pressed and sewed into place.
 To make the lining, match the facing panels with the lining.
Pin them together in the same way as the skirt panel and band.
 Sew together.
Overlock the raw edges and press the seam upward as shown,
 Match the side seams, pin and sew.
Pin the lining centre back together and sew the space between where the zip stops and where the kick pleat starts.
 Press the centre back seam open.
 With the lining and facings constructed, place the right side of the skirt against the right side of the lining and match the centre back and side seams. Pin in place. 
Fold the seam from the zip out and pin it to the edge of the lining panel as shown.
 Pinned as shown:
 Sew the lining and skirt panels together as pinned at the waist. Sew over the top of the zip and right to the edge of the fabric.
 Clip the edge of the waist seam.
 Understitch the waist seam by sewing the seam onto the waist facing as shown.
 Both sides of the completed understitched waist seam.
 Finish the zip and lining by folding the facing and seam against the zip edge. 
Pin and stitch to trap the zip seams into the lining. Sew down as far as the end of the zip.
The finished zip and lining attachment.


Finish by sewing the remainder of the lining together down to the kick pleat.
Finish the lining kick pleat by folding in the overlocked edges and top stitching them into place so they are not visible when the wearer walks.
Measure and pin up the hem of the skirt and lining, taking care to make the lining a cm shorter than the skirt.
Machine stitch the lining into place.
Now hand stitch the skirt hem into place.


Close up of the finished skirt. Secretly quite pleased it's a little large....


I'm wearing my new skirt with  a jacket I purchased in a mall in Singapore and one of my sister's label bow silk tops.

Sunday, 16 February 2014

Gluten Free Chocolate Mud Cupcakes for our Buddy's Birthday

It has been a lovely day for a party. We have had the very great pleasure to attend the birthday party of one of Little Miss 4's swimming buddies. As per my previous post, I made a couple of batches of gluten free cup cakes for the party. These are the chocolate mud cupcakes. Without wanting to gloat, they are actually fabulous. The gluten free flour made the texture of the cake even more soft, moist and gooey. The party had a fairy, mermaid and pirate theme, so I coloured and cut out some Pettinice white icing into 'gold debloons', fish and fairy stars. 
The children were completely transfixed by Buttercup the Enchanted Fairy.

These cupcakes are so easy to make. There is no beating required, just mix 'em up and bake.

Gluten Free Chocolate Mud Cupcakes

1 cup vegetable oil
1/2 cup milk
1 cup boiling water
1 teaspoon vanilla extract
2 eggs - beaten
2 cups caster sugar
1 teaspoon salt
2 teaspoons baking soda
2/3 cup cocoa powder
1 3/4 cups bakels gluten free flour

Preheat the oven to 170deg C and assemble 30 cupcake cases. I used the solid sided ones as they are smaller and more sturdy.

Sift the flour and cocoa together and set aside.

Blend the liquid ingredients together using a whisk, then blend in the baking soda.


Using the whisk, blend the GF flour and cocoa into the liquids until no lumps remain. 


Using a jug, pour the mixture into cupcake cases. Taking care not to fill them any more than half way. 


Bake for approximately 18 minutes, or until a skewer comes out clean. 

The cupcakes will look a little peaked, but will level out once they start to cool.

Once cold, frost with Chocolate butter cream rosettes.


Chocolate Butter Cream

125g butter
1 1/4 cups icing sugar
250g Whittakers 72% Dark Ghana Chocolate

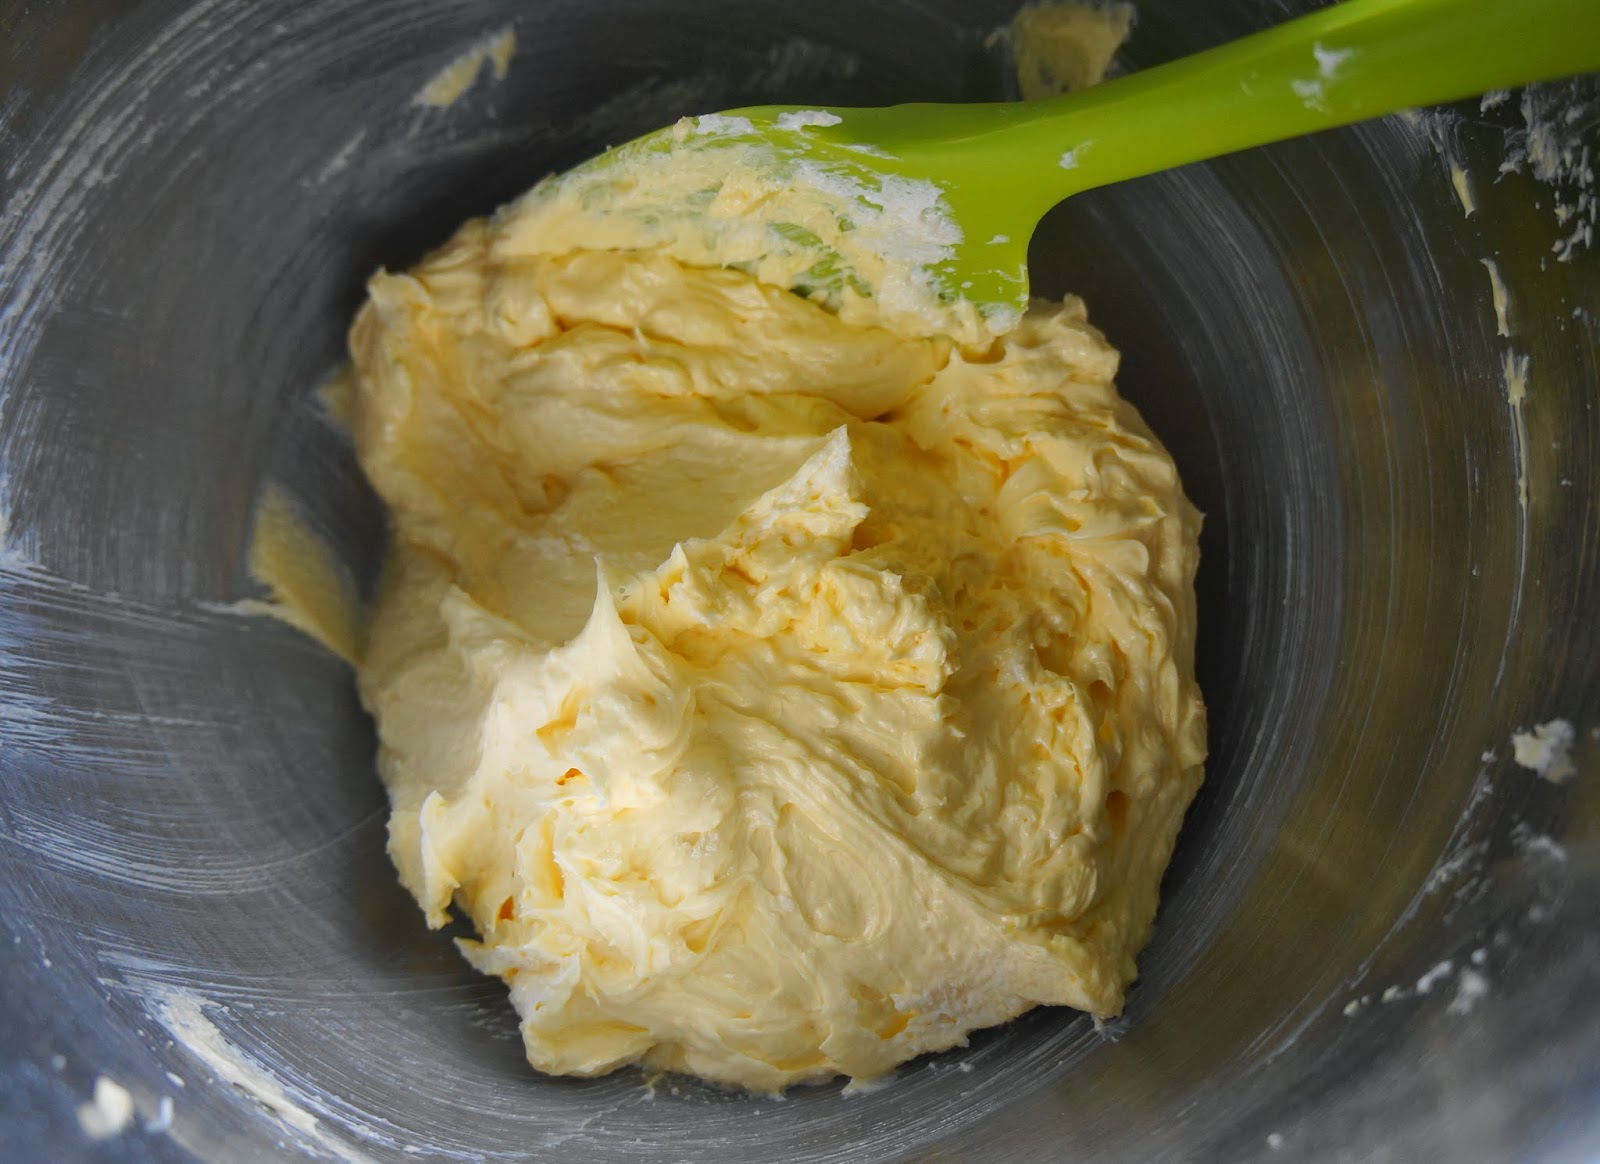
Cream the butter and sugar until very pale and fluffy.
Melt the chocolate and add it to the creamed mixture. Beat for a few minutes to thoroughly combine. 
Using a piping bag and star nozzle, pipe rosettes onto each cup cake. 


Little Miss 4 had a great time playing with all the other children at the party. She was completely taken with Buttercup the fairy. She really loved the face paint, but with a school visit tomorrow it had to be washed off!

Wednesday, 12 February 2014

Finally Finished - My Little Girl's Striped Colour Block Cardigan

This one has been a long time in the making. Good thing I made a big size. Despite declaring she didn't like green, Little Miss almost 5 is now quite taken by her new cardigan. I think the proportion of pink was enough to win her over.


The pattern I used is a hybrid. The main pattern is  a Patons one from book 1253. But the colours and stripes are inspired by Sweden's Millamia designs. There combinations of colours, patterns and stripes is always striking: especially the Bright Young Things book (HCR Publishing, 2009). Unfortunately Millamia is all knitted on 3.25mm needles; all those extra stitches and rows take extra time that I don't ever seem to have.

I used this cardigan pattern in a size 6. It is knitted in double knit 8 ply on 4mm needles. The bands were knitted in a 2/2 rib on 3.25mm needles. As such, I changed the front band by casting the stitches directly onto the front and knitting 8 rows of 2/2 rib instead of knitting the band as a strip and sewing it on. 

I made the body of the garment about 2 cm longer to compensate for out long bean's extra height.

I used a combination of yarns: The variegated pink and green yarn are Utiku from The Wool Company. The Green yarn is a Shephard possum and wool blend, and the bands are Shephard lamb's wool. All are 8 ply and hand wash only.
The back of the cardigan is knitted as a repeated sequence of 10 rows green followed by 6 rows pink variegated. The sleeves are worked in 2 row stripes of the green and pink. The left front is all pink variegated and the right front is all green. Little Miss chose her own mixture of buttons from the stash she has been gradually whisking away from my craft draw. 

Our happy little girl wearing her new cardy. I wanted her to put a 'good dress' on to model it. She insisted on this vintage shopped number. She would wear everyday of the week if she could. 

Sunday, 9 February 2014

Trialling Gluten Free Passion fruit Cupcakes

It is my very great pleasure to be asked to make a couple of batches of gluten free cup cakes for the birthday party of one of Little Miss 4s little buddies. It has been my observation that it is quite a challenge to feed a gluten free 4 year old, especially when there a so many delicious but unavailable temptations on offer, and so I am more than happy to oblige. Having not made this flavour cup cake gluten free before, I thought I had better give them a trial prior to the party. 

Gluten Free Passion fruit Cupcakes

125g butter
2/3 cup caster sugar
2 eggs at room temperature
1 1/4 cups bakels gluten free flour
1 1/4 teaspoons gluten free baking powder
1/4 cup milk
3 tablespoons gluten free passion fruit syrup - I used the Tasti brand. Be careful as many of the fruit pulp products contain unknown thickeners. 
an extra 5 tablespoons of passion fruit syrup for spooning over the baked cakes
16 medium sized cup cake cases 

Preheat the oven to 180deg. C.
Cream the butter and sugar until pale and fluffy.Add the eggs a bit at a time and thoroughly beat in between each addition. 
Fold in the sifted gluten free flour and baking in thirds alternating with the milk. Lastly fold in the passion fruit syrup. The mixture should be light and airy. Carefully and evenly spoon the mixture into the cup cake cases. 
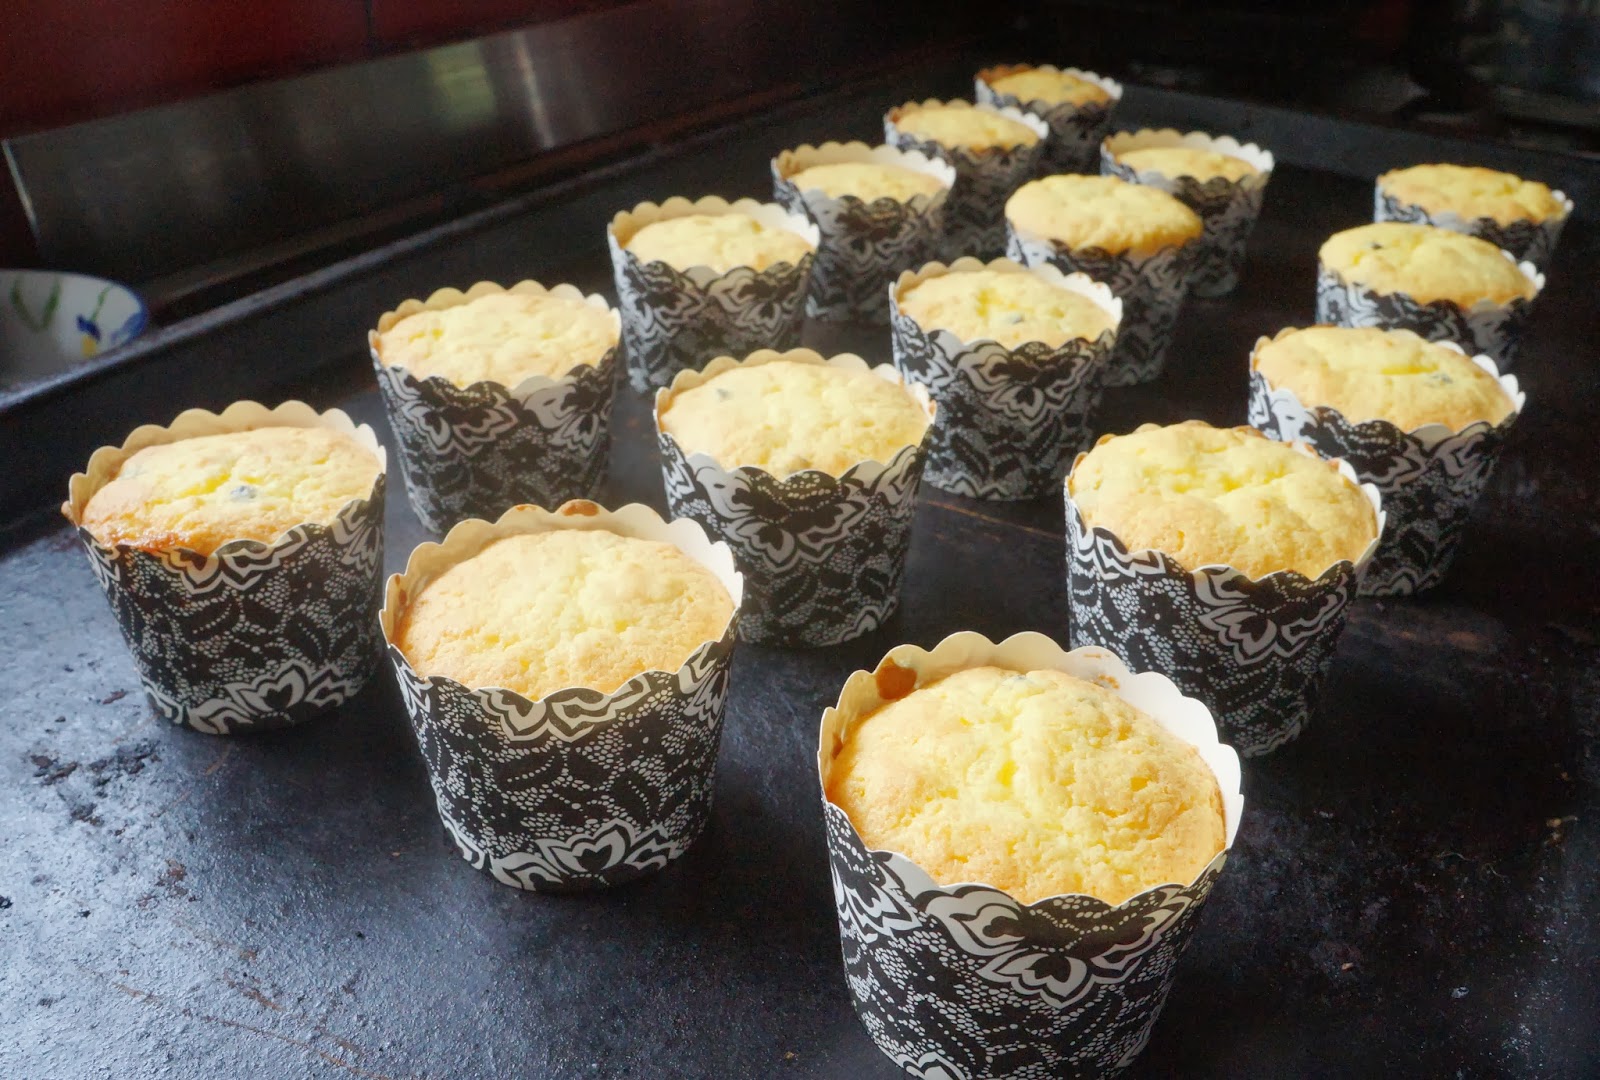
                                                                                        Smooth over the tops and bake the cupcakes for approximately 12 minutes. Make sure they are well baked as the gluten free flour's soft texture needs to be baked well to avoid having a stodgy texture. 
Take the cakes from the oven and spoon a teaspoon of passion fruit over each one. Leave to cool completely before frosting with Passion fruit butter cream.
Passion Fruit Butter Cream
200g butter
1 cup gluten free icing sugar
2 tablespoons passion fruit syrup
the juice of 1 lemon

Cream the butter and icing sugar until pale and fluffy. Warm the passion fruit in the microwave. Add it to the butter and beat until fully incorporated. Add the lemon juice and beat again. 
Use a piping bag to pipe rosettes onto each cupcake. This recipe makes enough butter cream to easily cover the 16 cup cakes.
Our buddies loved the trial cakes, but wanted less butter cream, so I'm going to reduce the size of the rosettes. The cakes also rose more than I anticipated, so I will be reducing the size slightly to cater for the 5 year old appetite. I was really pleased with the texture of the cakes which was light and fluffy. 

Happy Baking xx

Tuesday, 4 February 2014

Pizza Night at the Farm


The whirlwind that is the first few days at school has sucked me into the vortex and I feel like I've only just made landfall. This post was actually from two weekends ago when we visited the farm. It was weaning time, so long hours are standard, as the sheep get drafted and drenched before being put onto a new paddock of feed. With everyone busy and not much inspiration for dinner, I decided to do a pizza night. Little Miss nearly 5 was keen to help me with the cooking, so pizza was a do-able small helper option. 


 A detailed tutorial is in this previous Pizza Post. This recipe makes about six medium sized pizzas and uses whatever toppings you happen to have in the cupboard.


Quick and Easy Pizza

500g strong flour
1 tablespoon salt
1 tablespoon instant dried yeast
1 tablespoon sugar
1 cup plus 2 tablespoons water
2 tablespoons oil

Combine all ingredients. Knead until springy. Leave in a warm place to rise in an oiled bowl while you make the toppings.

I used home made tomato sauce and chutneys, bacon, grated cheese, red spring onions, cavalo nero kale, basil leaves, salami, cherry tomatoes and sliced potato. Preheat the oven to 220deg. C and line up some oven trays. If I have time I preheat the tray before putting the pizza on.

Push down the dough and break off a handful at a time. Roll it out thinly onto a floured board or bench. It doesn't have to be a perfect shape.


I decorated pizza, five to go. They were eating them faster than I could make them. 

Bake the pizza's for about 15 minutes until golden and crispy.


Mum's super basil patch.


A simple pizza dinner with the family after a hard days work.