Nothing heralds the beginning of summer like an abundance of strawberries, and at no time in the season are they as delicious as they are now. It's the taste of the promise of summer, and treats not seen since last year, that makes them so much of an early season treat. Ask me in January and I'll tell you that raspberries are the star, but for this early part of summer it's all about the strawberry. Here's my little early season contribution to summer entertaining.
For this recipe I used wholemeal flour to add a bit more bite and a nutty flavour to the tart cases. The pastry is super easy to make in the food processor and the lemon curd will keep in the fridge for about a week. If you have all the components ready it only takes minutes to assemble before the guests arrive.
Wholemeal Lemon and Strawberry Tarts
For the lemon curd:
the zest and juice of 4 lemons
165g caster sugar
80g butter - softened
2 large eggs - well beaten
Find a large heat proof bowl that will fit neatly into a saucepan to form a water bath.
Put the pot on to boil while you prepare the ingredients. In the heat proof bowl, combine the lemon zest and sugar. Stir them around to crush the zest into the sugar. Add the lemon juice and butter.
Place the bowl over the boiling water in the sauce pan. Stir the mixture until the butter melts and the sugar dissolves.
Take the bowl from the heat and stir in the well beaten eggs. Take care to keep the mixture moving as you don't want the egg to cook on the bottom or sides of the bowl. I use a rubber spatula for this.
Return the bowl to the saucepan, continue to stir constantly and cook slowly until the mixture thickens to a creamy consistency.
If you think it's cooking too quickly, just remove from the heat for a few minutes, stir, then return again once you're happy its not overcooking. Don't overcook or the mixture will curdle.
Set aside to cool stirring from time to time, then place in the fridge to chill.

For the pastry:
300g wholemeal flour
200g cold butter
100g caster sugar
4 tablespoons cold water
 Place the flour, butter and sugar in the food processor and blend until it looks like crumbs.
With the motor running, add the water a tablespoon at a time until the dough forms into a ball.
Press into a lump and cover with cling wrap. Chill for at least half an hour in the fridge.
Once chilled, preheat the oven to 180deg. C
Take half the mixture and roll it in between two sheets of baking paper until about 4 to 5mm thick.
The remaining half can be chilled for later or frozen for up to 3 months.
Use the old trick of lifting the top sheet, sprinkling the dough with flour, then replacing the paper and flipping the whole lot over. Remove the top sheet and the dough will be easy to remove from the bottom layer of paper.
Using a fluted circular cutter, cut out as many circles as will fit. Gather up the off cuts and repeat the process.
Place the pastry circles into shallow tart tins and bake for 15 minutes at 180deg. C.
Once baked, remove them to a cooling tray so they don't sweat in the tin.
Leave to cool.

Assembly:
half the pastry will make about 22 cases
cooled lemon curd
a punnet of strawberries or any other summer fruit.
Place a teaspoon of lemon curd into each case, then top with sliced strawberries.
If you would like a creamier tart. Mix the curd with an equal quantity of mascapone cheese.
These tarts are best assembled close to serving as you want the wholemeal cases to remain crispy. The cases will keep quite happily in an air tight container for a few days.
As you can imagine, when two book loving chefs go co-habituating book shelf space is always at a premium. Nine years, many dinners, some house renovations and a beautiful, and also book loving daughter later, and it is time to have a little recipe book tidy up. Many of whom had not been opened for many a year. Now that the Internet gives everyone as many recipes as they could possibly wish to encounter, its quite reassuring to dig through the old books for a bit of inspiration.
 I found this cute biscuit anthology published in 1988 by Pat Alburey. Looking for something different, I tried the Honey Doubles.
This is my version. The biscuits are super easy and quick to make using mostly oats and very little flour.
Honey Oat Doubles
Makes about 16 doubles.
1/2 cup of flour
1/2 teaspoon of baking powder
1 teaspoon baking soda
1/3 cup brown sugar
2 cups rolled oats
1/2 teaspoon salt
90g butter
90g liquid honey - warmed
Filling:
60g butter
90g icing sugar
1 tablespoon liquid honey
2 teaspoons lemon juice
Preheat the oven to 180deg. C. and line a baking tray with baking paper.
Sift the flour, baking powder, baking soda, salt and brown sugar together into a large bowl. Add the rolled oats.
Using your finger tips, rub the butter into the dry ingredients until the mixture looks like crumbs.
Stir the liquid honey into the mixture and form it into a soft dough. Turn the dough out onto a large piece of baking paper; place another piece of paper on top and roll the dough out to about 5mm thick.
Remove the top layer of paper, sprinkle with flour, then replace the paper and flip the whole lot over. Remove the second layer of paper.
Using your sharpest cutter, stamp out the biscuit shapes and place them onto a lined oven tray.
Bake for 15 minutes until lightly browned. Allow to cool.
To make the filling, beat all the ingredients until pale and fluffy. Once the biscuits are completely cooled, use the filling to sandwich them together.
These biscuits have a lovely honey flavour and plenty of texture with the rolled oats.
Happy baking xx
These cute little terrariums are quite the trendy thing to make at the moment. In fact they are very easy to make using these super cute, cheap and cheerful components. The little plants only cost a few dollars from Harewood Raeward Fresh and the cute glass containers came from The Warehouse. Next time I'll planning on thrifting some interesting container.
In addition to the plants and glass vases, all that is required is a handful of coloured stones and a few tablespoons of potting mix - preferably one with good moisture retention qualities.
Start by deciding on your plant combination for each vase arrangement. Try to pair up different textures, heights and leaf shapes.
Put a good handful of coloured stone gravel into the bottom of the vase.
Take the plants from their original pots and loosen off the roots. Depending on the depth of the vase, you may need to shake off the bottom third of the potting mix. Place the first plant into the vase trying not to disturb the stones. Repeat the process with the second plant.
Using a spoon, spread extra potting mix around the outside of the plants to even out any gaps or spaces.
Give the plants a light water and wipe any stray potting mix off the inside of the glass.
 As the vase's rely on the stones for drainage, its really important not to over-water them; something I needed to remind our Little Blossom of when she got up early the following day and got carried away with the jug. Luckily I was able to use a slotted spoon to hold the plants in place while I drained out the excess!
I'm thinking these will make great little end-of-year Xmas gifts for our Little Blossoms various teachers. Happy planting!
Our little blossom is off on her first sleepover. She was so excited she could hardly sleep the night before. All these plans for what they will do, what they might eat, where they will go. She wanted to take some biscuits to share with her wee buddy, so after quite a lot of deliberation we decided on these simple, but delicious biscuits.
These biscuits are easy to make and can be either simply rolled into balls and flattened, or rolled out with a rolling pin and cut into whatever shape you want.
Chocolate Cherry Biscuits
110g softened butter
75g caster sugar
150g flour
1 teaspoon baking powder
half a cup chocolate chips
half a cup red glace cherries - chopped into small pieces
Preheat the oven to 150deg. C and line a baking tray with baking paper.
 Beat the butter and sugar until it is pale and fluffy.
Sift the flour and baking powder together and fold it into the butter mixture.
Lastly fold in the chopped cherries and chocolate chips.

Turn the biscuit dough out onto a large piece of baking paper.

Using a rolling pin, roll out to about 8mm thick. Lift the top layer of paper and sprinkle a little flour over the dough. Replace the paper and flip the whole thing over. Lift the paper from dough. This flipping ensures the bottom of the dough wont stick to the paper once you've cut out the biscuits.
Using the cutter of your choice, cut out as many shapes as will fit in and place them on to the baking paper lined tray. Gather up all the off-cuts and squeeze them together. Re-roll and cut more shapes; repeat this until all the dough is used.
Bake the biscuits for 15 to 20 minutes. They should not brown, but will crisp a little.
All baked and ready for the little girly sleepover. Lets just hope they stay in their beds and aren't up in the night for midnight snacks.
This is a family favourite that we indulge from time to time when visitors pop by. A light hand makes these sweet scones easy to make in a flash. Get your busy on and these can be made in less than half an hour. The clotted cream is made by Clearwater in Geraldine and has a long shelf life which makes it a perfect fridge staple; I got mine from New World Ilam.
Sweet Scones
2 cups plain flour
2 heaped tablespoons icing sugar
4 teaspoons baking powder
70g cold, salted butter
1 egg
enough milk to top the egg up to 200ml of liquid
jam of any variety and clotted cream
Preheat the oven to 220 degrees C. and line a baking tray with baking paper.
Sift the flour, baking powder and icing sugar together into a large bowl. Grate the cold butter into the dry ingredients.
Using your fingertips, rub the butter into the flour until the mixture looks like bread crumbs.
If you are not sure if the mixture is rubbed in enough, just shake the bowl and any lumps of butter will float to the top.
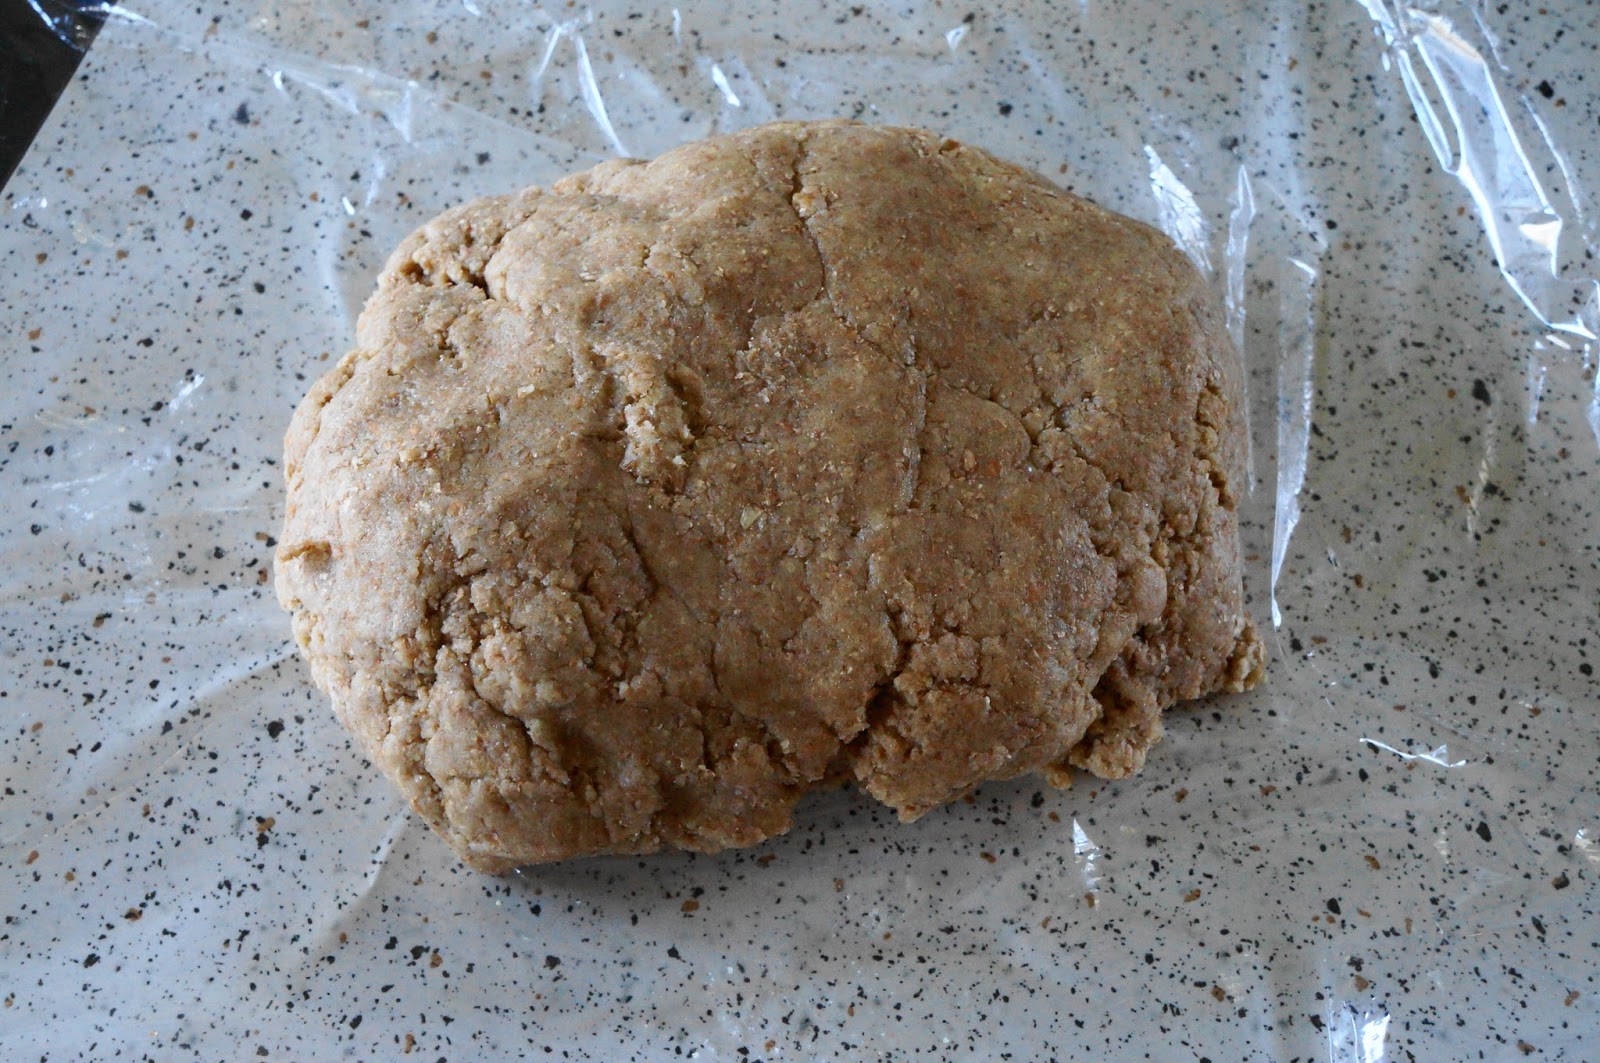
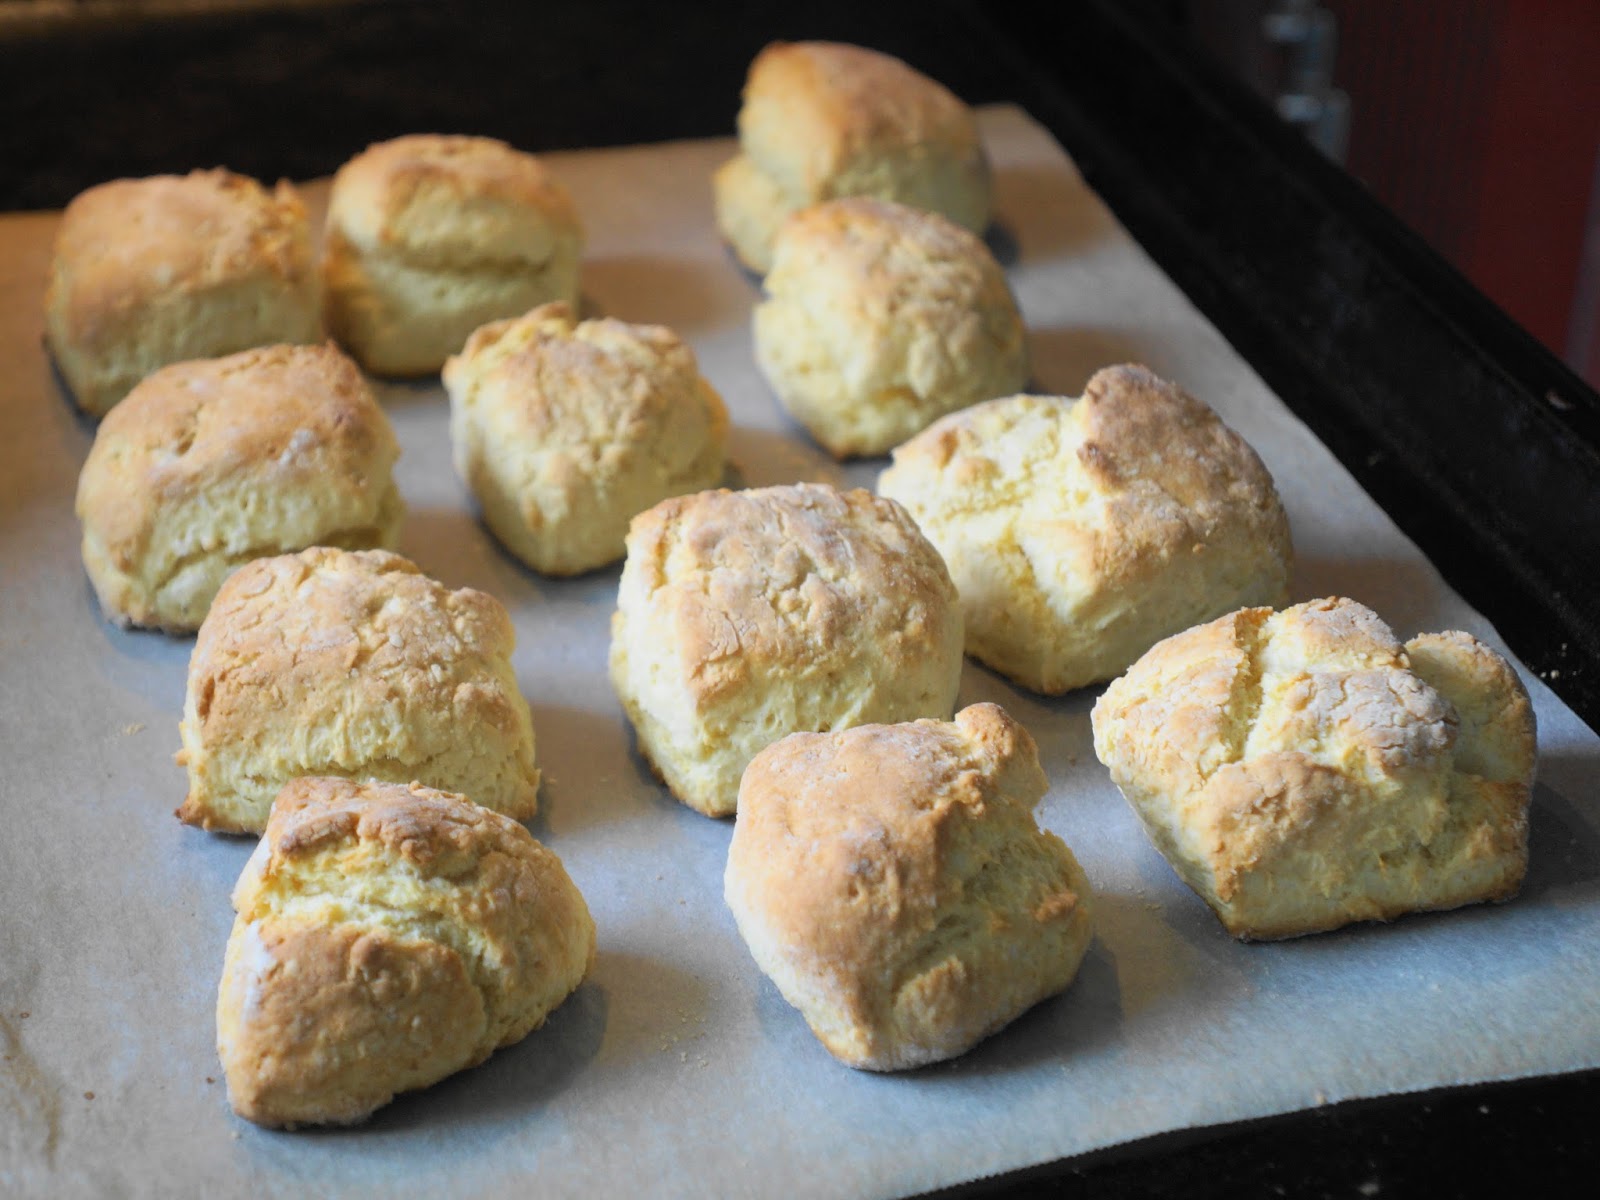
Using whisk combine the egg and milk. Make a well in the centre of the flour mixture and pour in the milk and egg. This is where the light hand is required: Using a table knife gently mix the dough until it is just combined. Turn the dough out onto a floured board or piece of baking paper. Pat into a 4cm deep rectangle shape. Using a floured knife cut into 12 scones. Place on the lined baking tray and bake for 13 minutes until golden brown and well risen.
The test for doneness is to tap on the bottom of the scone and listen for a hollow sound.
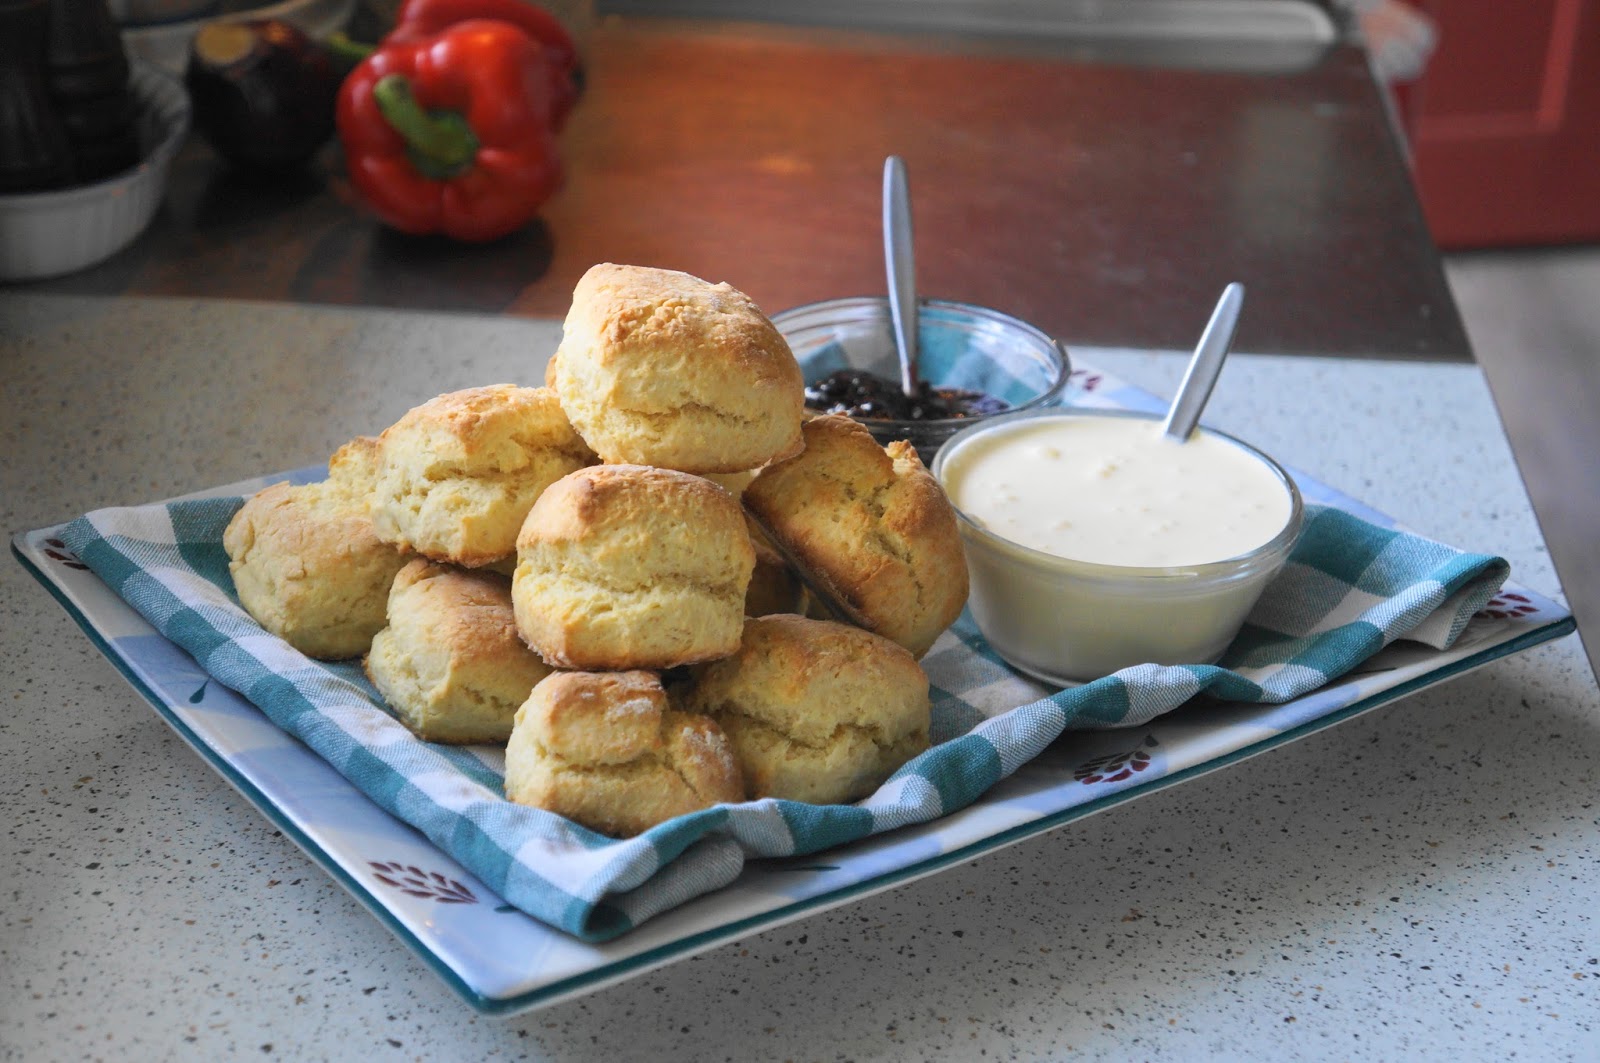
Allow the scones to cool a little before splitting, creaming and jamming, or as I've done serving them DIY style.
All done in no time and ready for our afternoon tea visitors.


 Place the flour, butter and sugar in the food processor and blend until it looks like crumbs.