Showing posts with label gluten free recipe. Show all posts

Thursday, 17 December 2015

Are you dreaming of a (gluten free) White Christmas?

Here's an old Christmas favourite that is super easy to make, stores well, and can be whipped out in a moments notice when unexpected guests arrive. It also makes an excellent little home-made gift. Nothing says thank you like the time spent making a home baked gift.

Our Little Miss gave the White Christmas, some Chocolate Apricot Truffles and a few little gifts to all the lovely teachers and staff at Riding school. 

White Christmas Slice

1.5 cups rice bubbles - I used gluten free
1 cup whole milk powder
1 cup icing sugar
1 cup desiccated long thread coconut
half a cup red glace cherries
half a cup green glace cherries
half a cup dried cranberries
250g white vegetable shortening - I used Kremelta brand

Line a shallow 25 x 18cm - or similar size - slice tin with baking paper.

Put the rice bubbles, milk powder, icing sugar, coconut, chopped cherries and cranberries. 


Either in the microwave, or over a double boiler, gently melt the vegetable fat. Be very careful not to over heat it. A couple of 10 second bursts in the microwave followed by stirring until the last lumps melt is the ideal method. 

Stir the melted fat into the dry ingredients and fruit. 


Press the mixture into the lined tin, cover and place in the fridge until set. Allow it to come up to room temperature before cutting into petite squares. 


I packaged ours in cellophane bags ready to be parceled up with the other gifts. I used cute stickers to seal the bags. 

Sunday, 16 November 2014

Sabrina's Delicious Chickpea and Chocolate Chip Cookies

For me it's always a privilege to work with the students in my classes over the course of the school year. The highs, the lows, the dramas, the laughs, the groans, and everything else in between. Of all the many things about our school that I value, and there are many, it's the ability and freedom each girls has to just be who they are that I value most of all. This recipe come from one of these fabulous young things. While the other girls were cooking Chicken Cordon Bleu and Chocolate Mousse, Sabrina would be doing her own thing, making all these interesting and delicious vegetarian and vegan recipes. 

I was particularly taken by these Chickpea and Chocolate Chip Cookies. They are full of healthy goodness with just enough Chocolate to keep even the most conservative eater happy. They are also gluten and refined sugar free and the ingredients can be varied according to what's available and what you might feel like on the day. I didn't have any almond butter, so I substituted Coconut oil instead, but peanut butter or any other nut butter is just as good. 

Sabrina's Chickpea and Chocolate Chip Cookies.

1 390g can of chickpeas, drained and rinsed
4 tablespoons almond milk
1/2 teaspoon vanilla extract
1 tablespoon coconut oil 
1 tablespoon coconut sugar
1/4 cup honey
1 egg white
1/2 cup almond flour, I used the one that contains the skins
1/2 teaspoon salt
1/2 teaspoon baking soda
1/4 to 1/2 cup chocolate chips, I only had the little ones, but Sabrina used chucks.


Preheat the oven to 180deg. C and line a baking tray with baking paper.


In a food processor blend the chickpeas, almond milk, vanilla, coconut oil, coconut sugar and honey until smooth. 

In a separate bowl beat the egg whites until they start to fluff up. 


Transfer the chickpea mixture to a large mixing bowl and fold in the egg whites, followed by the almond flour, salt and chocolate chips. 


Place dessert spoon lots onto the lined baking tray leaving plenty of room in between for the cookies to spread. 

Don't spread the mixture out; leave it in little spoon lots as it will settle in the oven. 


Bake for 15 minutes until they start to brown around the edges. Leave them on the tray for about 15 minutes to firm up before transferring to an air-tight container for storage. The cookies have a soft texture that will appeal to young and old alike. This recipe makes around 18 large cookies. You can make them smaller, just change the cooking time down to 10 minutes. 

Sunday, 16 March 2014

Cakes for the School Fair

We have had a great weekend, with the highlight being yesterday's long awaited school fair. Little Miss 5 and her school buddies were positively bursting with excitement at all the fun fair activities on offer. With both of us busy helping out, our little blossom got to spend some quality time with Nana; then later some close friends of ours took over, so she had twice the fun of the fair! 

I made some cakes to go with the Devonshire Tea tent's bill of fair. This Chocolate Mud cake is always a favourite! For this one I made a chocolate butter cream, instead of the Toffee icing. The Passion fruit and fresh cream sponge roll sold out. With so much to do prior to the fair, the tutorial for this one will be coming later! 

I actually sold the Gluten Free Spiced Apple Cake in the first picture as a whole cake. The lady that brought it was so impressed with the piece of GF Chocolate Mud Cake she had, that she got the other cake as well. I left the walnuts out of the one for the fair: always worried about the nut allergy thing.

 My food class at school helped out by making these Chocolate truffles. 

This is the Gluten Free Chocolate Mud Cake. This cake received high praise from the people who tried it. I was so pleased they liked it. It's always a pleasure to make great cakes for the gluten free among us. No one should miss out on good cake. I used the GF Chocolate Mud Cup Cake recipe, but baked in a round tin at 170deg. C for 1 1/2 hours. Worth the wait, as the texture is amazing. I frosted it with the Toffee Frosting boiled to only 135deg so it stayed white. The Carrot Cake in the back ground is a good old classic standby recipe that I make all the time for so many occasions. It works just as well as cupcakes. 

Needless to say today has been a quiet day in our house! Thanks so much to all the amazing people that worked so hard to make the fair happen, and all the people who helped me out on the day. You were all stars! xx 

Sunday, 9 February 2014

Trialling Gluten Free Passion fruit Cupcakes

It is my very great pleasure to be asked to make a couple of batches of gluten free cup cakes for the birthday party of one of Little Miss 4s little buddies. It has been my observation that it is quite a challenge to feed a gluten free 4 year old, especially when there a so many delicious but unavailable temptations on offer, and so I am more than happy to oblige. Having not made this flavour cup cake gluten free before, I thought I had better give them a trial prior to the party. 

Gluten Free Passion fruit Cupcakes

125g butter
2/3 cup caster sugar
2 eggs at room temperature
1 1/4 cups bakels gluten free flour
1 1/4 teaspoons gluten free baking powder
1/4 cup milk
3 tablespoons gluten free passion fruit syrup - I used the Tasti brand. Be careful as many of the fruit pulp products contain unknown thickeners. 
an extra 5 tablespoons of passion fruit syrup for spooning over the baked cakes
16 medium sized cup cake cases 

Preheat the oven to 180deg. C.
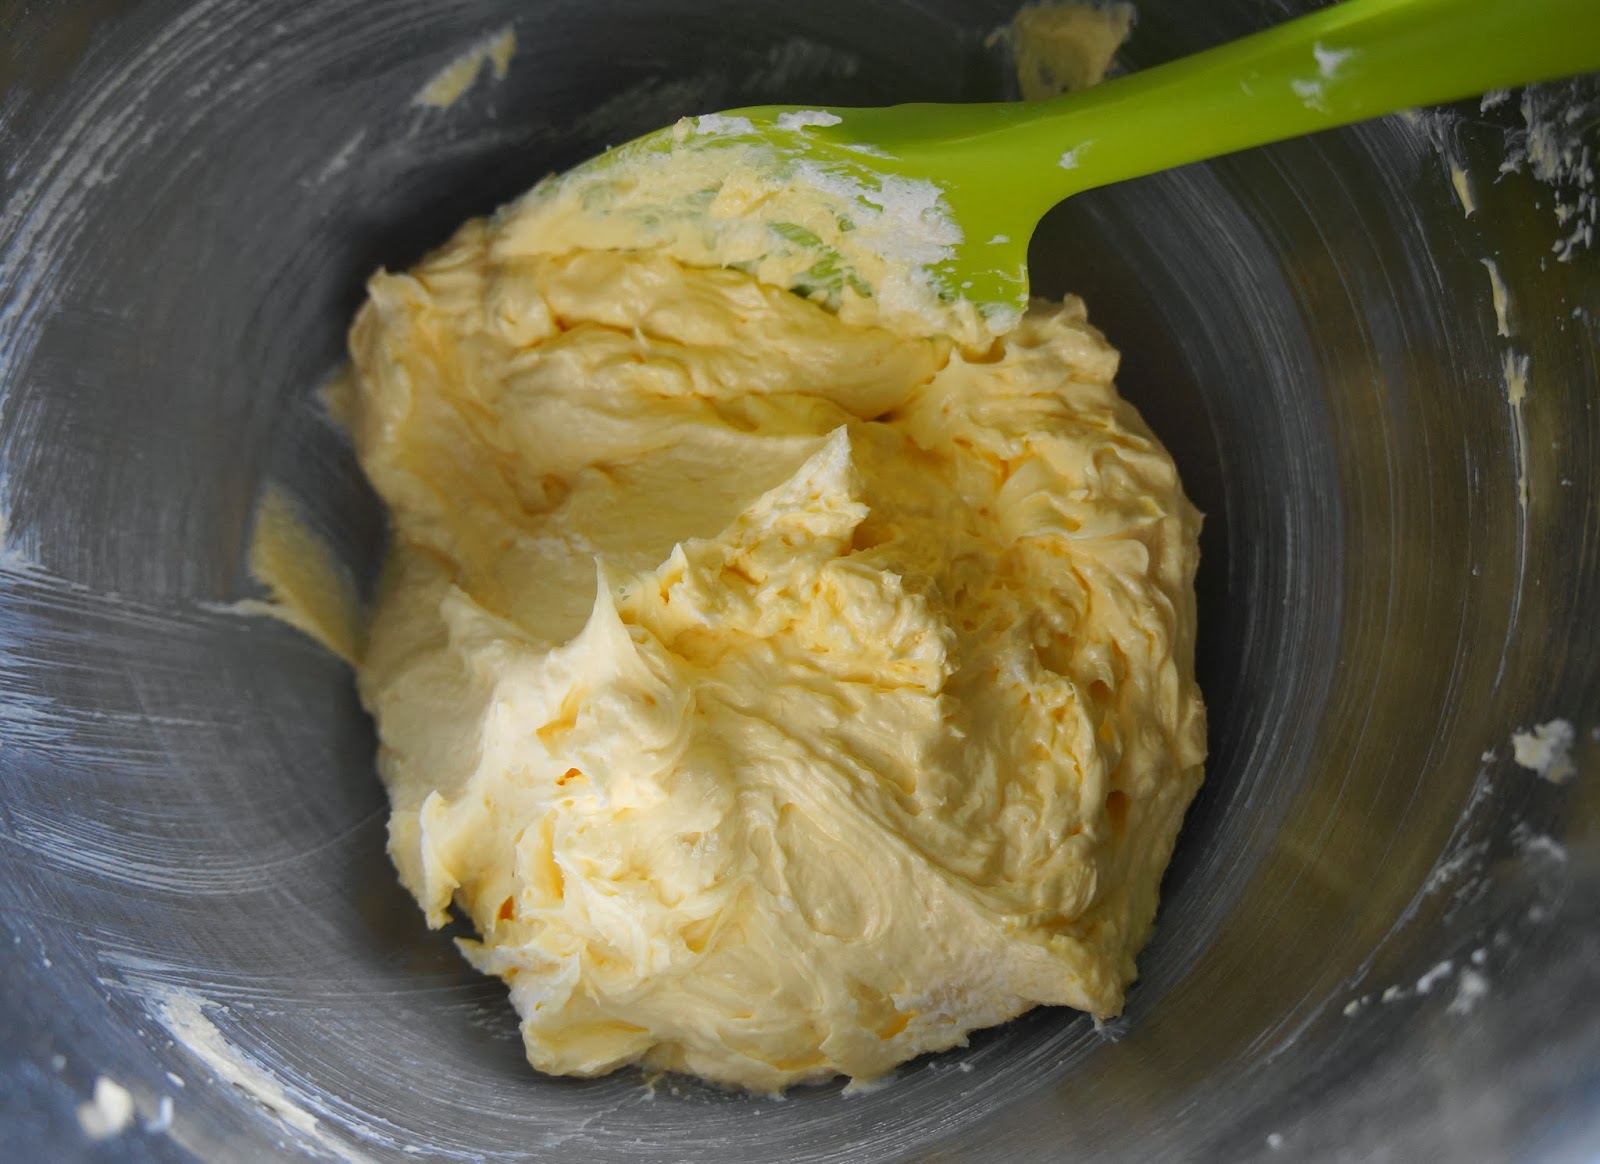
Cream the butter and sugar until pale and fluffy.Add the eggs a bit at a time and thoroughly beat in between each addition. 
Fold in the sifted gluten free flour and baking in thirds alternating with the milk. Lastly fold in the passion fruit syrup. The mixture should be light and airy. Carefully and evenly spoon the mixture into the cup cake cases. 
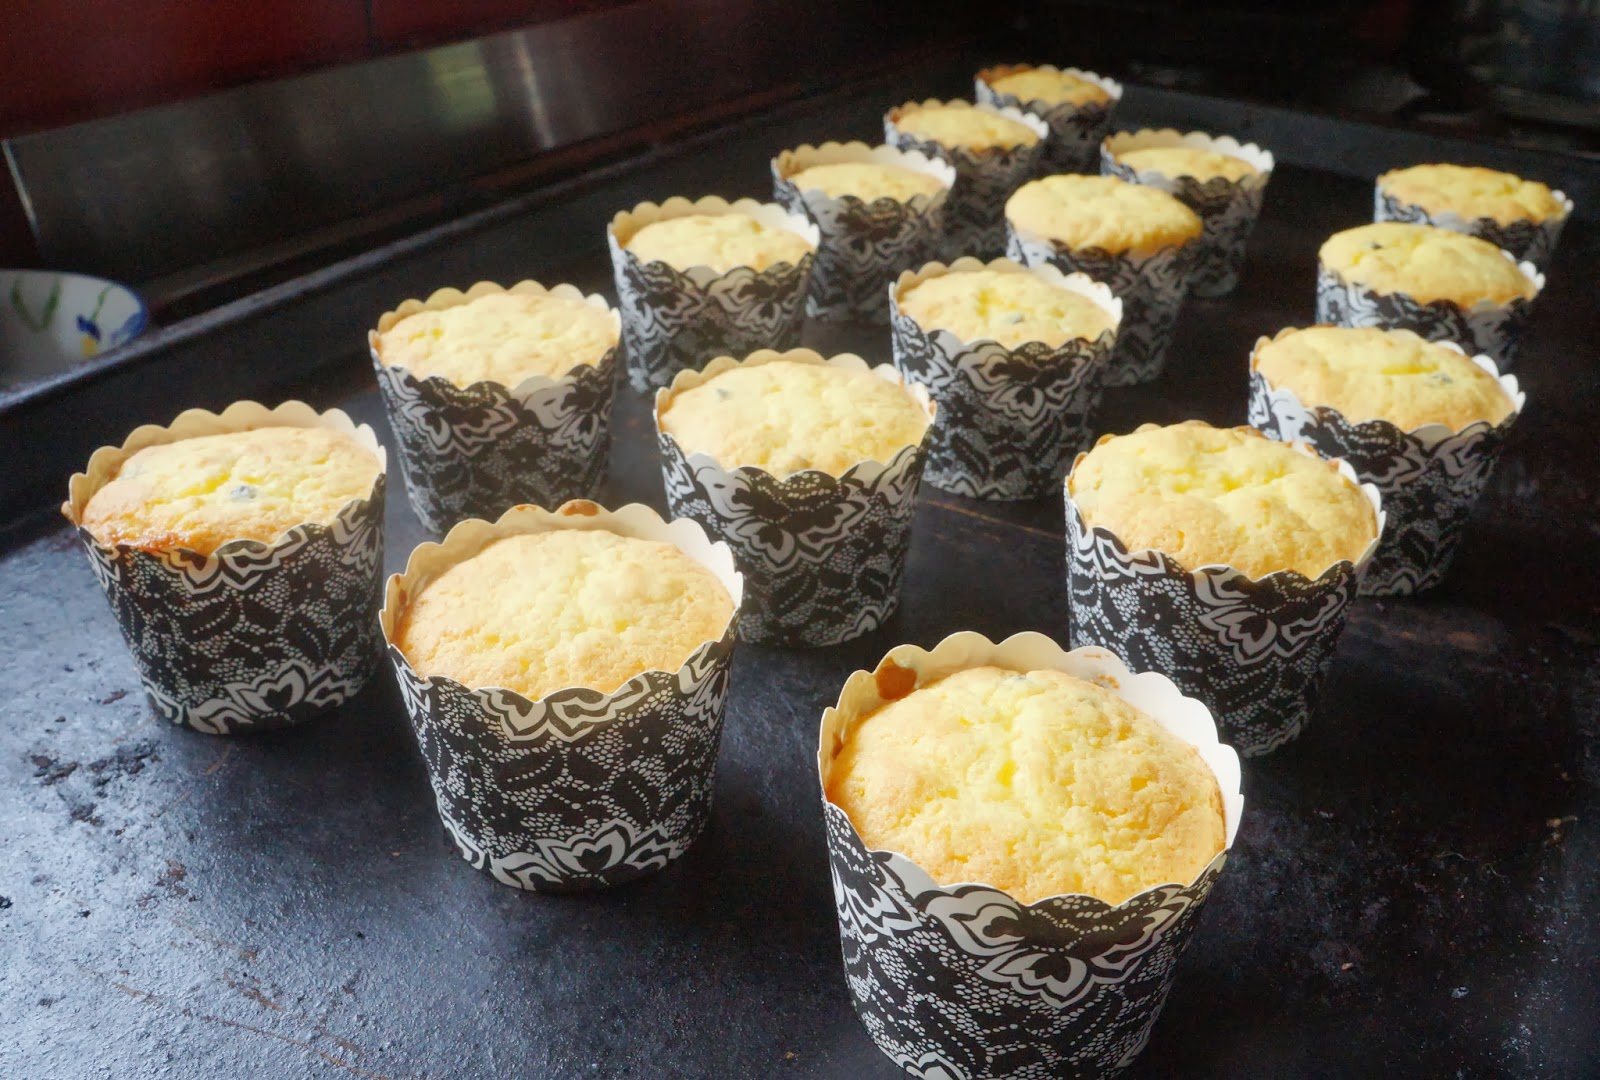
                                                                                        Smooth over the tops and bake the cupcakes for approximately 12 minutes. Make sure they are well baked as the gluten free flour's soft texture needs to be baked well to avoid having a stodgy texture. 
Take the cakes from the oven and spoon a teaspoon of passion fruit over each one. Leave to cool completely before frosting with Passion fruit butter cream.
Passion Fruit Butter Cream
200g butter
1 cup gluten free icing sugar
2 tablespoons passion fruit syrup
the juice of 1 lemon

Cream the butter and icing sugar until pale and fluffy. Warm the passion fruit in the microwave. Add it to the butter and beat until fully incorporated. Add the lemon juice and beat again. 
Use a piping bag to pipe rosettes onto each cupcake. This recipe makes enough butter cream to easily cover the 16 cup cakes.
Our buddies loved the trial cakes, but wanted less butter cream, so I'm going to reduce the size of the rosettes. The cakes also rose more than I anticipated, so I will be reducing the size slightly to cater for the 5 year old appetite. I was really pleased with the texture of the cakes which was light and fluffy. 

Happy Baking xx

Saturday, 31 August 2013

Raspberry Macaroon Recipe mmmmmm.....

This was last weekend's mother and daughter bake in our house. Little Miss 4 had been perusing cook books and plotting her next tea party play date when she came across a recipe for Vanilla Macaroons. Anyone with a little girl will tell you that there is usually only one colour request - and that's "...pink, pink and pink please Mummy". Not content with just plain pink food colouring, we set about creating these raspberry marvels.

Raspberry Macaroons with Butter cream Filling

75g ground almonds
115g icing sugar
2 large egg whites
50g caster sugar
1 tablespoon chambord - raspberry liquor
as many drops of red food colour as you need to get a strong pink colour

Filling
60g softened butter
120g icing sugar
1 tablespoon chambord liquor
pink colouring
2 teaspoons freeze dried raspberry powder

Sift the ground almonds and icing sugar together. You will have to use a spoon to push the almond meal through the sieve.


Place the egg whites in a immaculately clean bowl and whisk until soft peaks form. Add the caster sugar a few tablespoons at a time: whisking well between each addition until a glossy meringue is formed.


Using a spatula fold the almond mixture into the meringue one third at a time.


Now fold in the liquor and colouring. The mixture should have deflated into a shiny batter that drops from the spoon.

Pour the mixture into a piping bag with a plain nozzle.


Pipe the macaroons into evenly sized rounds. Bang the tray onto the bench to remove any large air bubbles.

Set the oven to 160deg. C, then leave the macaroons out on the bench to dry for 40 minutes.


Bake for approximately 15 minutes. Cool for a while before carefully removing from the paper.


Leave to cool completely before filling with the butter cream filling.


While the macaroons are cooking and cooling, make the Raspberry Butter cream Filling by beating all the ingredients until a pale fluffy filling is formed.


Match the macaroons into pairs. Then place a generous teaspoonful of butter cream onto the middle of one of each of the pairs and squeeze together.


These are a great addition to a party spread. They are surprisingly easy to make - which sure beats paying $2 each at the bakery.

So whip some up and invite your friends around. Do it quick, before the family eat them up!

Monday, 1 July 2013

Coconut Meringues

I know I have been slightly scathing about resorting to serving Gluten Free people meringues, but on a whim last week I made these with one of my classes: and they are absolutely delicious!

With very few ingredients, and little mixing time, they will be enjoyed by all. They also store really well in an air tight container. The secret is getting really fresh thread coconut. The ordinary dessicated stuff is much too finer texture to get the best coconut flavour.

Coconut Meringues
2 egg whites
a pinch of salt
1/2 cup caster sugar
1 teaspoon cornflour
1 teaspoon vanilla extract
1/4 cup long thread coconut

Preheat the oven to 150deg. C.


Beat the egg whites with a pinch of salt in an immaculately clean bowl - any grease will prevent the egg whites from fluffing up.


Once the whites reach the soft peak stage, combine the sugar and cornflour and add a tablespoon at a time to the whites. 

Beat well in between additions. The whites will become glossy. Once all the sugar mixture has been added, beat for another 10 minutes until the sugar is dissolved. 

The mixture should stand in stiff peaks.


Take from the beater and gently fold in the vanilla and thread coconut. 

Without delay, put dessertspoon lots onto a baking paper lined tray.


Bake for 10 minutes at 150deg. C, then reduce the oven to 100deg. C for 30 minutes. Then turn the oven off and leave the meringues in there until they and the oven have cooled.


This baking regime will give you a delicious chewy texture.

Serve them with cream and berries: or just simply gobble them as they are.

Especially while still wearing pyjamas.


Saturday, 15 June 2013

Gluten Free Double Chocolate Chip Biscuits

 Whenever I make food for groups of people one of my first considerations is what interesting and different foods can I make for the gluten free people. I'm sure they must get sick of rice crackers and meringues all the time!

One of my classes is currently studying the requirements of a gluten free diet. Since the class doesn't usually get the opportunity to make sweet baked items, I thought they might enjoy these little gluten free treats. I adapted this recipe from an early gluten free cookbook. The original called for a mixture of rice, soy and cornflour; I have made it easier with a premixed baking flour from Bakels. These biscuits are super tasty; the GF flour makes the texture reminiscent of chocolate brownie. Made with easily sources ingredients, everyone will be scrambling for more.


Gluten Free Double Chocolate Chip Biscuits 

makes about 24 medium sized biscuits

125g butter
125 brown sugar
1 egg
1 teaspoon vanilla extract
200g Bakels Gluten free Health Flour
1/2 teaspoon baking soda
3 tablespoons cocoa powder
200g chocolate chips

Check the ingredient lists on the vanilla, cocoa and chocolate chips to ensure there is no hidden gluten fillers. Some thickeners can often contain glutenous ingredients.

Preheat the oven to 175deg. C and line a baking tray with baking paper.

Cream the butter and sugar until pale and fluffy. Add the egg and vanilla extract and beat well.


Sift the flour, baking soda and cocoa powder together. 

The gluten free flour mix seems to take longer to sift and it tends to stick together. 

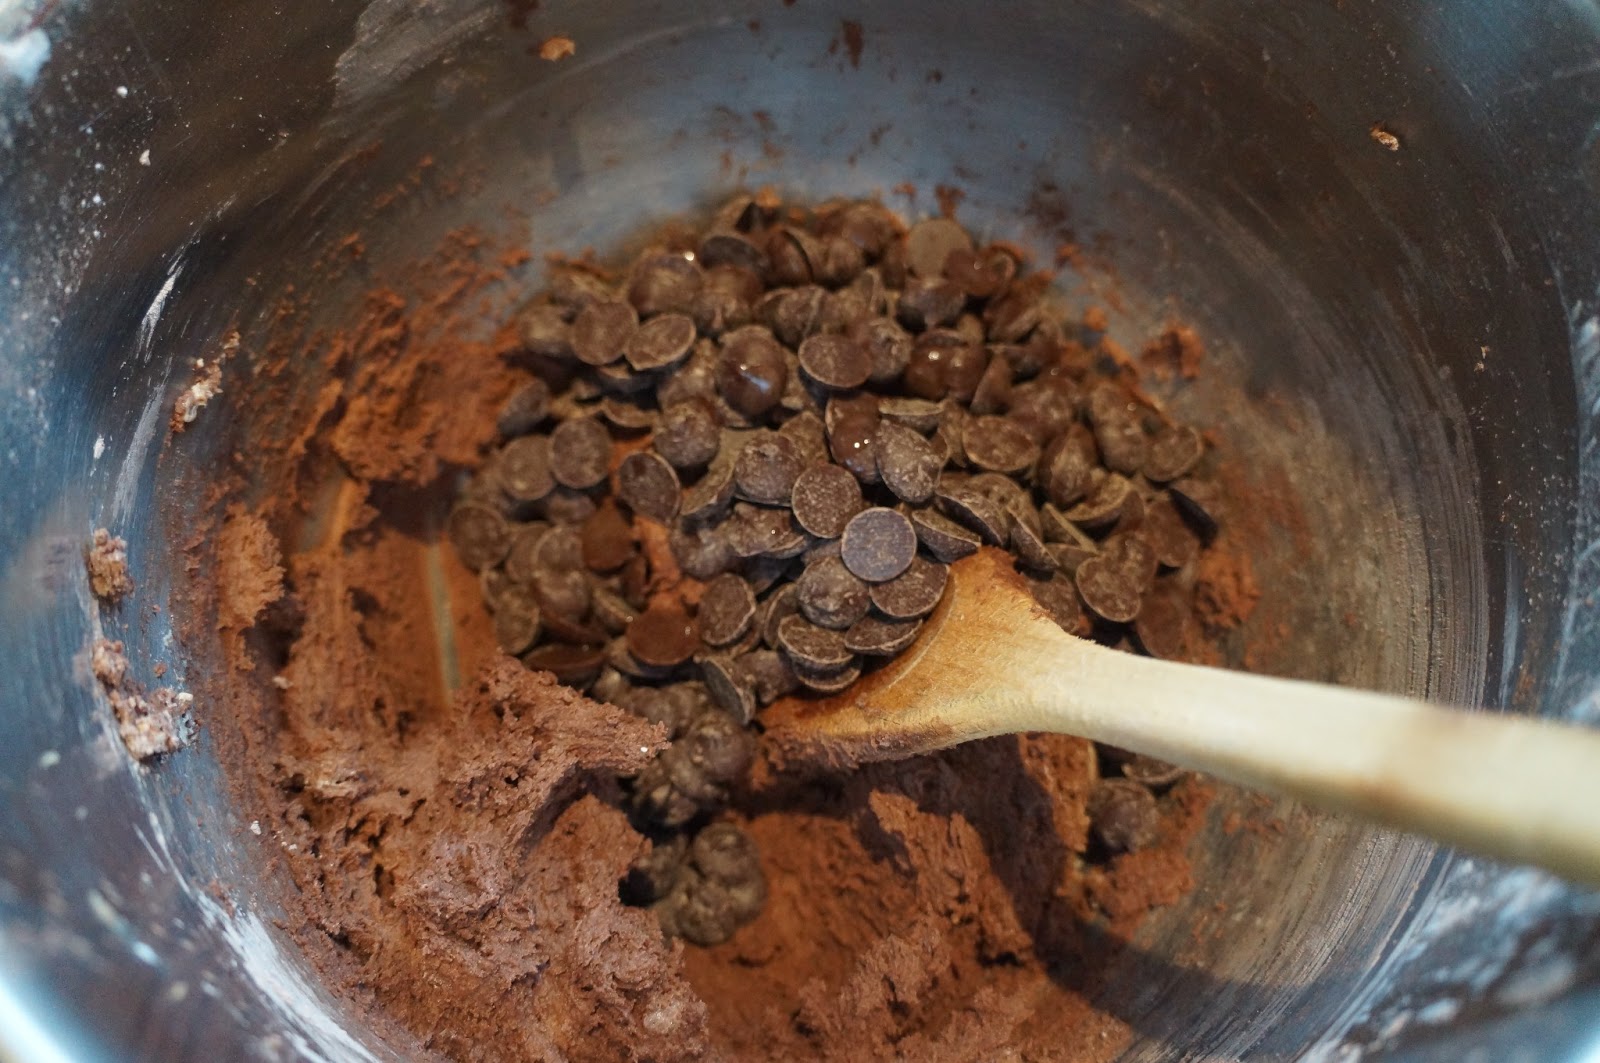
Fold the flour mix into the butter and sugar mix. Lastly add the chocolate chips and stir to combine.

Roll spoonful lots into balls and place on the lined tray.


Gently flatten the balls a little.

Bake for 12 to 15 minutes. 

They will still appear quite soft and wont firm up until they start to cool. Don't try to handle them until they have cooled a little as they are very delicate when hot.


Call up your friends, these are a great morning tea treat to share.