Showing posts with label The Wool Company. Show all posts

Wednesday, 12 February 2014

Finally Finished - My Little Girl's Striped Colour Block Cardigan

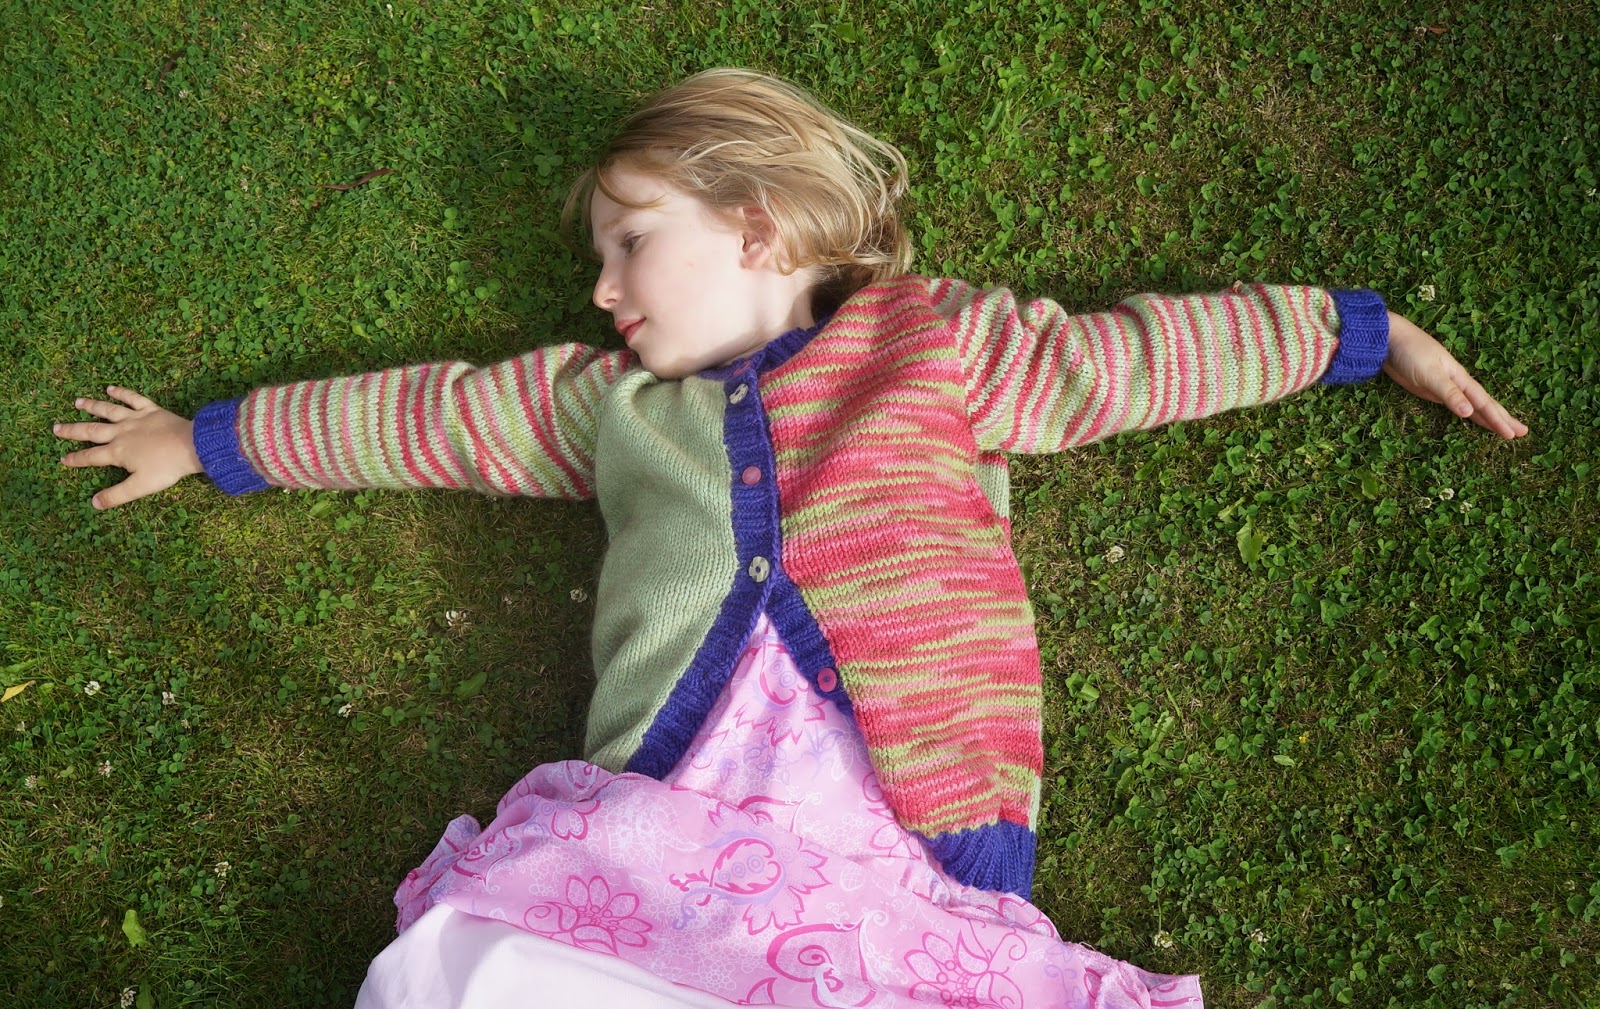
This one has been a long time in the making. Good thing I made a big size. Despite declaring she didn't like green, Little Miss almost 5 is now quite taken by her new cardigan. I think the proportion of pink was enough to win her over.


The pattern I used is a hybrid. The main pattern is  a Patons one from book 1253. But the colours and stripes are inspired by Sweden's Millamia designs. There combinations of colours, patterns and stripes is always striking: especially the Bright Young Things book (HCR Publishing, 2009). Unfortunately Millamia is all knitted on 3.25mm needles; all those extra stitches and rows take extra time that I don't ever seem to have.

I used this cardigan pattern in a size 6. It is knitted in double knit 8 ply on 4mm needles. The bands were knitted in a 2/2 rib on 3.25mm needles. As such, I changed the front band by casting the stitches directly onto the front and knitting 8 rows of 2/2 rib instead of knitting the band as a strip and sewing it on. 

I made the body of the garment about 2 cm longer to compensate for out long bean's extra height.

I used a combination of yarns: The variegated pink and green yarn are Utiku from The Wool Company. The Green yarn is a Shephard possum and wool blend, and the bands are Shephard lamb's wool. All are 8 ply and hand wash only.
The back of the cardigan is knitted as a repeated sequence of 10 rows green followed by 6 rows pink variegated. The sleeves are worked in 2 row stripes of the green and pink. The left front is all pink variegated and the right front is all green. Little Miss chose her own mixture of buttons from the stash she has been gradually whisking away from my craft draw. 

Our happy little girl wearing her new cardy. I wanted her to put a 'good dress' on to model it. She insisted on this vintage shopped number. She would wear everyday of the week if she could. 

Saturday, 6 October 2012

Crafty Crochet Balls


Continuing the theme of stash busting, these cute little projects are a perfect little doddle to occupy the few spare minutes of your day. All that's required is a few spare scraps of yarn, a 3.5omm crochet needle, a darning needle and a hand full or two of stuffing.

I adapted the pattern for these from a school library book. It suggested altering the colours, so the end result looks like a traditional beach ball pattern. I might try that next time; but for now, all that joining sounded like a hassle when I wanted to complete this quick smart.

The wool I have used is from The Wool Company in Taihape. All New Zealand wool, grown, spun and dyed in NZ. They have a fantastic mail order system via their web site: www.thewoolcompany.co.nz


Instructions:
  •  Make a foundation row of 16 chain
  • Row 1: 1 chain (ch), skip 1 chain, 4 double crochet (dc), 8 treble crochet (trc), 4 double crochet, turn.
  • Row 2: 1 ch, 4 dc into next 4 dc, 8 trc into next 8 trc, 4 dc into next 4 dc, turn.
  • These 2 rows form a pattern, and are repeated 9 times to form a ball shape.


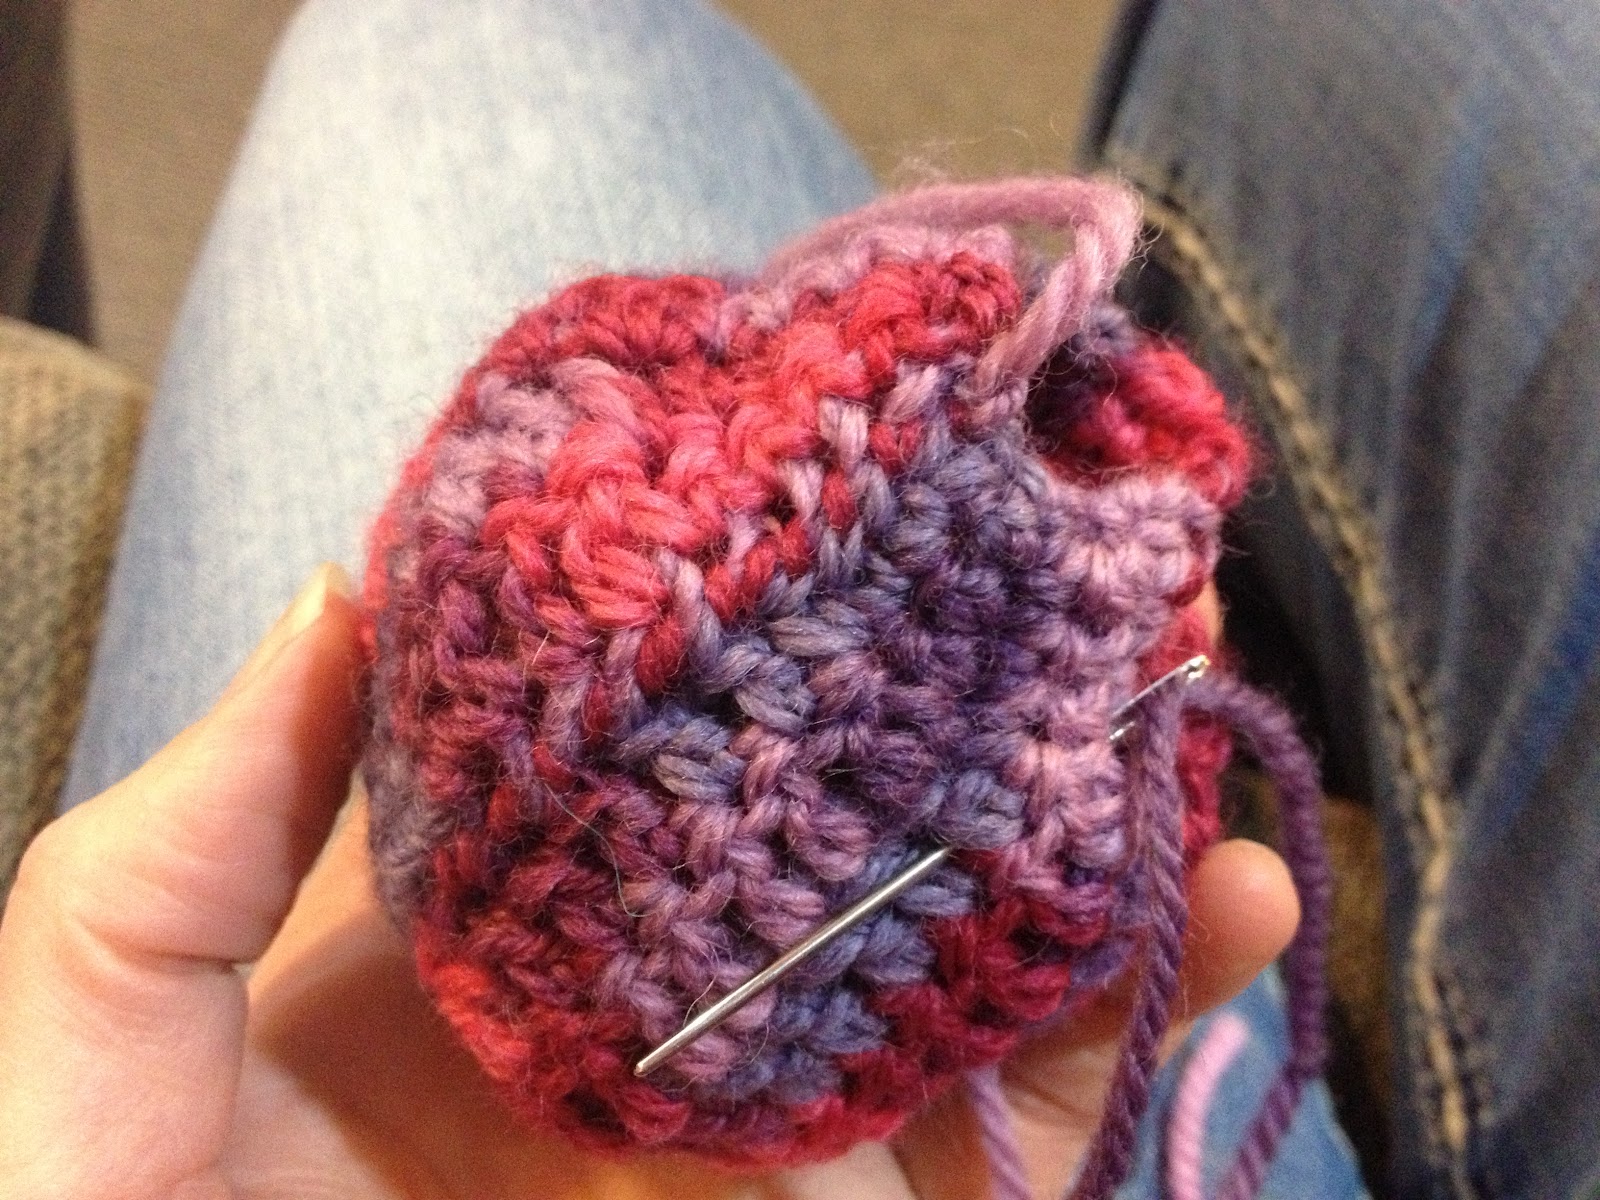
Use a blunt pointed darning needle to sew a running stitch around the end of the ball; pull it tight to gather the end.
Sew the side of the ball together.


Leave the other end open and fill the ball with stuffing.
 
For the first one I used old scrapes of yarn collected from the ends of my weaving projects. It seemed like such a waste to throw them away. I am, however, not quite sure how this will hold up to washing, as the wool will need to be perfectly dried after washing to prevent it from later deterioration.
 
For the blue ball I resorted to using poly stuffing, as i know this can easily be washed after little fingers have spread their grimy message.
 
Stuff the ball as tightly as you can, as the stuffing will soften over time.
 
Now sew a running stitch around the open end and draw it up tightly. Sew a couple of times over the end and finish off by stitching over a couple of time in the same place. Stitch the end into the ball and cut off so it sinks in unseen.


Roll the ball around to form a nice even shape.
 
 
The multi coloured wool stuffing blends into the overall colour of the ball better than the poly stuffing.


And its done; all in no time at all.
 
I dare you not to become addicted to making these cute, quick little masterpieces.