Thursday 31 July 2014

Little Miss 5's Deer and Bunny Dress Tutorial.


We were both equally taken by this cute knit deer and bunny fabric from Spotlight. Being a knit fabric it was also very quick to construct with the overlocker. No surprises that in the absence of any matching rib, our little blossom chose the 'ice blue' option instead. The whole thing only required 1 metre of 145cm wide knit fabric and 30cm of ribbing fabric.

I adapted a old 1980's knit tee shirt pattern by shortening the bodice pieces, then using the left over fabric to cut two rectangles for the skirt. 

I measured one of LM5's Icebreaker jerseys to check the width was correct.
 Lay the fabric out with both selvage sides folded in far enough to accommodate the bodice pieces on one side. 
And the sleeves on the fold of the fabric on the other side. 

I then cut the remaining fabric into two 50cm deep rectangles.
 Here are the cut out dress panels.
Start by matching, pinning and stitching the shoulder seams using the overlocker. 

Check the overlocker tension before beginning to ensure the tension is tight enough to hold the panels together. 
Pin the sleeves into the armhole openings matching the centre of the sleeve with the shoulder seam.


 Overlock the seam together. 
Now is the time to check that the neck hole is big enough for the child. If it's too tight, trim a half cm from the edge and try again.

Measure the neck opening. Calculate 2/3 of the measurement, plus 1 cm for seam, and cut the ribbing to that length and 8cm width - wide enough to allow for the rib folded in two and seam allowance on each edge.  

Overlock the short edge together to form a circle. 
Fold the raw edges of the loop together, pin, then match to the neck edge, stretching the ribbing to fit.

Pin and overlock together as shown.
Neck edge done. 

The seam in the ribbing should be matched to one of the shoulder seams.
Turn the bodice inside out and pin the side and sleeve seams together.

Overlock together.
Constructed bodice - waiting for the ribbing on the cuffs.


Measure the circumference of the cuffs.


Cut the ribbing to 2/3 the circumference of the sleeves, plus 1cm for seams and 8cm wide. 

Match the short edges and overlock together.
Fold the raw edges together.

Pin onto the sleeve cuffs; stretch the ribbing to match the sleeve.
Overlock the edges together as shown.
Match, pin and overlock the side seams of the rectangular skirt pieces together
Measure the circumference of the bottom edges of the bodice and cut another strip of ribbing to match. 

Overlock the short edges of the bodice rib together then fold the raw edges together to form the band. 
Match, pin, then overlock the rib onto the bodice.

I did this step first, because it is sometimes quite tricky to overlock 4 layers together securely. My old overlocker is prone to skipping stitches if the fabric layers are too thick.

Overlock the bottom and top edges of the skirt panel.
Match the skirt to the bodice and pin evenly around.
Evenly distribute the gathers.
Using the sewing machine on a stretch stitch, push the gathers into place and sew down using a 1.5cm seam.
Measure a 4 cm hem and pin into place.
Using the sewing machine and a stretch stitch again, sew a neat and even hem seam.


All done in less than an afternoon. The man of the house took her out to feed the ducks so I could get some uninterrupted sewing time. 

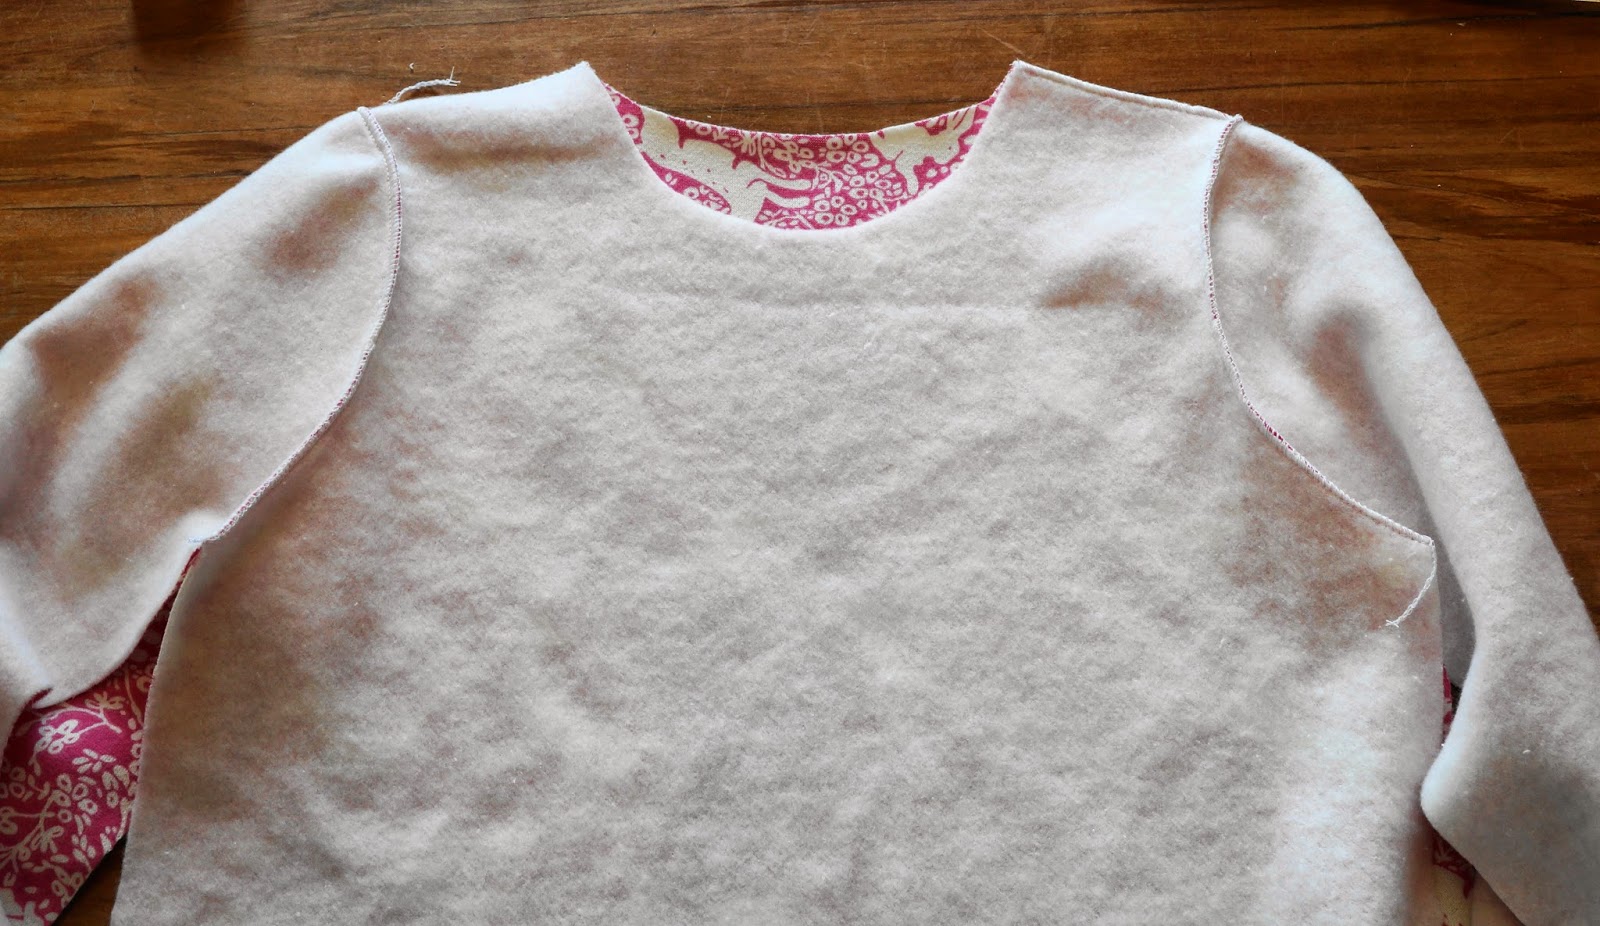
Little Miss was stoked with her new dress when she got back. The inside is fleecy and perfect for winter. 

I made it extra long for our tall bean; I also have a faint hope it might do next winter as well. 
Happy little girl, and happy me too. Feels really good to achieve something tangible and useful on a Sunday afternoon. 

Happy sewing, Prudence xx

Sunday 27 July 2014

Really Very Tasty Caramel Fudge

I'm not really a great maker of sweets. As children we loved them. The confectionery pages of the Edmond's Cookbook were splattered and worn care of our experimentation. Anyway, after the promise of Friday fudge fell through for my School Group Class, I thought I'd dust off an old recipe and give it another try.

Tasty Caramel Fudge

3 cups sugar
1/2 cup milk
Heat in a heavy based saucepan until just boiling. Then add:
a 395g tin condensed milk
1 tablespoon golden syrup
125g butter


Boil until the soft ball stage is reached, 116deg. C. Take from the heat and pour into the bowl of an electric stand beater. 


Beat for about 5 minutes at low speed until thick and cooled. The mixture gets quite thick, so take care to not to overtax your beater! 


Pour into a lined baking tray and allow to cool completely before slicing into little squares.


Old fashioned never goes out of style.

Tuesday 15 July 2014

Delicious La Torta di Mele - Italian Apple Cake

It's sometimes a bit of a challenge to come up with a 'not-so-heavy' winter pudding when the only seasonal fruits around are apples and pears. With our freezer stash of PYO raspberries exhausted, and the supermarket ones all imported from china, I resolved to 'keep it seasonal' and persevere with what has come to seem like one-hundred-and-one-ways-with-apples. Our dinner guests are also quite healthy eaters, so wedges of heavy chocolate cheesecake did not appeal. It was about then that I remembered this lovely recipe for Italian Apple Cake. I first tried this recipe when one of my great Plunket group friends made it for us. She got the recipe from a cooking class in Tuscany. (Pause to nostalgically remember pre-children lifestyle)

This is a great, quick and light cake that can be made a little in advance and popped in the oven when the guests arrive. It needs at least 20 minutes of resting time after cooking before it can be easily sliced, and is best served warm. If you don't have pinenuts then walnuts or almonds will be fine. This cake easily serves 8 people. 

La Torta di Mele - Apple Cake

100g butter
300g caster sugar
1 grated lemon rind
1/2 cup milk
3 eggs
120g plain flour
16g baking powder
5 apples
50g pinenuts
100g raisin

Preheat the oven to 175deg. C and line a large round 30cm baking tin with baking paper.                                                                                                                     Peel, core and slice the apples. Toss with lemon juice to prevent from browning. 

With a mixer, blend the soft butter, sugar and lemon rind. It will remain quite grainy because of the difference in quantities of butter and sugar. 

After 5 minutes of beating, add the warmed milk, eggs, and sifted flour and baking powder and mix well. 

Fold in the prepared apples, pinenuts and raisins. 

Pour the cake batter into the pan and shake to level out. 

Bake in the preheated oven for 40 to 45 minutes until golden and risen. 
Leave the cake to settle for at least 20 minutes before sliding out of the tin, slicing and serving with cream and ice cream. Delicious!

Sunday 13 July 2014

Mrs Murray's Chocolate Chip Biscuits

This recipe was given to me by a great friend of our family, Anne Murray. It's perfect for when a bulk bake up is required for family, friends or even fund raising efforts. Anne often makes a batch each for her sons and their families. 

I've made this lot for my family at the farm. Hamish and Emily are busy shifting stock, feeding out and break fencing, and Mum and Dad are caught up in the nightmare that is earthquake repairs. You'll need a large bowl, a strong(ish) arm and plenty of time to bake each tray to make this quantity. They keep really well in an airtight container, so are perfect for taking away on holiday road trips. Their deliciousness will mean they wont last long anyway.

Anne Murray's Chocolate Chip Biscuits

500g butter
500g caster sugar
395g can condensed milk
5 cups plain flour
2 tablespoons baking powder
250g bag chocolate chips


Preheat the oven to 175deg. C. and line a couple of baking trays with paper.

Cream the butter and sugar until pale and creamy. 

Beat in the condensed milk.


Fold in the sifted flour and baking powder. 


Then fold in the chocolate chips.


Roll into walnut sized balls and flatten onto the baking trays. 


Take care to leave a couple of cm of gap between each biscuit as they will spread during baking.


Bake for 8 minutes. 

The biscuits will brown a little due to the sugar content. 

They come out of the oven soft, but harden once cool. 


Transfer to a baking rack, then repeat with the next tray. 

I think I made about 80. I lost count. They were delicious.

Thursday 10 July 2014

My Barista Training

It has been great experience spending the first three days of the holiday break completing the intensive Barista Course at CPIT. It was three jam packed days of grinding, tamping, extracting and milk texturing, as well as a great trip to C4 coffee roasters. All culminating in an 8 minutes, four coffee making assessment. Always good to remember what the students feel like when they have assessments! No preasure now!

 This was my machine for the 3 days. 

 We were very well taught by the lovely, and very witty, Katrina Fisher. We made so many coffees.... We had plenty of time to practice our extracting and milk stretching and texturing. As a decaf drinker I was terrified to try too much of the coffee for fear of a 3 day extended insomnia, so a little sip now and then was my lot.

Groupie with Barista and teacher super-woman Katrina.

This is the coffee roaster at C4. Rod the roaster told us this is $1000 worth of coffee in the cooling tray, and the margin for error for burning a batch is only 1 or 2 minutes. Pressure.


Assessment time on the last day. All the saucers and spoons are polished and ready, the test shots done and the 8 minute countdown about to start....


My finished coffee line up after marking: a mochaccino, latte, cappucino and macchiato. They had all settled by the time I got a chance to take the photo.

 
As Katrina pointed out to us early in the coarse, most of hospitality is cleaning. I love her saying: "If you've got time to lean, you've got time to clean"
It was a great course that I would thoroughly recommend to anyone with an interest in coffee to take. Even if you're just making coffee at home on your domestic machine, this course will definitely improve you're skills, and you'll have a great time doing it.