Monday 31 December 2012

Foragers Fruit Pie with Sweet Walnut Pastry

Most people associate a holiday with not having to do terribly much in the kitchen. But I aways find that one of the greatest joys of the holiday season is having the time to enjoy doing some cooking without all the usual working week pressures. Today's offering came about after a few afternoon hours spent foraging in my mother's garden. I found some of the best of summer's bounty: raspberries, black currants, gooseberries and red currants all fell into my bowl. I've made this particular pie before and it adapts to whatever fruit is available at the time of year.
Foragers Fruit Pie with Sweet Walnut Pastry

Pastry:
4 oz butter
4 oz caster sugar
1 egg
1 1/2 cups plain flour
1 teaspoon baking powder
3/4 cup chopped walnuts

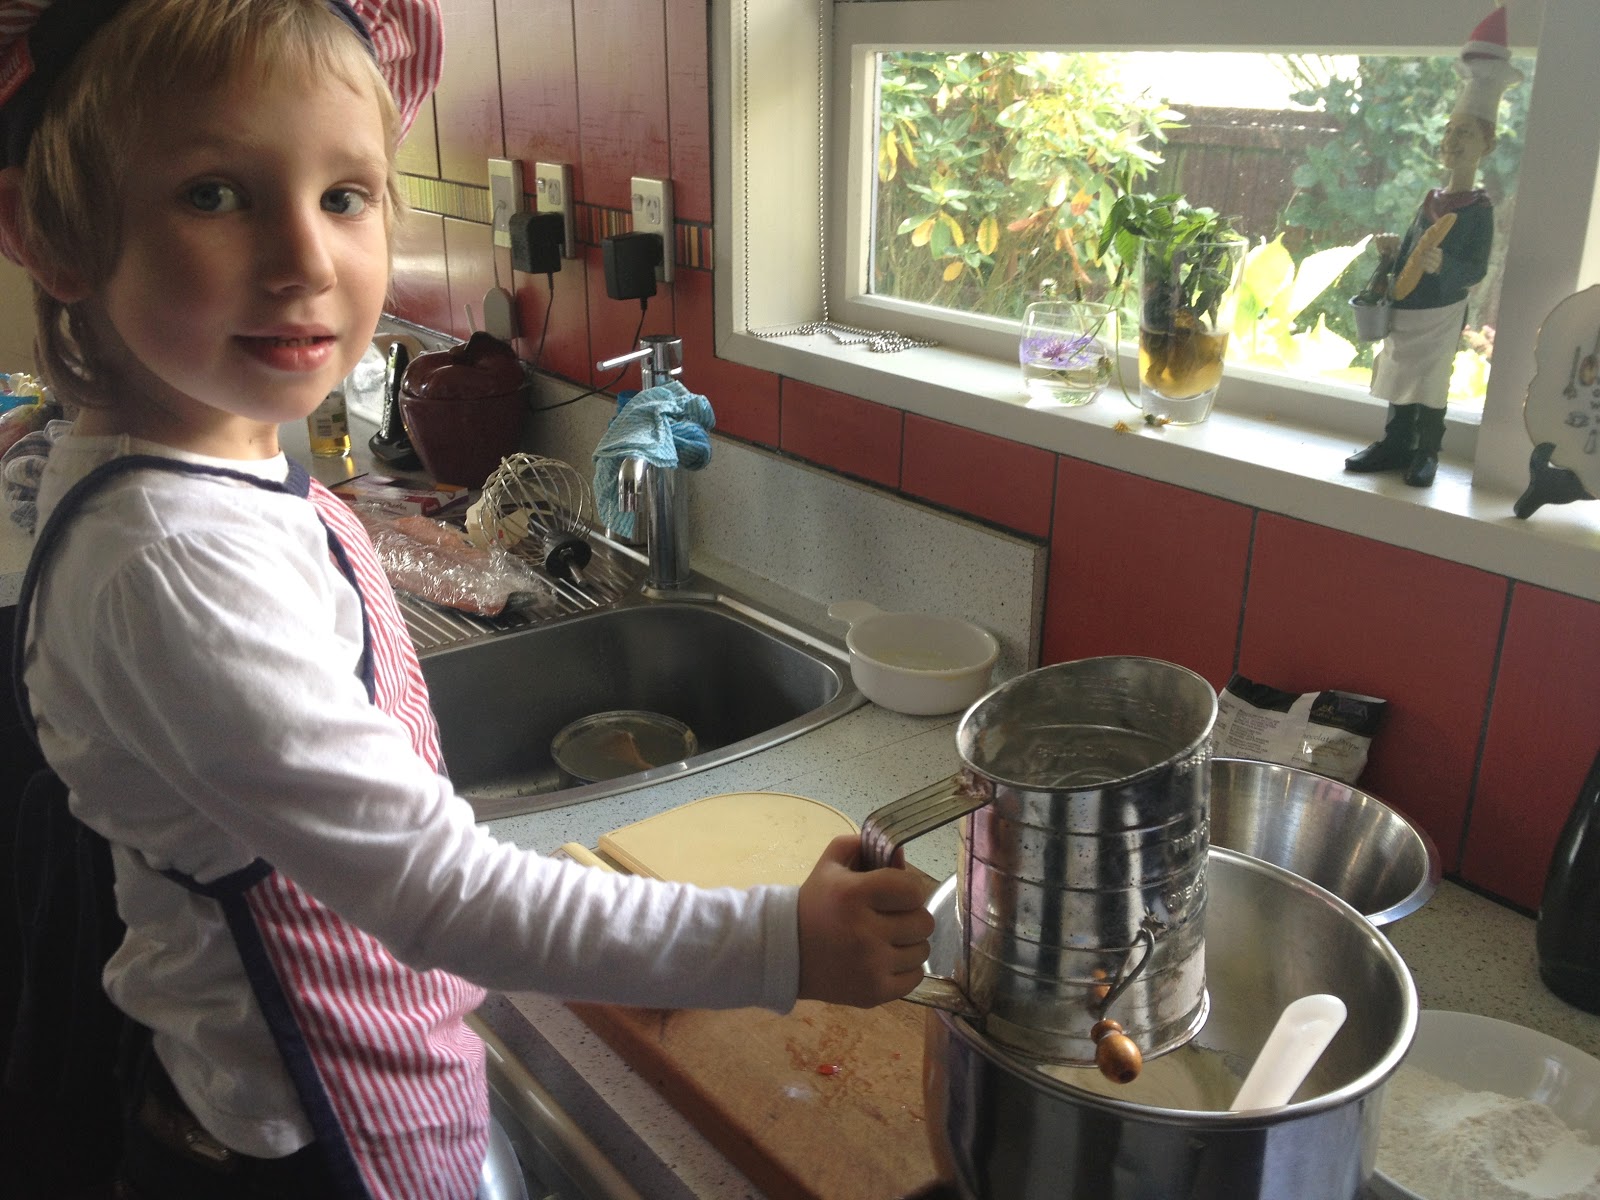
Cream the butter and sugar until pale and creamy. Beat in the egg. Fold in the sifted flour and baking powder, along with the chopped walnuts. Wrap in food wrap and chill in the fridge while preparing the filling.

Fruit Filling:
5 cups of prepared fruit: I used a mix of raspberries, red and black currents and gooseberries.
3 heaped tablespoons cornflour
4 heaped tablespoons caster sugar

Prepare the fruit by stripping the red and black currents from their stalks. Don't worry about the little tuft on the bottoms of the blackcurrants; they wont be noticed once its cooked. Cut the gooseberries in half.
Reserve some raspberries to sprinkle onto the top of the pie as the ones that are incorporated into the fruit mix will break up. Gently fold the sugar and cornflour into the fruit.


Construction:
On a large chopping board, roll the pastry into a large circle between two sheets of plastic food wrap. It's a very delicate pastry and will break up easily.


The trick is to peel the top sheet of wrap away and place the upside down baking tray over the top - flip the whole lot, board and all, over and remove the second sheet of plastic wrap so the pastry is sitting on the baking sheet. Pile the fruit mixture onto the pastry, leaving a gap around the outside. Sprinkle the extra raspberries on top. Gently flip the extra pastry from around the outside over the edges of the pie.


If any leaks develop, putty them shut with a little extra pastry. Bake at 180 deg. C. until the filling had thickened and the pastry is golden brown. With quite a wet filling its important to ensure the pie is baked enough for the bottom to be sufficiently cooked.


Leave it to sit and cool before attempting to cut. It's best served either warm or at room temperature. Because its so large and delicate, its best served as is on the baking tray. You can make two smaller pies instead of one enormous one.

Sprinkle with icing sugar, pour some cream into a jug and call the family. Nothing could be better on a bright sunny summer's evening.  

Sunday 30 December 2012

Ham and Summer Salads for Dinner

Hot days and plenty to do outside calls for summer salad dinner solutions. Left over ham is a great summer standby; it can be teamed with any number of salad solutions to whip up a meal in a flash. Aioli and a simple vinaigrette, made in advance and kept in the fridge, can be used to smarten whatever combination of salad ingredients you might have in the garden, fridge or at the market.
To make the green herb aioli, start with a good handful of whatever herbs you have on hand in the garden.
From Mum's garden I found chives, marjoram, parsley and mint.


Whizz the herbs in the food processor for a couple of minutes to break them up a little before adding 2 whole eggs, the juice of half a lemon and a teaspoon of salt.


Slowly add a neutral flavoured oil, in this case grape seed. You will need to add about 1 1/2 cups in total. It will take a few minutes before the mixture starts to thicken. Be patient; if the oil is added too quickly the mixture will split.


I boiled a few eggs, topped them with some finely chopped red onion, and then spooned over the green herb aioli.


Next I sliced some tomatoes and topped then with a green herb vinaigrette. The recipe can be found in my previous blog 'Pork and Green Sauce.'

The tomatoes and vinaigrette got munched before I could photograph them. I also served a simple salad of Cos lettuce, cucumber and shredded radishes.


Happy little customer! Nana and Poppa too. Not bad for a quick simple dinner.

Two Little Knitted Birds

These two little characters would probably have looked equally good adorning our Christmas tree; however, the busy season being what it is, I only just finished sewing them up. The pattern comes from a book called Little Knitted Creatures by Amy Gaines (Leisure Arts: 2010) . The book has instructions for a whole variety of nifty little creatures. These birds come with a pattern for a bird house.
Instead of the bird house, I decided to give my two little tweets a twig to sit on. It was very quick and easy to make using an i-cord.
 I am not generally a huge fan of sewing up little fiddly bits of knitting; however these were, because of their small size and easy fit, very quick and easy to assemble. The top of the bird body is made in one piece, then the belly, and the two little wings. All the shaping is achieved by working invisible increases and decreases. Then you just sew up and stuff.
I sewed the wings on before the bird was stuffed, but I suspect it may have been easier after. Then it's just a simple matter of sewing on some eyes and a little felt beak.
The i-cord is very easy to make: cast on 3 stitches, knit the first row, then pass the stitches back onto the left hand needle and knit again. Repeat the process to effectively knit in a circle. Repeat until your cord is the required length. Towards the end of the 'branch' I reduced the stitches down to two and completed another few rows to make the branch look tapered on the end. I then cast on 3 stitches past way through the first branch to make another stick. Sew all the ends in using a darning needle.
I toyed with the idea of putting wire into the branch, but it wouldn't have stopped the birds from flopping over, so I abandoned the idea for now.
These little tweets are definitely worth trying as they are quickly constructed, a great stash buster of odds and ends of wool, and as cute as a button.

Saturday 29 December 2012

Recovering from Christmas Desserts

Oh I do love a good Christmas Dessert selection. Chocolate mousse, meringues, almond and spice meringues, raspberries, the ginger biscuit and cream dessert informally referred to by our family as 'Grog Log', red (and festive Christmas green) velvet cake, chocolate cheesecake and traditional steamed fruit pudding: all at our lovely informal family gathering at the farm. It's no wonder it has taken me until now to blog this photo. The weather was amazingly hot. We all lay around like fat lizards in the afternoon. 
Mum and Dad had a huge and amazing pine Christmas tree searched out by my brother after Mum threatened to bring out the topiary buxus if her didn't get his act together soon and find a tree.  
I trust you have all had a lovely family Christmas and are now enjoying a well deserved post Christmas rest. We've been quietly pottering around the house; having a bit of a tidy up here and there; evicting some weeds from the garden; reading books; catching up with friends and having a generally laid back time recharging the batteries.    

Sunday 23 December 2012

Last Minute Christmas Decorating


I've been doing some last minute Christmas decorating. This amazing stick presented itself to me while I was at camp. My colleagues were very understanding when I squeezed it on the bus home and since then its been patiently residing in our spare room. Then I found some lovely little cones at the farm and an idea was born.
 
I planted my stick in some loose polished stones in an old pot, then decorated it with the pretty cones and a couple of cute feather birds from Ballantynes.
 
I decorated the little fur cones by hot glue gunning the felt tops on them and then sewing loops in using embroidery cotton. I crimped the felt top around the stem of the cone like a little pixie hat.

For the little pine cones I folded and glued the ribbon together, then glued it directly onto the cone.
Ready to hang. I thought about stripping and white washing the stick, but it looked so lovely, simple and natural with the bark and lichen attached.
 
 
Just like Christmas, sometimes it's simplest things that have the greatest impact. Enjoy your last minute preparations and don't forget to leave some time for relaxing with the family.  

Saturday 22 December 2012

Relaxing with my Knitting

One of the best things about knitting as a pass time is that it demands that you sit down and surrender to the rhythm and repetition of the stitches.  Knitting cannot be hurried and there are no real quick shortcuts to the end result. It is the opposite of instant gratification, and therefore, when given as a gift it is a true reflection of time invested in honour of another. In the case of this hat, that theory applies doubly as it is made from a mixture of wools recently spun.
We were lucky enough to have a few days of sunshine away at the family farm. In between the usual farm related chores: feeding the chickens, cooking the lunch, cutting up the mutton, chasing after errant sheep, seeing to Dad as he completes his tractor work and tending the garden, I found some time to sit and enjoy the day over a spot of Christmas gift related knitting.  
I used the wool I recently spun to construct this practical winter beanie. (See my previous blog: Homespun and Dyed)

This is the view from my chair on the veranda.

The wool is a thicker gauge than normal 8ply, so I used 4mm needles for the ribbing and 5mm needles for the stocking stitch. I included a section of pattern using some wool spun from a natural light brown coloured fleece.

This hat is a medium size. If you want a large men's hat just start with 100 stitches. A child's hat can be made with 80 stitches. As long as you use the stitches in multiples of 10 the pattern will always work. Just adjust the length accordingly.

Home Spun Hat

Using 4mm needles and light brown yarn, cast on 90 stitches. 
Rib knit (K) 1, purl (P) 1 for 6 rows.
Change to 5 mm needles and white wool yarn; work stocking stitch: 1st row knit, 2nd row purl for 6 rows.

Change to coloured yarn, leaving the white yarn attached, and complete 2 rows. 
Next row: work 1 stitch white, then 1 stitch brown: repeat until the end of the row. 
Following row: alternate white and coloured stitches to match the stitch before. Work 4 rows like this.
Break off the coloured yarn and continue to work stocking stitch until the hat measures 12 cm from the beginning ending with a purl row.


First decrease row:  K8, K2 together (K2tog). Repeat this sequence of 10 stitches until the end of the row.
2nd and every alternative row: purl until end. 
3rd dec. row: K7, K2tog. Repeat sequence until end.
5th dec. row: K6, K2tog. Repeat.
7th dec. row: K5, K2tog. Repeat.
9th dec. row: K4, K2tog. Repeat.
11th dec. row: K3, K2tog. Repeat.
13th dec. row: K2, K2tog. Repeat.
15th dec. row: K1, K2tog. Repeat.
17th dec. row: K2 tog. Repeat.
18th row: purl.
Next row: K2tog. Repeat.
Continue to K2tog on knit rows until 3 stitches remain. Knit a cord by passing the knit stitches onto the left needle and knitting through them again. Continue to do this until the cord is the required length.
I changed back to the coloured yarn to complete the very top of the hat.


Press the hat and then use a darning needle and mattress stitch to sew up the side seam. Tie in the loose ends. You can make the cord as long or short as you want. I have previously made them long enough to tie a knot in.
With the larger needles I had the whole hat knitted by bed time.What better way to spend a peaceful afternoon.

Thursday 20 December 2012

Christmas Biscuits for Santa

We have made it a tradition in our house for Little Miss 3 to give a home-made gift to Santa when she visits him at Ballantynes. Last year it was Christmas Mince Pies; this year we made simple Christmas Biscuits. These are actually just a basic Chocolate Chip Biscuit that has had a Christmas makeover. The simple recipe makes it perfect for little people to help make and they can be whipped up in no time at all. Any type of dried fruit can be added, so you can use whatever is in the pantry.

Christmas Biscuits for Santa

100g butter
75g caster sugar
150g flour
1 teaspoon baking powder
1 and a half cups assorted dried fruits and nuts
1/2 cup chocolate chips

Turn the oven on to 175deg. C
Beat the butter and sugar until pale and creamy
Fold in the sifted flour and baking powder.

Add the lightly chopped dried fruit and chocolate chips: we used cranberries, glace ginger, slivered almonds, and glace cherries.


Place spoon fulls onto a baking paper lined tray.
Bake for approximately 10-12 minutes.
Allow to cool on the tray.


We packaged ours in a cellophane bag with a cheerful ribbon. Little Miss 3 had found a little Christmas carry bag and wanted to fill it with treats for Santa, so we went out to the garden and picked him a pot of raspberries "to have for his pudding after he has been busy seeing the children." She was so proud of her "love parcel" for Santa.

Our Ballantynes Santa was quite surprised to be given a parcel by a little girl, and Little Miss 3 was over the moon when he thanked her very much. Happy child, happy Santa, what more could you wish for at this time of year.

Monday 17 December 2012

Home Spun and Dyed

Everyone is familiar with the calender-esk images of happy, fluffy sheep grazing in sunny fields. But these days sheep are not really associated with clothing so much as lamb chops. We have become detached from the reality of where things come from. In fact, such is the success of the merino advertising, that some people don't even realise that merino's are in fact sheep. In New Zealand, low density pasture based farming practises mean that our sheep are far more environmentally friendly than many of their inside dwelling, prepared feed eating European counterparts. Yet despite its environmental credentials, mid-micron wool currently fetches next-to-nothing for the grower at the market. A situation not totally dissimilar to many other primary producers around the globe. So where does the alternative fibre - usually polyester or nylon - come from? This is not a question the average person asks themselves when they are sliding around the mall looking for the latest micro-trend. The answer is the same unfortunate truth as many other materials we encounter throughout our everyday lives - oil. So its not at all surprising that many among us are looking for a natural alternative fibre in which to cover our backs.  

This wool comes from the family farm. It's from the Romney bred of sheep and is a mid-micron weight. The fleece was washed and carded by Tai Tapu Wool carders, and then spun and dyed by me.

 The width of the fibre is measured and expressed in microns. Because this is a mid-micron fleece, it lends itself to a medium weight yarn.

As is customary, I started by spinning a single thread, then plied then together by spinning two strands together.


That's my lovely old Ashford traveller spinning wheel in the background. I got it from an auction  clearing house many years ago and it's so durable it will probably see me out.

I learnt to spin many years ago as a teenager. It's like riding a bike; once you learn you never forget how, no matter how many years intervene. If your keen to learn I suggest cruising the on-line auction sites for a second-hand bargain; as spinning wheels can vary in nature, you will want to stick to the same one until your confident and competent. Try finding an expert to help you learn. The majority of spinners tend to be woman in their 50s and 60s, and most are overjoyed to help a keen young learner.

 This is my Lazy Kate. Its job is to hold the spools of wool during the plying process.


This is the finished plied wool on the spool.


The next step is to reel the wool off onto the Niddy Noddy. I have to confess I don't know the origin of the name. It is extremely effective.
Once its been coiled into a hank, its all ready for dying. I used Dylon dye sachets and followed the simple directions on the packet. I usually only dye a small amount at a time, and half a sachet is sufficient to get the result I want. Be careful to measure out the correct quantities as the mixture calls for precision.


My three finished hanks. I haven't decided what to knit with them yet. I want to add another lovely soft colour and work on a stripe inspired pattern. All in good time...