Sunday 22 September 2013

Ginger Gems, garage sale finds and learning from my mistakes...

We've had such a lovely weekend: the weathers been wet, but we've seen lots of our buddies and had some lovely family time. While Little Miss and I were at the 4th birthday party of one of her Preschool buddies, the man of the house went garage sale snooping at our local Scout's annual sale. Among various books and toys he turned up an old gem iron. I haven't made gems since I was a teenager living at home, so I looked up a recipe in Edna Lowe's handy cookbook and here is the delicious result:

Ginger Gems
70g butter
1/2 cup caster sugar
3 tablespoons golden syrup
1 egg
1 cup flour
1 teaspoon baking soda
1 teaspoon ground ginger
1/2 cup milk

Preheat the oven to 220deg. C. Put the Gem iron into preheat.

Cream the butter and sugar until light and fluffy. Beat in the golden syrup followed by the beaten egg.
Sift the flour, baking soda and ginger. Stir the dry ingredients into the butter mix with the warmed milk. 

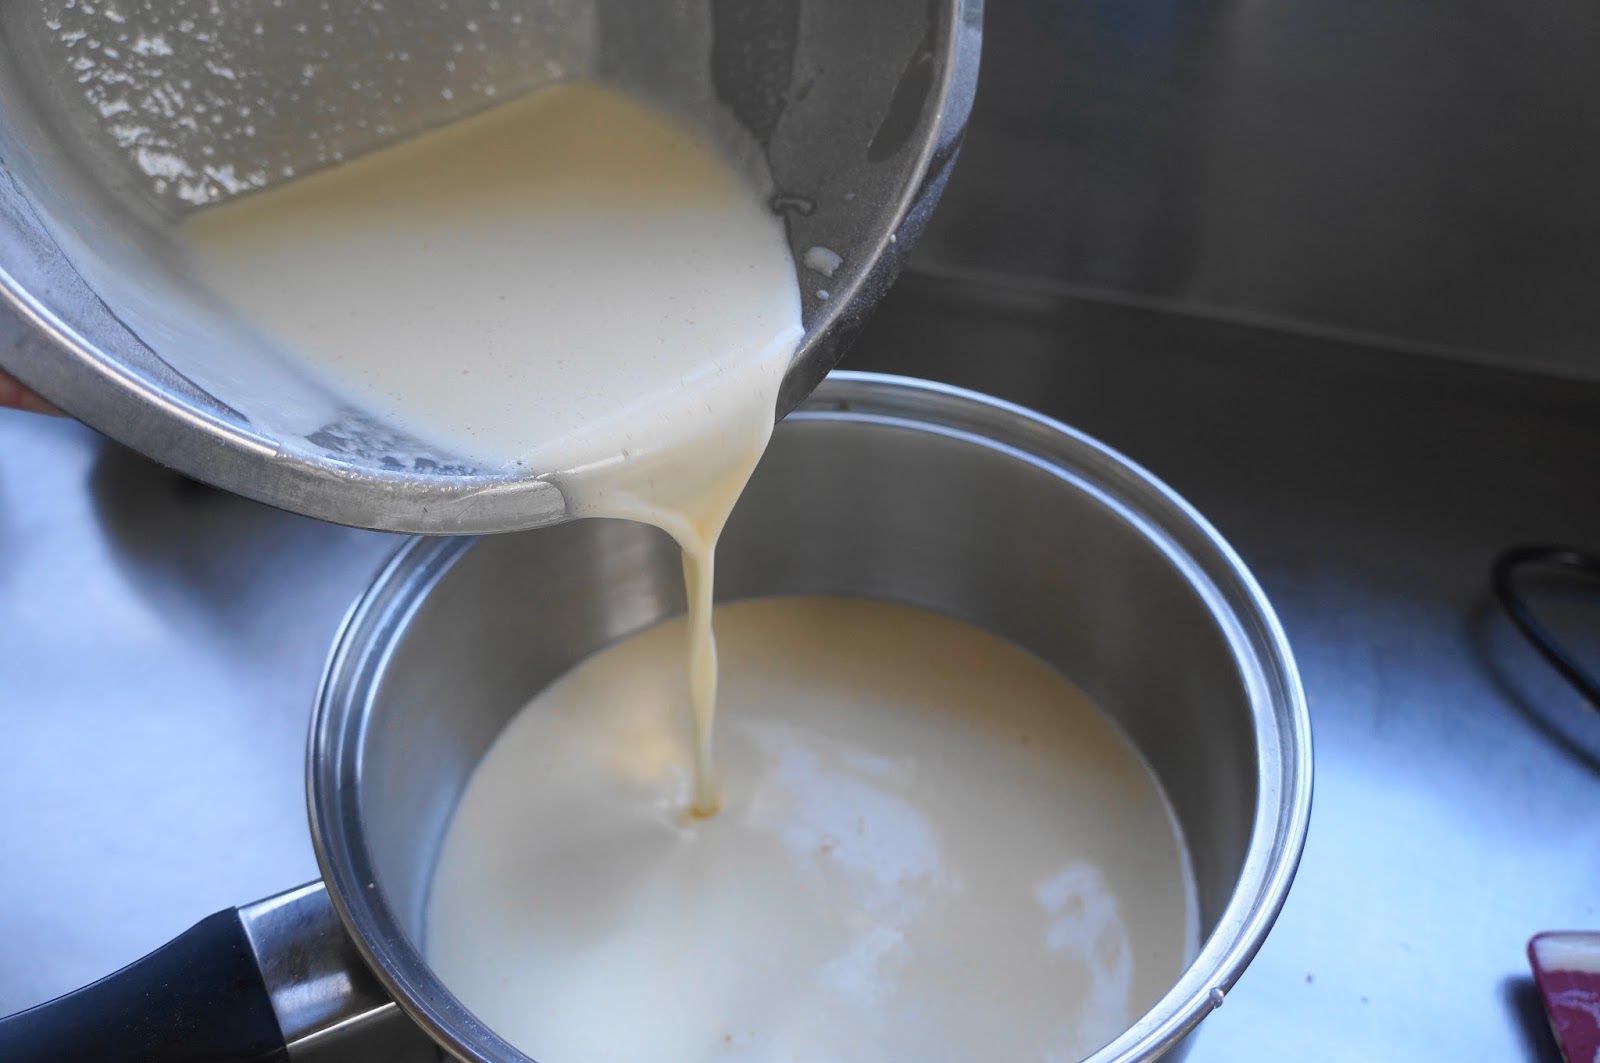
If lumps form, give the mixture a quick beat with the whisk. 
Take the hot Gem iron from the oven and put a little piece of butter into each one. 

Place a dessertspoon of mixture into each Gem. Don't overfill as I did the first time, or they will overflow!
Bake for 12 to 15 minutes until golden brown and risen. 

The recipe makes about 24 gems so you will either need two irons or to quickly wash the Gem Iron in between batches.
I overfilled the first batch, then tried to turn them out too quickly. 

The Gems need to rest in the pan for at least 10 minutes before you should attempt to get them out using a knife to loosen around the edges. 

They are super light and delicate and require a gentle hand.
As you can see  from the first photo, I learnt from my mistakes and the second lot stayed together. 

Baking is all about practise and responding to what works and what doesn't. We all ate up the broken bits. They were delicious straight from the oven!  The recipe recommends serving the gems with butter, but they are just as good on their own.

Friday 20 September 2013

The best Shortbread recipe in town...

At school we have a great tradition amongst the staff of taking turns to provide morning tea to mark our colleagues significant events. About six of us at a time bring a plate to share. Everyone takes great pride and care in making a delicious home made treat. This week my name came up and, having sat on the couch for at least half an hour contemplating the possibilities, I decided on making some shortbread. This recipe is a family favourite; the first time I made it with the fruit and nut toppings, my darling partner was slightly aghast that I was messing with perfection. However sampling the product changed his mind.

Fruit and Nut Shortbread

255g butter
115g icing sugar
115g flour
115g custard powder
115g cornflour
1/2 teaspoon salt

2 tablespoons chopped preserved ginger
2 tablespoons chopped walnuts
2 tablespoons chopped cranberries
2 tablespoons slivered almonds

Preheat the oven to 150deg. C and line a large baking sheet

Cream the butter and icing sugar until pale and fluffy.

Sift the flour, custard powder, cornflour and salt.

Fold the dry ingredients into the butter and sugar and turn out onto a sheet of plastic wrap.


Use the plastic food wrap to form the shortbread dough into a large rectangular tube shape.

Place into the fridge to chill for about 15 minutes. 


Using a sharp thin bladed knife cut the tube of dough into 5mm slices. 


Arrange the slices into the baking tray allowing enough room for them to spread.
Into one third press the ginger and walnut, in the other third the cranberries and almonds, and leave the last third plain.


Bake for 25 to 30 minutes. The shortbread should not colour, but will be lovely, crispy and short once cooled. 

Feel free to mess with whatever topping you fancy! Happy baking xx

Tuesday 17 September 2013

Home Made Custard Squares Mmmmmmm

Mmmmm. Little Miss 4's second weekend baking request centred around the fact she and Poppa have a shared love of Custard Squares. She's such a kind soul, always wanting to share with her friends and family, so it made perfect sense that she should visit the farm and bake something for Nana and Poppa; needless to say we all enjoyed this sweet treat, and Nana was pleased that Poppa, and his waist line, didn't eat too many of them all by himself.

Since the farm is quite isolated - its a half hour drive to the nearest supermarket - we couldn't nip out for supplies, so I made the pastry and the custard the old fashioned way. I modified my standard Pastry Cream recipe and found a general purpose pastry recipe in Edna Lowe's Ashburton Women's Division of Federated Farmers cookbook. It's my go to cook book for a guaranteed traditional recipes.

Custard Squares

Edna Lowe's Flaky Pastry
125g butter
1 large cup flour
1 teaspoon baking powder
pinch salt

Preheat the oven to 200Deg. C.

Rub the butter into the sifted dry ingredients. Mix in approximately 3 tablespoons of cold water to form a stiff dough.

Press the dough into a ball and turn out onto a lightly floured board.


Roll and fold three times, then wrap and allow to rest for at least 15 minutes.


Roll out thinly into a large triangle.


Cut into two equal sized pieces and bake for 15 to 20 minutes until golden brown and crispy.


Pastry Cream Custard
2 free-range eggs
1/2 cup sugar
50g flour
10g cornflour
1 teaspoon natural vanilla essence
1 1/2 cups milk

Whisk the eggs and sugar until pale, fluffy and doubled in volume. It should look just like you were making a sponge. Mix in the vanilla, flour and cornflour.

Boil the milk.

While stirring the egg mixture with a whisk, add a third of the milk to the egg mix bowl. Stir to combine, then add the other two thirds and mix well.

Always add the milk to the eggs and blend the 3rd in first to prevent the heat of the milk cooking the egg mix too quickly. 


Clean the bottom of the milk pot and return the custard to the pan.


Stir constantly over a medium heat until the mixture thickens and starts to boil. Take from the heat and pour the custard into a bowl. Stir from time to time to aid cooling.


White Icing
1 tablespoon butter
2 tablespoons hot water
enough icing sugar to form a firm icing - 1 to 2 cups
1/3 cup coconut
Melt the butter in the hot water and blend in the icing sugar. If the icing is too stiff, just add a little more water. The coconut is for sprinkling on the icing once it is spread on the assembled custard square.

Assembling the Custard Square:
Lay the first layer of pastry onto a large board. Pour the still warm custard onto the pastry and spread evenly to cover.


Top with the second layer of pastry.


Spread the icing onto the top of the custard square and sprinkle with coconut.

Cover with plastic food wrap and refrigerate for an hour or two to allow the custard and icing to set.


I used an electric knife to slice into squares.

If there is any left over, store it in an airtight container in the fridge and eat within 2 days - I'm sure that wont be too difficult to arrange.


If time is short - and it often is - substitute a store brought pastry and you will have this sweet treat made in no time.

One happy little tea lady complete with tea wagon.

Monday 16 September 2013

Making Lollie Cake with Little Miss 4

Little Miss 4 has a huge thing for Lollie Cake at the moment. The moment she spots it in a cafe cabernet, its all she wants. I wouldn't actually consider Lollie Cake as actual baking, given that almost all the ingredients come preprepared in a packet ready to be squashed and mixing; however, she was mad keen to make it, so we gave it a try. We didn't take an actual recipe to the farm, so I had to just wing it.


Lollie Cake

1 packet of malt biscuits
1/2 tin condensed milk
100g butter
18 eskimo or 25 fruit puffs lollies

Using a food processor blend the malt biscuits into fine crumbs.


Melt the butter and condensed milk together until just mixed. 
Mix in the crumbs followed by the lollies. 

I broke the eskimo lollies up into three before adding them.
Form into a log, wrap in plastic film and refrigerate until firm.
Cut into slices as required.

Cake all done with plenty of time left over to go and feed the animals with Nana. 

Sunday 15 September 2013

Photos from the Farm

 We have had a lovely night away at the farm. As usual Little Miss 4 has had a lovely time with Nana. This is the view over to Mt Hutt. The cherry blossom is going mad.
We had a lot of enthusiasm around flower picking.

The sun shone and the air was clear as a bell.

We crushed barley for the horses and fed the chocks.

The easy reading chair on the veranda.

Spring has sprung and the daffodils are appearing everywhere.

Hope you had a great weekend too. xx Prudence

Tuesday 10 September 2013

Chicken Ravioli with Creamy Tomato and Capsicum Sauce


Its no secret that the man of the house cooks nearly all our evening meals. This is a fact that is often envied. I can't begin to imagine what it would be like to have to cook every single weekday meal. So as you can imagine, and without wanting to sound ungrateful, its actually a welcome treat to cook the evening meal. With my darling partner working late tonight it was time for a mother and daughter cooking session. We had chicken in the fridge and Little Miss 4, as usual, wanted pasta. Not content to settle for the usual penne with chunks of chicken, we got the pasta maker out and got ambitious.

This recipe makes enough pasta dough for ravioli for 2 people and 2 servings of fettuccine for later.
If you want to make enough Ravioli for 4 people, just double the amount of filling and sauce you make. 

Chicken Ravioli with Creamy Tomato and Capsicum Sauce

Make the pasta dough first. Then wrap it and let it rest while preparing the filling and sauce. 
Pasta Dough
200g strong flour
1 teaspoon salt
2 medium sized eggs
2 tablespoons cold water
2 tablespoons olive oil

The traditional way to make a pasta dough is to mix it by hand. With little time on a week night, I opted for the mechanical option. Place the flour and salt into the mixer bowl. Make a well in the centre and place the remaining ingredients in.

Using the dough hook attachments, mix at low speed until the dough comes together into a soft ball. Mix for a few minutes longer in order to knead the dough. It should be soft and elastic. If its sticky you may need to add more flour. Wrap the dough and put aside.
Chicken Ravioli Filling

a handful of parsley
half an onion
1 clove garlic - peeled
1/2 teaspoon salt
ground pepper
3 chicken tenderloins or equivalent of another chicken cut
3 to 4 tablespoons cream
Using a food processor, blend all the ingredients except the cream. Once the mixture is sufficiently minced, add the cream and blend again.
Assemble the Ravioli: Using a pasta machine roll half the pasta dough at a time. Start on the thickest setting - usually 1, and work down towards about 8. This is not the lowest setting, as too thinner pasta will rip once filled.
Flour the bench well and lay the pasta down. Place teaspoon lots of filling onto half the pasta sheet, leaving about 2cm in between in order to seal the ravioli. Use a pastry brush and water to brush in between the filling - this will help to seal the pasta parcels.
Fold the pasta sheet over and push the top sheet down to enclose the filling. I used a zig-zag roller to cut in between the ravioli, but an ordinary knife will do.

Put a large pot of salted water on to boil. While your waiting for it to boil prepare the sauce.

Creamy Tomato and Capsicum Sauce

1/2 onion - cut across the grain into half round slices
1 tablespoon olive oil
1 sliced capsicum - I used char grilled canned, as fresh is very expensive at this time of year
1 tablespoon pickled capers
1 tomato - cut concasse (small dice)
1/2 teaspoon sugar
salt and pepper to taste
1/2 cup cream
Grated Parmesan to serve
Using a large fry pan, saute the onion in the olive oil until soft. Add the diced capsicum, capers and sugar. Cook for a few minutes. Add the cream and simmer until the cream starts to thicken. Add the tomatoes, warm through and season to taste.
Assemble the dish: Once the water has begun to gently boil, add the ravioli. Simmer gently for about 5 minutes until cooked. The ravioli will all float to the surface once cooked and the pasta will be firm. Don't rapid boil or all your hard work will disintegrate in the pot!
Use a slotted spoon to transfer the pasta into the fry pan of sauce. Gently toss and serve immediately topped with grated Parmesan.

Slightly ambitious for a week night, and getting later than is ideal for dinner. Little Miss 4 loved her pasta; but most of all she loved helping to make it.