
 The reverse side of a Fabric Vision bag provided the perfect host in producing the fox template. I Googled up some fox images as inspiration for the design and colours, drafted out the shape then added the features. I then traced the features onto separate paper to form the templates. Since I was using felt, which does not fray, I did not need to add any seam allowance to the fox's features.
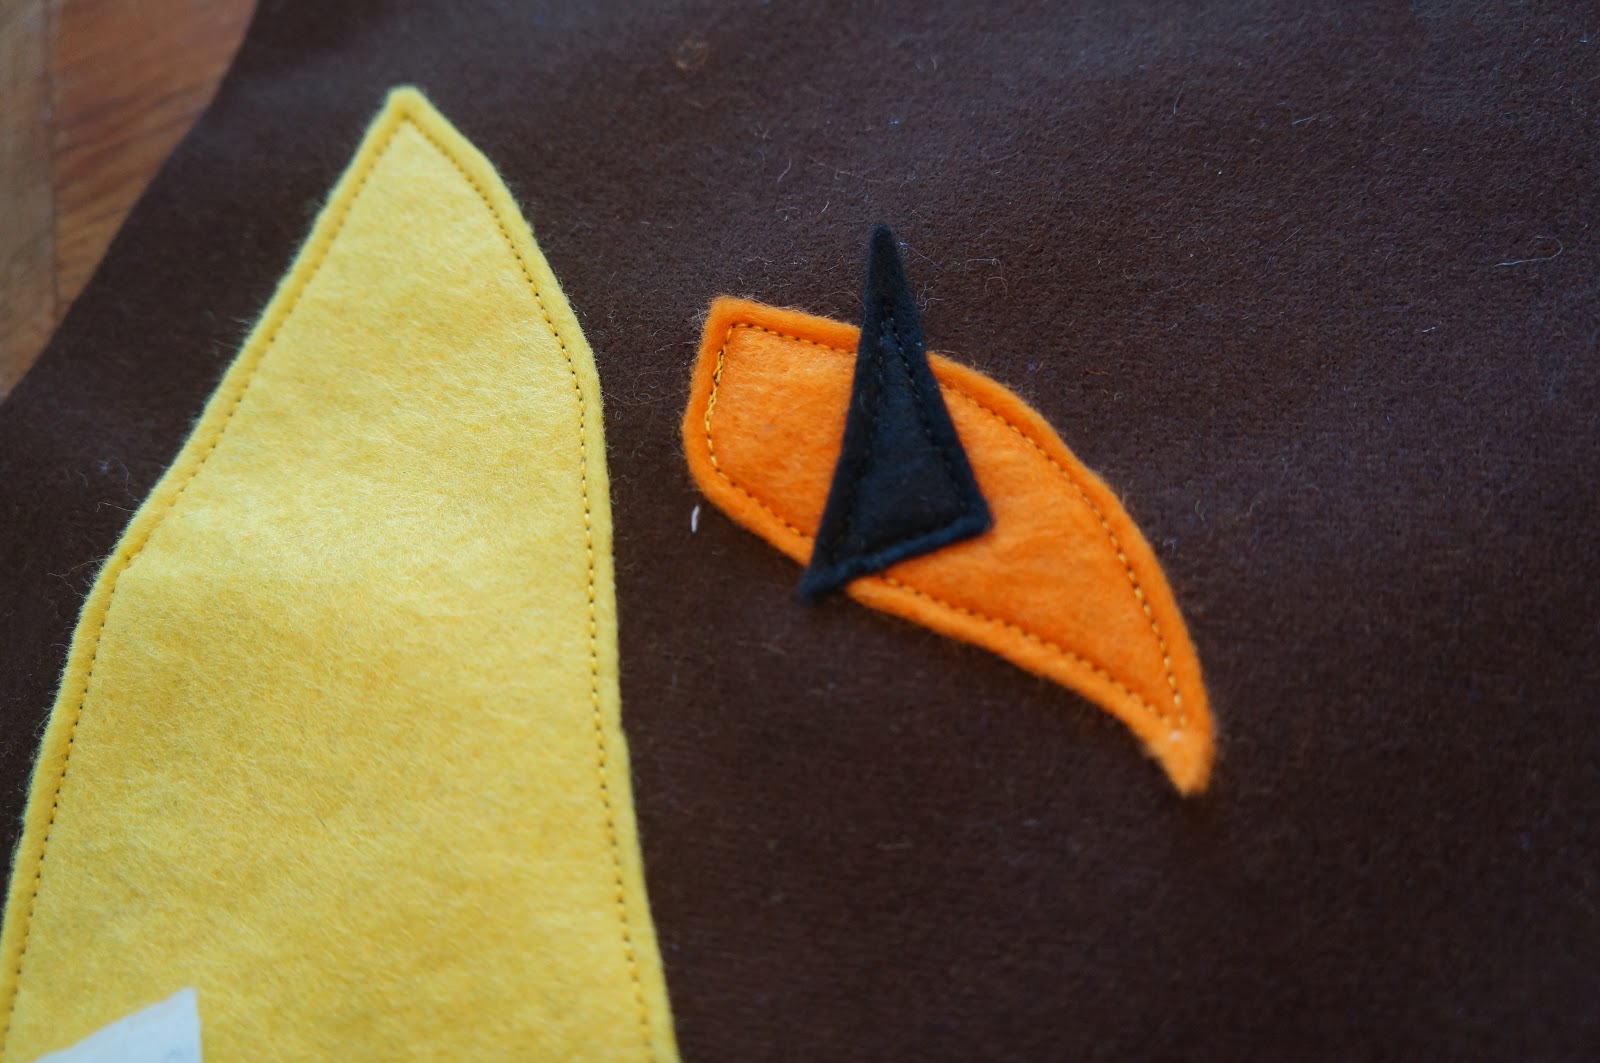
I cut out a pair of head shapes from the wool fabric, followed by a strip of cotton fabric for the sides. The features were cut from wool felt.
 Transfer the positioning for the features from the pattern to one side of the fox head using tailors chalk. Then position and pin your felt pieces. Carefully top stitch them onto the pattern. Its a good idea not to sew over the pins when top stitching or they will leave an irregularity in the stitching. Be very careful that the felt remains in place or else it will form a pleat of bubble once you get around to the beginning of your stitching.
Now start from somewhere on the foxes cheek and pin the strip of cotton fabric only the fox face. I cut a strip that was 7cm wide, including 1cm each side for the seams. Because the fox head is quite large I needed two widths of fabric to get all the way around. I joined one of these before I started.
 Put plenty of pins in and allow for the seam to be 1cm from the edge of the fabric. The join should not have any pleats or puckers.
When you get right around to the other side, match up the fabric strips and sew them together before beginning to sew around the outside of the cushion. I deliberately chose to start by sewing the strip onto the front of the cushion as the first side is easier to get neat.

Once the first side is done, repeat the process with the back of the cushion. Leave a 10cm gap along a straight edge of the cushion in order that it can be turned in the other way.
Overlock or zig-zag the edges to stop them from fraying.

Turn the cushion in the right way an stuff with polyester fibrefill. Although synthetic, it is the most practical filling as it doesn't absorb water and is easy to wash and dry.

Pin and then hand stitch the opening closed using a mattress stitch.
And your fox is complete and ready to roam your living room!
Since I used wool fabric, Mr Fox is best hand washed and dried flat in the shade. He can, however be made in whatever fabric takes your fancy. I am thinking of trialing a Cotton floral fox.
No comments:
Post a Comment