Showing posts with label cushions. Show all posts

Sunday, 5 May 2013

Crafty Fox Cushion Tutorial

Mum and I have spent the last week or so racking our collective brains over what inspired ideas we could design and make for the British themed encraftment market. I had been thinking corgis, care of the Queen, as one of the all time British symbols, but it was Mum who suggested the fox as an interesting alternative. Now foxes are quite a trendy motif in the crafty world currently, so combining them with a useful and serviceable cushion seemed like a good idea.
The reverse side of a Fabric Vision bag provided the perfect host in producing the fox template. I Googled up some fox images as inspiration for the design and colours, drafted out the shape then added the features. I then traced the features onto separate paper to form the templates. Since I was using felt, which does not fray, I did not need to add any seam allowance to the  fox's features.


I cut out a pair of head shapes from the wool fabric, followed by a strip of cotton fabric for the sides. The features were cut from wool felt.
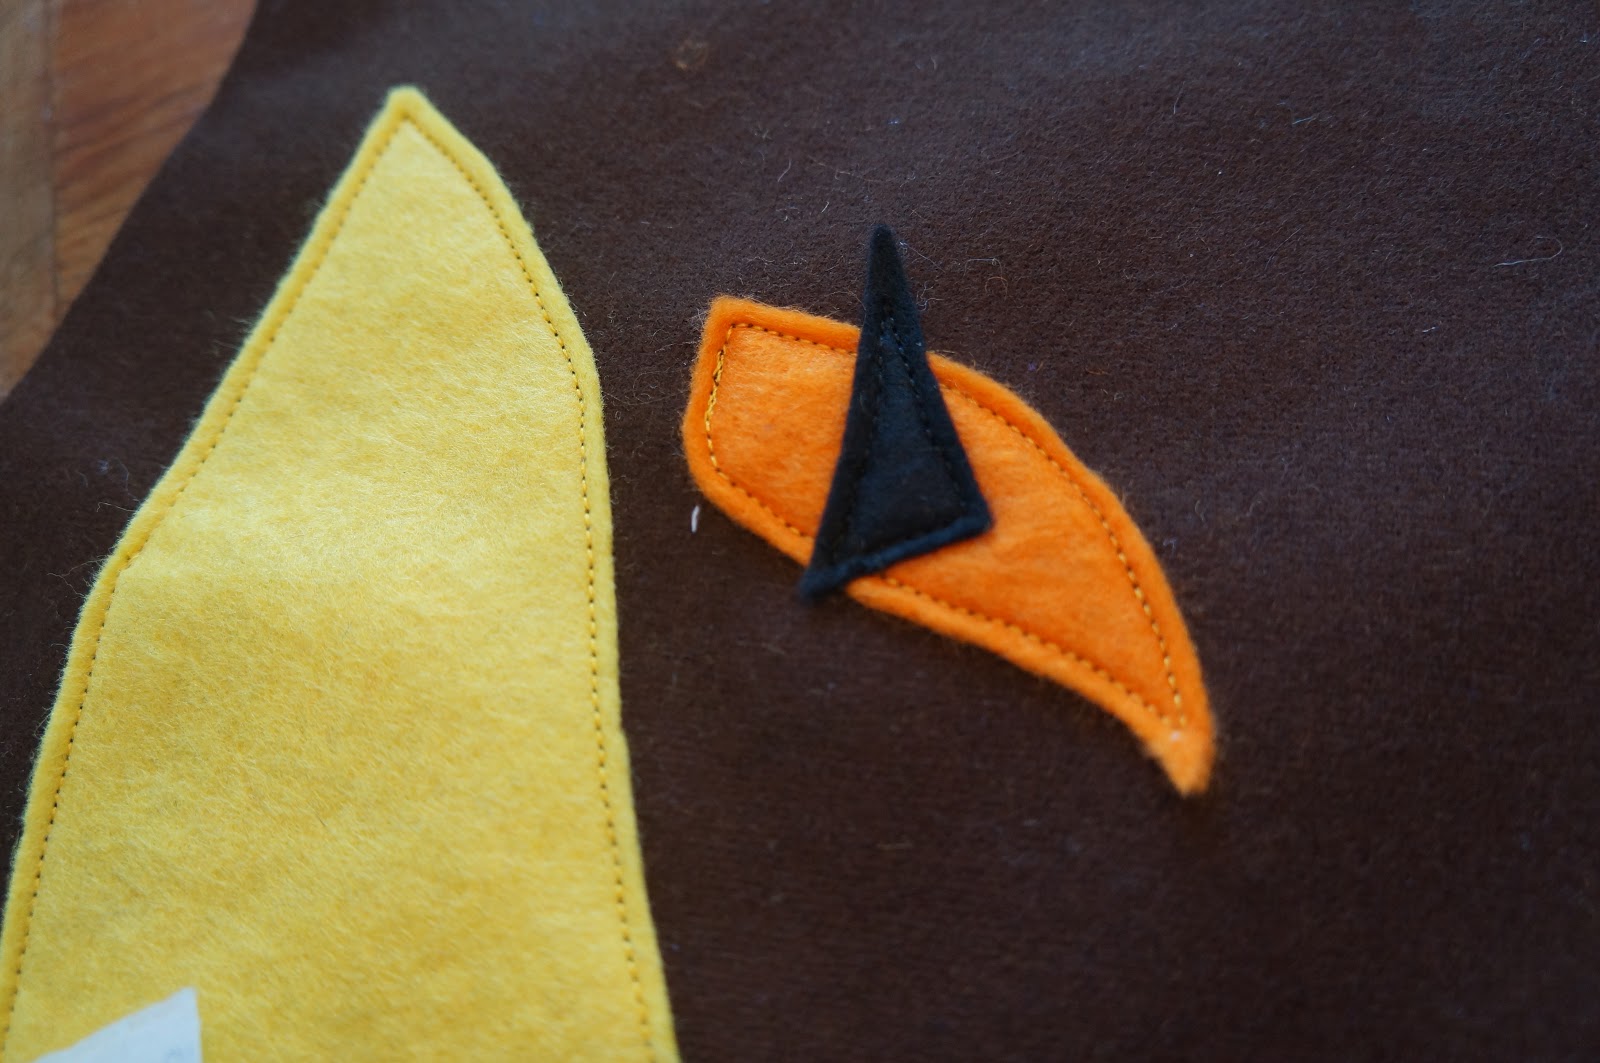


Transfer the positioning for the features from the pattern to one side of the fox head using tailors chalk. Then position and pin your felt pieces. Carefully top stitch them onto the pattern. Its a good idea not to sew over the pins when top stitching or they will leave an irregularity in the stitching. Be very careful that the felt remains in place or else it will form a pleat of bubble once you get around to the beginning of your stitching.
Now start from somewhere on the foxes cheek and pin the strip of cotton fabric only the fox face. I cut a strip that was 7cm wide, including 1cm each side for the seams. Because the fox head is quite large I needed two widths of fabric to get all the way around. I joined one of these before I started.


Put plenty of pins in and allow for the seam to be 1cm from the edge of the fabric. The join should not have any pleats or puckers.


When you get right around to the other side, match up the fabric strips and sew them together before beginning to sew around the outside of the cushion. I deliberately chose to start by sewing the strip onto the front of the cushion as the first side is easier to get neat.


Once the first side is done, repeat the process with the back of the cushion. Leave a 10cm gap along a straight edge of the cushion in order that it can be turned in the other way.
Overlock or zig-zag the edges to stop them from fraying. 


Turn the cushion in the right way an stuff with polyester fibrefill. Although synthetic, it is the most practical filling as it doesn't absorb water and is easy to wash and dry.
 
Pin and then hand stitch the opening closed using a mattress stitch.
 
And your fox is complete and ready to roam your living room!
 
Since I used wool fabric, Mr Fox is best hand washed and dried flat in the shade. He can, however be made in whatever fabric takes your fancy. I am thinking of trialing a Cotton floral fox. 


Wednesday, 17 October 2012

Lovely Cushions


There's something irresistible about a table of remnants. They always sparkle with potential, and that potential always seems the greater for the cut price ticket. The urge to accumulate is enchanting. All crafters know the danger of the bulging stash. I am sure my family wonder at times if the house would seem bigger if Mummy had small hobbies. Maybe stamp collecting, that wouldn't take up much space, but stamps don't have such texture, and you  certainly can't join them together to create a natty little bag. Wool - well there's another story. It always seems like I get the fabric glut under control, and the wool starts to spill out of the wardrobe.

Anyway, I was casually perusing the selection at Fabric House, a really nice soft furnishing fabric store. They used to be in Madras street, but got quaked out and are now temporarily located in Wrights Road, Addington.
"Just a quick look around darling; I don't need anything" When up should pop a lovely 100% cotton English floral stripe fabric remnant. Hmm, 2 metres, what can I do with you. It was so pretty. It was a bargain. It positively screamed lovely, comfy cushions.


The fabric was 136cm wide, so I cut it into 46cm strips, and again into 46cm squares. This maximised the size and number if cushions, so I could neatly get six from my 2m remnant.


I purchased 30cm beige coloured zips and sewed 8 cm of 1.5cm seam on each end of the bottom of the cushion. Overlock the bottom edge of the fabric before you start. Pressing the seam open makes it easier to make a neat job of sewing the zip in.
Pin the zip in behind the fabric, taking care to place the zip in the centre of the seam.  Now use a zipper foot to sew around the zip. Its a good idea to move the zipper head out of the way of the needle. That way you wont get an uneven bulge of sewing at one end.
All stitched.                                                          
That's the hard part done. Now stitch around the remaining seams of the cushion. Don't forget to undo the zip before you sew, or it can be quite difficult to get the zip undone to turn the cushion in the right way. Now overlock the raw edges and your done. I tied the ends of the overlocking off, as I did not want them coming undone later.
 
 Now iron the cushion cover and your done. I purchased cushion inners from The Warehouse. They were only $8.99 each.
Where shall I put these... they match the couch really well; the curtains, not so much... but I do know a good place to find some more fabric...