Showing posts with label raspberries. Show all posts

Friday, 9 January 2015

Scones with Raspberry Fool Topping

With another mob of sheep and lambs to crutch, it was my turn on the morning smoko again today. We an oversupply of raspberries in the garden I decided to top my plain sweet scones with this delicious raspberry fool. It is super simple to make and takes no time at all. As well as the scones I made BLT sliders using homemade rolls. 


Raspberry Fool

This recipe makes enough to top the below scone recipe, or serve about 4 people for pudding. You can easily double the recipe.

1 cup of cream
1 heaped tablespoon of icing sugar
1 1/2 cups fresh raspberries

In a medium sized bowl, add the icing sugar to the well chilled cream and beat until thick. 

In a separate bowl, mash the raspberries until mostly squished. Add the whipped cream to the fruit and gently fold together. 
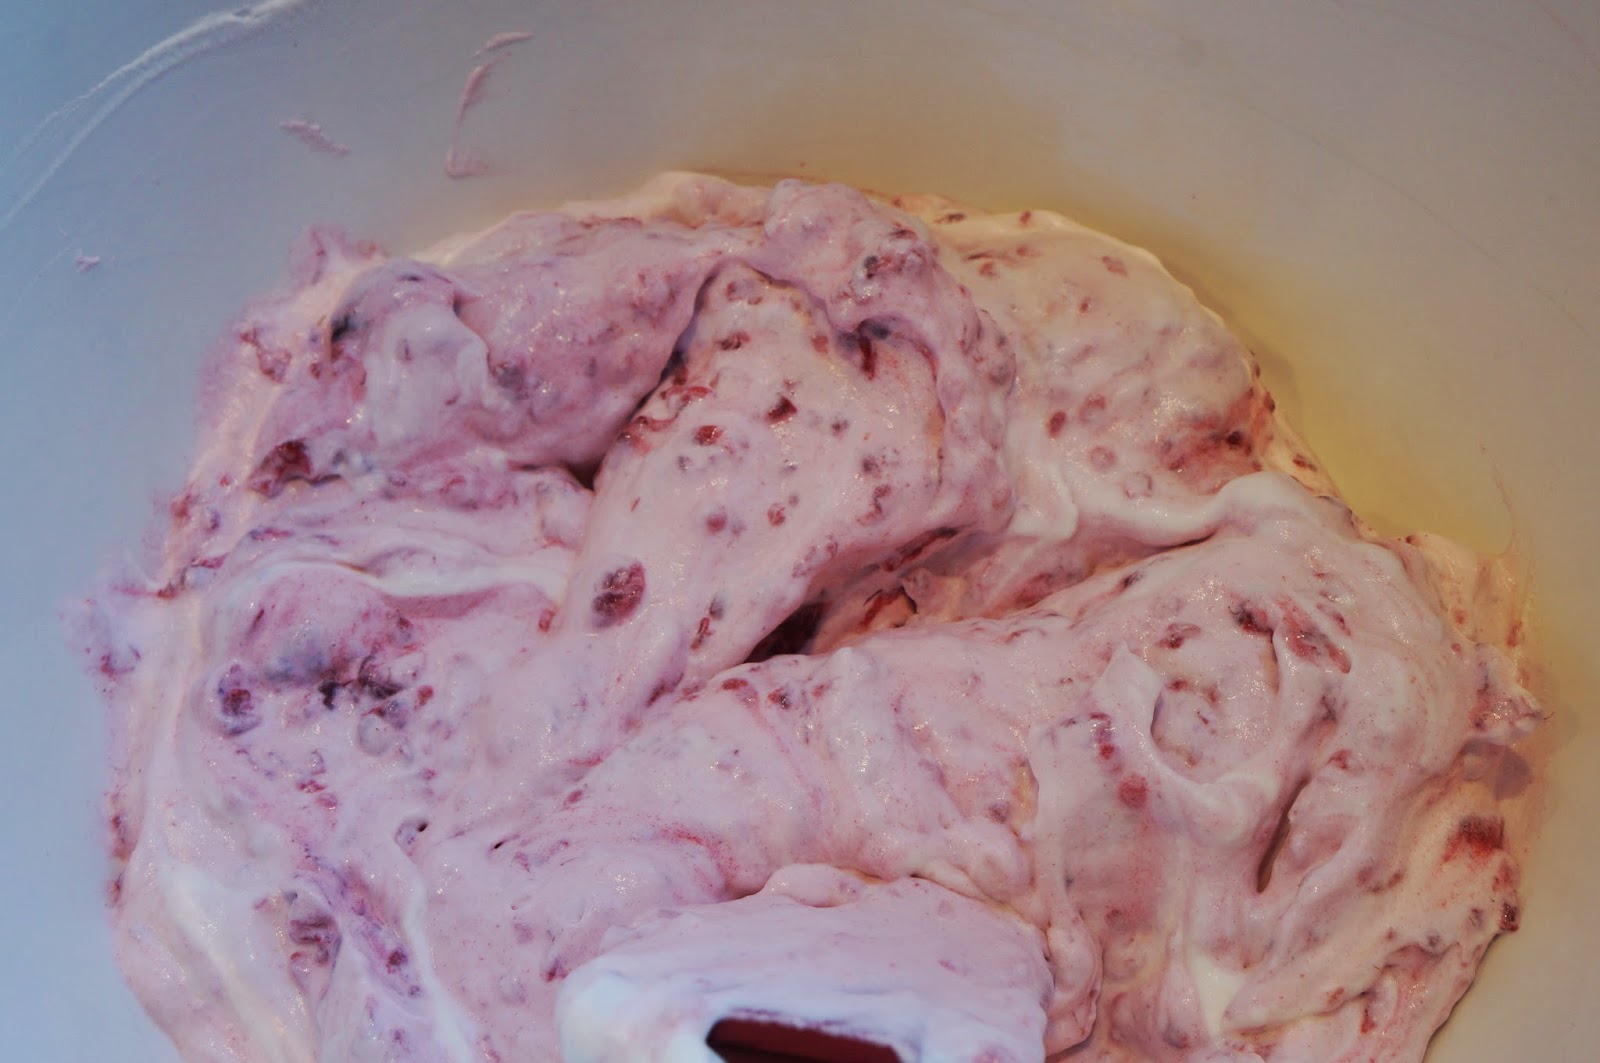


Return to the fridge until needed. 

If your serving this as a dessert, then place the fool either into a serving bowl, or into individual serving glasses.  


Plain Sweet Scones - makes about 12 scones or 24 halves

3 cups plain flour
6 teaspoons baking powder
3 generous tablespoons sugar
170g butter
2 eggs
enough milk to top the eggs up to 1 1/2 cups of liquid

Preheat the oven to 220deg. C and line a baking tray with baking paper.

Sift the flour and baking powder. Add the sugar.
Grate the cold butter into the flour, then rub in until the mixture resembles crumbs. 

I used a pastry cutter to speed things up. 


Measure the eggs and milk in a jug and beat until the eggs are well combined. 

Make a well in the centre of the dry ingredients and pour in the milk mixture. 

Stir using a table knife until the mixture is just combined. Don't worry if the mixture is a little damp, a wet scone is a happy scone. 


Turn out onto a floured surface - I always use baking paper for easy cleanup, and press together to form a rectangle. 

Cut into 12 equal sized squares and place onto the lined baking tray. 


Bake for about 15 minutes until well risen and lightly browned. 

They should sound hollow when tapped on the bottom. Set aside to cool. 


Once the scones are well cooled, cut them in half and spread with raspberry jam, top with a generous dollop of raspberry fool. 


Our little blossom, out of her farm clothes, and being the wool shed hostess.
Happy baking!

Wednesday, 1 January 2014

Raspberry, Walnut and Brown Sugar Shortcake

Despite the somewhat inclement weather, I have still managed to get out to the raspberry patch to pick us a bowlful. This is such a great time of year to be up at the farm. All the summer fruits are at their best, with raspberries, gooseberry, strawberries, black and red currents all hanging from the bushes. As children we did the rounds of eating the full selection available. But of all the fruits, raspberries still remains my favourite. 

Here is today's raspberry recipe offering. The recipe itself doesn't use a great deal of raspberries, so is perfect if you don't have your own ready (ie free) supply. This recipe will work equally well with any soft fruit. Just substitute what you have handy to create your own variation.

Raspberry, Walnut and Brown Sugar Shortcake 

120g butter
120g brown sugar
1 egg
1 1/2 cups plain flour
1 teaspoon baking powder
3/4 cup walnuts
3 teaspoons sugar 
1 1/2 to 2 cups raspberries - you could easily use frozen if fresh is not available

First make the pastry: Cream the butter and sugar until pale and fluffy. Add the egg and beat again until well combined. 
Sift the flour and baking powder together and chop the walnuts. 

Fold the flour and baking powder into the butter mixture, followed by the walnuts. 


Wrap the pastry in plastic wrap and chill for about half an hour.


To make the shortcake:

Preheat the oven to 180deg. C

Divide the pastry into two halves. Roll out the first half between either plastic wrap or baking paper. Transfer the pastry to a lined baking tray; do this by either removing the top layer of plastic wrap and flipping it onto the lined tray, or by simply using the baking paper it was rolled out on.


Evenly scatter the raspberries onto the rolled out pastry. 

Sprinkle the fruit with the white sugar. 


Now roll out the second piece of pastry. 

Be sure to flour the wrap first as you want the pastry to be easily removed. 

Cut the pastry into fat strips. 


Place these one at a time onto the shortcake in a lattice pattern. 

Don't worry if the top is a little bumpy. It is a rustic style bake.


Finish off by folding the very edges of the pie inward to form a little lip. 


Bake for approximately 20 minutes until the shortcake is golden brown and the base is cooked. 


Sprinkle with icing sugar and serve with whipped cream. 

This shortcake was very well received by the family. It is a cheerful summer dessert that's not too sweet for even the non pudding eater. If you don't have walnuts, then hazel, brazil or even unsalted peanuts could be substituted. The recipe will work just as well without the nuts. Just add a teaspoon of cinnamon instead to add a little variation to the mix.

Hope you're all having a great holiday!  

Monday, 18 November 2013

Raspberry Summer Fruit Pavlova

This is a variation on that great New Zealand dessert standby, the pavlova. I love pavlova: so simple, so delicious, and excellent for feeding to gluten free guests, just make sure you use actual corn-flour, not wheaten cornflour. Anyway, inspired by some layered versions I have seen lately, I decided to add some freeze dried raspberry powder into the mix and layer it up with some seasonal strawberries. Baked in a little over 1 and a half hours, it made for a great dinner party dessert. If your a Christchurch resident, you will find the raspberry powder at Rayward Fresh in Harewood.


Raspberry Summer Fruit Pavlova

It all starts with a standard pavlova mix.

6 egg whites
1 1/2 cups caster sugar
1 1/2 tablespoons cornflour
2 - 3 tablespoons freeze dried raspberry powder

250ml cream
2 tablespoons icing sugar
2 punnets of strawberries

Preheat the oven to 125deg. C and line a baking sheet with non-stick paper.

Using an electric mixer beat the egg whites until soft peaks form. Ensure the bowl and whisk attachment are spotlessly clean. Any grease will stop the egg whites from foaming up.

Combine the caster sugar and cornflour.
Add tablespoon lots of the sugar mix into the egg whites and beat well after each addition. The mixture should be smooth, glossy and thick enough to keep its shape when stirred.

Take the bowl from the mixer and fold the raspberry powder through the meringue.

Place equal amounts of meringue into two round shapes of equal size. I left the top one looking rustic and lumpy looking.

Bake at 125deg. C for 20 minutes. Then turn the temperature down to 100deg. C for the remainder of the cooking time.


Leave to cool on the tray for about half an hour before transferring the bottom layer onto a serving platter. Do this by cutting the paper in half so you can lift the first pavlova up supported by one land underneath. Place your other hand, fingers spread, on top of the pavlova. Quickly invert the pavlova, then peel the paper from the bottom. Place the first hand onto the base and invert again. Gently place on the serving tray. If this all sounds too freaky, then you can just put the pavlova, paper and all - trimmed around - onto the serving plate. 

Whip the cream and icing sugar until stiff. Remove the leaves and stalks from the strawberries and chop into quarters depending on their size.

Fold 2/3rds of the strawberries through 2/3rds of the cream and spread onto the pavlova base. Place the top half of the pavlova on top and spread with the remaining cream .

Pile the remaining strawberries on top and your done! A simple, cheap and easy dessert that everyone will love.

Thursday, 31 October 2013

Raspberry Sago - How to make expensive, out of season fruit go further

A little while ago while I was catching up with an old friend and her beautiful one year old, she mentioned how much her daughter loves tamarillos, and how hideously expensive they were at that time. She wanted some suggestions for making these lovely fruit go a little further. It was well late in the season, so by the time I formulated a plan I actually couldn't find any at the fruit store. So in their absence I used frozen raspberries to cook up this beaut little recipe. 

The sago makes the fruit go miles further and retains all the characteristics of the fruit with minimal added sugar, and it's gluten and dairy and egg free. Years ago I used to make rhubarb sago; at this time of year it is plentiful and is a great breakfast addition on your cereal. Sago requires quite a lot of slow cooking, but is not labour intensive and can be left to its own devises in the oven. Once cold it will happily keep in a covered dish in the fridge for 2 to 3 days.

Raspberry (or any other fruit) Sago 

4 generous tablespoons sago
2 tablespoons sugar
1 1/2 cups water
2 cups frozen raspberries (if your using another fruit, just chop it into small pieces and add to the mixture raw)

Preheat the oven to 150deg. C.

In a medium sized oven dish with a lid combine the sago, sugar and water.

Now stir in the fruit, trying not to break it up too much at this stage.

Put the lid on and bake for 2 hours. Stir it once in the first hour.


Take from the oven, stir and allow to stand for 10 minutes before serving.

We had ours for pudding with some mini pancakes.
Little Miss 4 took the left overs to Preschool for lunch; she loved it and declared it to be 'like jelly but not cold'.

Happy cooking! xx Prudence

Saturday, 31 August 2013

Raspberry Macaroon Recipe mmmmmm.....

This was last weekend's mother and daughter bake in our house. Little Miss 4 had been perusing cook books and plotting her next tea party play date when she came across a recipe for Vanilla Macaroons. Anyone with a little girl will tell you that there is usually only one colour request - and that's "...pink, pink and pink please Mummy". Not content with just plain pink food colouring, we set about creating these raspberry marvels.

Raspberry Macaroons with Butter cream Filling

75g ground almonds
115g icing sugar
2 large egg whites
50g caster sugar
1 tablespoon chambord - raspberry liquor
as many drops of red food colour as you need to get a strong pink colour

Filling
60g softened butter
120g icing sugar
1 tablespoon chambord liquor
pink colouring
2 teaspoons freeze dried raspberry powder

Sift the ground almonds and icing sugar together. You will have to use a spoon to push the almond meal through the sieve.


Place the egg whites in a immaculately clean bowl and whisk until soft peaks form. Add the caster sugar a few tablespoons at a time: whisking well between each addition until a glossy meringue is formed.


Using a spatula fold the almond mixture into the meringue one third at a time.


Now fold in the liquor and colouring. The mixture should have deflated into a shiny batter that drops from the spoon.

Pour the mixture into a piping bag with a plain nozzle.


Pipe the macaroons into evenly sized rounds. Bang the tray onto the bench to remove any large air bubbles.

Set the oven to 160deg. C, then leave the macaroons out on the bench to dry for 40 minutes.


Bake for approximately 15 minutes. Cool for a while before carefully removing from the paper.


Leave to cool completely before filling with the butter cream filling.


While the macaroons are cooking and cooling, make the Raspberry Butter cream Filling by beating all the ingredients until a pale fluffy filling is formed.


Match the macaroons into pairs. Then place a generous teaspoonful of butter cream onto the middle of one of each of the pairs and squeeze together.


These are a great addition to a party spread. They are surprisingly easy to make - which sure beats paying $2 each at the bakery.

So whip some up and invite your friends around. Do it quick, before the family eat them up!

Monday, 31 December 2012

Foragers Fruit Pie with Sweet Walnut Pastry

Most people associate a holiday with not having to do terribly much in the kitchen. But I aways find that one of the greatest joys of the holiday season is having the time to enjoy doing some cooking without all the usual working week pressures. Today's offering came about after a few afternoon hours spent foraging in my mother's garden. I found some of the best of summer's bounty: raspberries, black currants, gooseberries and red currants all fell into my bowl. I've made this particular pie before and it adapts to whatever fruit is available at the time of year.
Foragers Fruit Pie with Sweet Walnut Pastry

Pastry:
4 oz butter
4 oz caster sugar
1 egg
1 1/2 cups plain flour
1 teaspoon baking powder
3/4 cup chopped walnuts

Cream the butter and sugar until pale and creamy. Beat in the egg. Fold in the sifted flour and baking powder, along with the chopped walnuts. Wrap in food wrap and chill in the fridge while preparing the filling.

Fruit Filling:
5 cups of prepared fruit: I used a mix of raspberries, red and black currents and gooseberries.
3 heaped tablespoons cornflour
4 heaped tablespoons caster sugar

Prepare the fruit by stripping the red and black currents from their stalks. Don't worry about the little tuft on the bottoms of the blackcurrants; they wont be noticed once its cooked. Cut the gooseberries in half.
Reserve some raspberries to sprinkle onto the top of the pie as the ones that are incorporated into the fruit mix will break up. Gently fold the sugar and cornflour into the fruit.


Construction:
On a large chopping board, roll the pastry into a large circle between two sheets of plastic food wrap. It's a very delicate pastry and will break up easily.


The trick is to peel the top sheet of wrap away and place the upside down baking tray over the top - flip the whole lot, board and all, over and remove the second sheet of plastic wrap so the pastry is sitting on the baking sheet. Pile the fruit mixture onto the pastry, leaving a gap around the outside. Sprinkle the extra raspberries on top. Gently flip the extra pastry from around the outside over the edges of the pie.


If any leaks develop, putty them shut with a little extra pastry. Bake at 180 deg. C. until the filling had thickened and the pastry is golden brown. With quite a wet filling its important to ensure the pie is baked enough for the bottom to be sufficiently cooked.


Leave it to sit and cool before attempting to cut. It's best served either warm or at room temperature. Because its so large and delicate, its best served as is on the baking tray. You can make two smaller pies instead of one enormous one.

Sprinkle with icing sugar, pour some cream into a jug and call the family. Nothing could be better on a bright sunny summer's evening.