Friday, 9 January 2015

Scones with Raspberry Fool Topping

With another mob of sheep and lambs to crutch, it was my turn on the morning smoko again today. We an oversupply of raspberries in the garden I decided to top my plain sweet scones with this delicious raspberry fool. It is super simple to make and takes no time at all. As well as the scones I made BLT sliders using homemade rolls. 


Raspberry Fool

This recipe makes enough to top the below scone recipe, or serve about 4 people for pudding. You can easily double the recipe.

1 cup of cream
1 heaped tablespoon of icing sugar
1 1/2 cups fresh raspberries

In a medium sized bowl, add the icing sugar to the well chilled cream and beat until thick. 

In a separate bowl, mash the raspberries until mostly squished. Add the whipped cream to the fruit and gently fold together. 
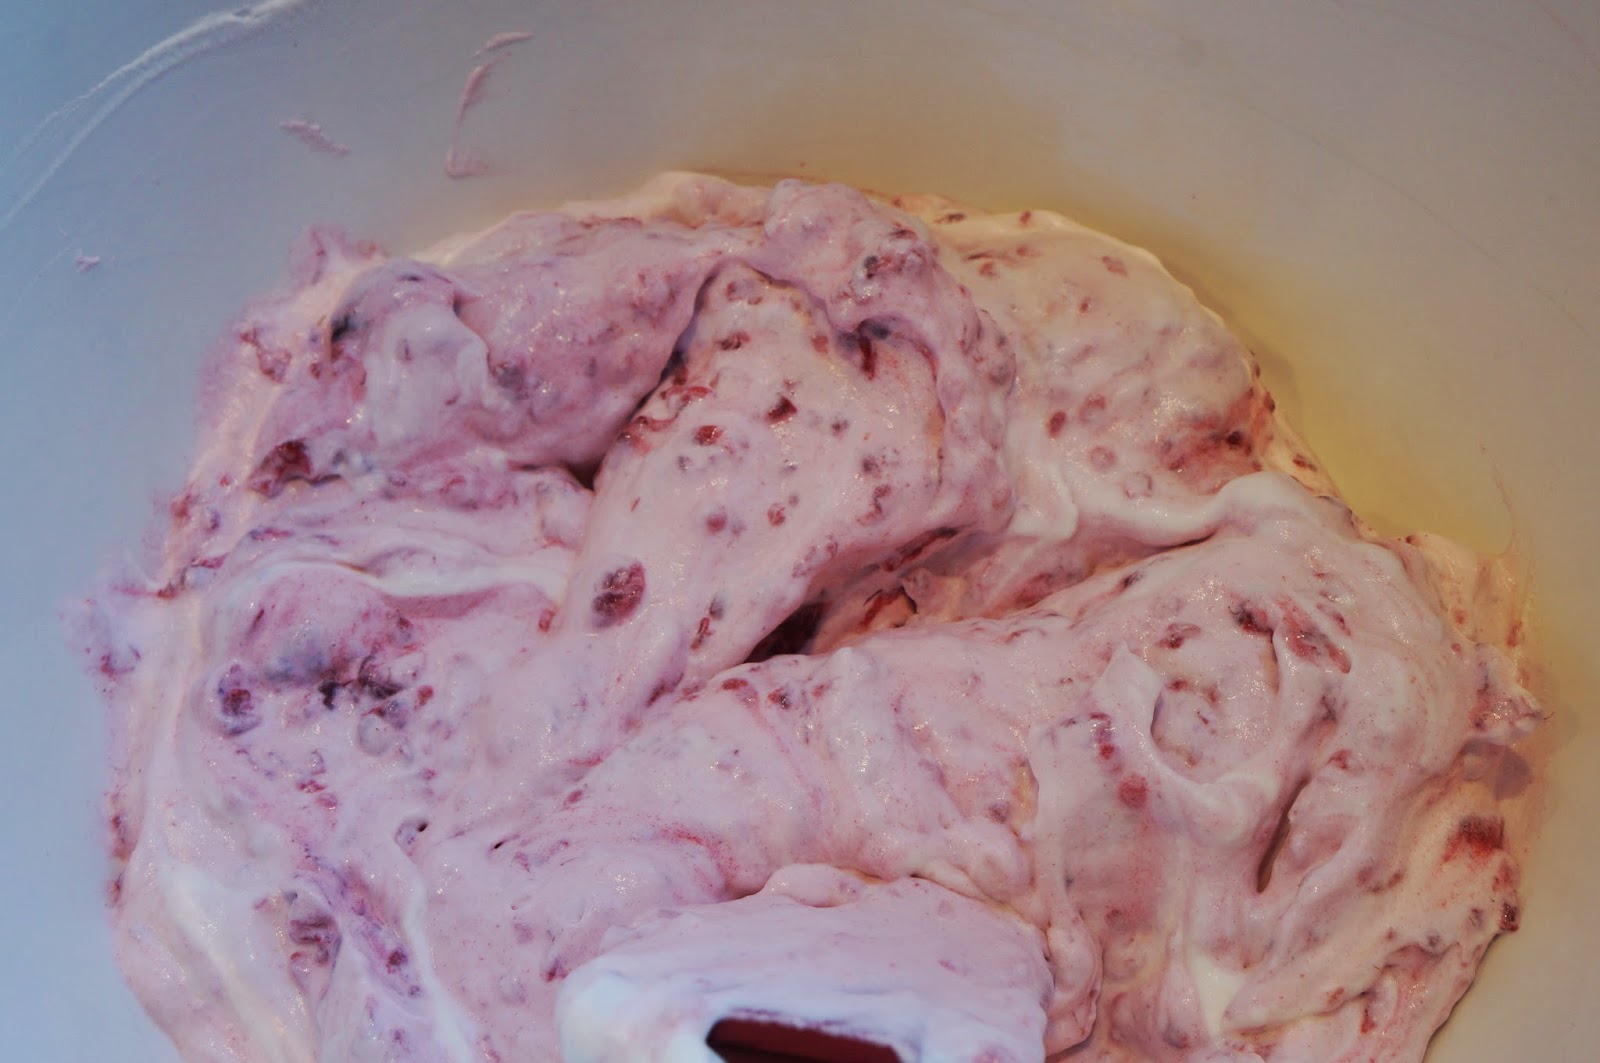


Return to the fridge until needed. 

If your serving this as a dessert, then place the fool either into a serving bowl, or into individual serving glasses.  


Plain Sweet Scones - makes about 12 scones or 24 halves

3 cups plain flour
6 teaspoons baking powder
3 generous tablespoons sugar
170g butter
2 eggs
enough milk to top the eggs up to 1 1/2 cups of liquid

Preheat the oven to 220deg. C and line a baking tray with baking paper.

Sift the flour and baking powder. Add the sugar.
Grate the cold butter into the flour, then rub in until the mixture resembles crumbs. 

I used a pastry cutter to speed things up. 


Measure the eggs and milk in a jug and beat until the eggs are well combined. 

Make a well in the centre of the dry ingredients and pour in the milk mixture. 

Stir using a table knife until the mixture is just combined. Don't worry if the mixture is a little damp, a wet scone is a happy scone. 


Turn out onto a floured surface - I always use baking paper for easy cleanup, and press together to form a rectangle. 

Cut into 12 equal sized squares and place onto the lined baking tray. 


Bake for about 15 minutes until well risen and lightly browned. 

They should sound hollow when tapped on the bottom. Set aside to cool. 


Once the scones are well cooled, cut them in half and spread with raspberry jam, top with a generous dollop of raspberry fool. 


Our little blossom, out of her farm clothes, and being the wool shed hostess.
Happy baking!

Tuesday, 6 January 2015

Mummy I want a 'Poofy' Princess dress

There is nothing like a fetching episode of Sophia the First to influence a five-year-old's clothing selection. Our little Miss has slowly become obsessed with acquiring a princess dress of her own. So when I spotted these fabrics on the sale table at Fabric Vision, there was no getting away from making her a big frothy dress. 

I found this pattern in my mothers vintage stash. I few minor adjustments was all that was needed. These vintage patterns always have a higher level of tailoring and attention to detail than their contemporaries. 

The fabrics I chose were a fine textured, stretchy and soft new with a stitched on ruffle detail, and a cotton knit in a corresponding colour. 

These are the pattern pieces as detailed on the back of the pattern envelope. I used the View 3 pieces and just swapped the seam allowance to the back of the bodice to allow for an invisible zip, increased the width of the front and back skirt pieces by about 20cm per piece to make for lots of gathers, and lengthened the skirt by about 10cm. I constructed as much of it as I could with the overlocker; this allowed for the stretch in both the fabrics. 

One happy little girl. It took huge amounts of little girl patience to wait for the dress to be finished.               Happy sewing! 

Monday, 5 January 2015

Banana Cake for Morning Smoko

Providing a tasty selection of eats to employees and visitors has long been a source of pride for any typical farming household. My Grandmother was a great home cook, and my mother has always continued this tradition in the way she caters for all who visit the farm. My Grandfather often joked that 'the more you eat the better you're paid', and I know there have been many, many hundreds of contractors, shearers, shepherds, family, friends and neighbours who have appreciated the time and effort these super women have put into feeding them.

With Mum busy in the yards it was my turn to make the morning smoko for Kevin the mobile crutching (for the non-farmers out there, that's trimming the wool from around the sheep's bottom) contractor and all the family working in the yards to keep the sheep moving.  To go with the cake I made Garden Brushetta with sourdough, and traditional Cheese Scones. I got the Banana Cake recipe from the ever reliable Edmond's Cookbook.

Banana Cake

125g butter
3/4 cup sugar
2 eggs
2 to 3 very ripe bananas
2 tablespoons hot milk
1 teaspoon baking soda
2 cups plain flour
1 teaspoon baking powder

Preheat the oven to 180deg. C. and line a 20- 22cm baking tin with baking paper. 

Cream the butter and sugar until pale and fluffy. 

Beat the eggs in one at a time until well combined. 

Mash the bananas, and using a spatula or wooden spoon stir them into the butter mix. 


Dissolve the baking soda in the hot milk and stir into the mixture. 

Lastly, fold the sifted flour and baking powder into the mixture. 


Place the mixture into the baking tin and smooth over the top. 

Bake for 30 to 35 minutes until a skewer inserted into the middle of the cake comes out clean. 


Allow to cool in the tin for about 15 minutes before transferring to a baking rack. Allow to cool completely before attempting to remove the baking paper as the cake is quite delicate, but also really delicious, when warm.


For a simple and quick Lemon Icing, melt 2 tablespoons of butter with 2 to 3 tablespoons of water. Add as much icing sugar as is required to make a smooth spreadable icing. Spread over the cake once it is cool. 

Little Miss had a great time helping chase the sheep up in the yards. 


Sunday, 4 January 2015

Brushetta with Garden Salsa and Green Dressing

One of the great joys of this time of year is the abundance of ingredients in my Mother's garden. We love staying on the farm at this time of year. The weather is hot, there's plenty of animals to feed and jobs to keep our Little Miss busy and away from the TV, and plenty of spare time to cook meals from the season's bounty. 

Brushetta with Garden Salsa and Green Dressing

a baguette - day old is fine as it will be toasted
drizzle of olive oil
salt and pepper

a couple of red or green peppers
2 or 3 tomatoes
2 avocados
a cup of shelled and cooked broad beans
a handful of chives
a few slices of salami - cut into small cubes - optional
salt and pepper to season

Cut the baguette on the diagonal to form neat slices. Place these on an oven tray, drizzle with the olive oil and season with salt and pepper. Bake for about 5 minutes in a 200deg. C oven. Once crispy remove from the oven and set aside to cool. 

For the salsa: Cut the peppers, tomatoes and avocados into small dice and place in a bowl. Add the beans. 
Leave them whole if they are small, or cut them roughly if they are large. Add the finely diced salami if you are using it. Finely slice the chives and add to the mix. 


Add enough of the green dressing to bind the vegetables and stir to combine. Add salt and pepper to taste. Place the salsa onto the toasted baguette pieces and serve immediately. 


Green dressing

a good handful of parsley and mint from the garden, enough to fill a small glass jar.
malt vinegar
rice bran oil
1 teaspoon French mustard
1 teaspoon salt
1/2 teaspoon ground black pepper
2 teaspoons sugar
2 teaspoons chilli sauce

Wash and dry the herbs. Cut away the stalks. Put the herb leaves into a small jar. Before you go any further, make sure the head of the stick blender will fit into your jar. 

Pour enough malt vinegar into the jar to come 1cm up the side of the jar. 
Pour in the oil until it comes a further 3 cm up the jar. Thus giving you the 1:4 acid to oil ratio. 
Add the other ingredients to the jar. 


Use the stick blender to blitz the dressing until all the herbs are thoroughly cut up and the dressing has emulsified. Taste and adjust the season if required. 


After the excesses of the Christmas table, we've been making some lighter summer meals. This one is so simple and can be made from whatever ingredients you have on hand. The cheerful summer green dressing is super multi-purpose, and great served over any vegetable you happen to have handy.    Happy cooking! xx

Tuesday, 30 December 2014

More Pudding - Citrus Cheesecake Recipe

Are you ready for another stunning dessert recipe? Here is the Citrus Cheesecake I made for Christmas lunch. It takes a little more effort to make, but is definitely worth persevering. Its light airy texture and citrus tang make it a favourite in our house.

Citrus Cheesecake

Base
125g (1/2 packet) gingernut biscuits - or any similar biscuit
60g butter

Filling
250g cream cheese
60g caster sugar
2 lemons - zest and juice
2 oranges - zest and juice
80g packet of lemon jelly
100ml boiling water
180ml  cream

To make the base: crush the biscuits, either in the food processor (quick) or by hand with a thick plastic bag and a rolling pin (slow, but equally effective). Add the melted butter and blend well. Press into a loose bottomed baking tin that has had the sides lined with baking paper. Refrigerate to set while you make the base.

To make the filling: zest and juice the oranges and lemons. Place the whole lot into a heat proof jug. Add the jelly crystals and boiling water and stir until the jelly is dissolved. 

Place into the fridge to cool, but do not allow to set hard. 


Beat the cream cheese and caster sugar until pale and creamy. 


Once the jelly mixture is cold and beginning to set, fold it into the cream cheese mix. 


Beat the cream until thick, then fold it in. 


Pour over the base and refrigerate for at least 4 hours before releasing from the tin and transferring to a serving platter. 


I've made this recipe for many years now. It's a lovely summer dessert, and especially good if you require a lightly textured end to any meal. We served it with some lightly whipped cream and raspberries.

Thursday, 25 December 2014

Happy Holidays Everyone - Christmas Dessert Selection

 Merry Christmas and Happy Holidays to you all! 

Here is the dessert selection from our extended family lunch. Chocolate Mousse, Pavlova decorated by Little Miss, Steamed Christmas Pudding, Citrus cheesecake, Strawberry Cheesecake made by my sister-in-law, the cream and brandy and ginger biscuit creation referred to in our family as Grog log, and fresh raspberries picked by us yesterday. And we were all happiness filled.... 

Hope you have all had a lovely, happy family day.

Chocolate Mousse with Orange Chia Recipe

Just in case, by this stage in the Christmas season, you haven't had enough pudding yet, here is an oldie but goody mouse recipe with a modern orange chia twist. You can add whatever fruit juice you might like to the chia. I chose the orange because it goes so well with the chocolate.

Chocolate Mousse

250ml whole milk
300g good quality 70% cocoa chocolate - I used Whittaker's
4 eggs
50g caster sugar
8g gelatine
2 tablespoons Tia Maria liqueur
400ml cream

Separate the eggs and set the whites aside. 

Hydrate the gelatine with a few tablespoons of cold water and set aside to swell. 

Beat the yolks together with the caster sugar until the mixture is pale, light and fluffy. 

At the same time heat the milk in a heavy based saucepan until it reaches boiling point. 


Pour the milk into the yolks and whisk until combined. It is particularly important to add the milk to the yolks: done the other way around the eggs will cook and scramble. 

Clean the bottom of the pot and transfer the eggs and milk back into the pot. 


Using a spatula gently heat the mixture, stirring it constantly until it starts to thicken. 

If you think its getting too hot too quickly take it from the heat for a minute or two and continue to stir. Don't allow the mixture to boil or the custard will curdle. 

Once the custard coats the back of the spoon remove it from the heat and set aside. 

Heat the gelatine and water in the microwave in short bursts until it is melted. Stir it into the custard. 


Melt the chocolate. I usually do this in a Pyrex bowl in the microwave: put it on for 30 seconds, then stir and repeat once. Now stir until the last of the chocolate lumps have melted. Don't overheat or the chocolate will be ruined and don't have the chocolate too hot or it will spoil the custard.

Stir the melted chocolate and the Tia Maria into the custard and set aside to cool. 
The mixture needs to cool until it is at room temperature. 

Beat the eggs whites until soft peaks form and transfer them to another bowl. 

The whites must be beaten in a spotlessly clean bowl or they will not reach their full volume. That's why I beat then first: otherwise I would need to thoroughly clean the bowl after beating the cream.


Now beat the cream to soft peaks and fold in the chocolate mixture.


Now fold the egg whites into the chocolate mixture a third at a time. They need to be thoroughly mixed without losing too much of the air the egg whites bring to the mixture.  

Once mixed, spoon the mousse into individual glasses. Don't fill them right up as the mousse is very rich. I made 8 glasses with a little left over.


Orange Chia Topping:

6 tablespoons black chia seeds
juice of 3 large oranges
1 to 2 extra oranges for segmenting

Squeeze the juice from the 3 oranges into a bowl. Add the chia seeds and stir in. Cover the bowl with cling film and refrigerate for at least 4 hours. Slice the skin and pith from the extra oranges and cut out the segments. Set aside to garnish the individual cups.

Just prior to serving, spoon a couple of tablespoons of chia seeds onto each mousse. Top with a couple of orange segments, and your all done!