Showing posts with label lunch box baking. Show all posts

Wednesday, 21 January 2015

Anzac Inspired Slice Recipe

I made this slice for our neighbour as a thank you for kindly lending us his trailer after our big garden tidy-up session. Given he and his house mates are all hungry young tradies, I thought a hearty mixture of tradition and healthy oats and nuts would be an appropriate combination. So I adapted a traditional Anzac biscuit recipe to enhanced its nutritional value by substituting oil for butter and adding extra oats, along with walnuts and pumpkin seeds.

Anzac Slice

1 cup rolled oats
1/2 cup plain flour
3/4 cup brown sugar
1 cup walnuts
1 cup pumpkin seeds
1/3 cup oil
1 tablespoon golden syrup
2 tablespoons boiling water
1/2 teaspoon baking soda

Preheat the oven to 160deg. C and line a 30 x 20cm or equivalent slice tin.

Use a rolling tin to roll over and break the walnuts into small pieces.

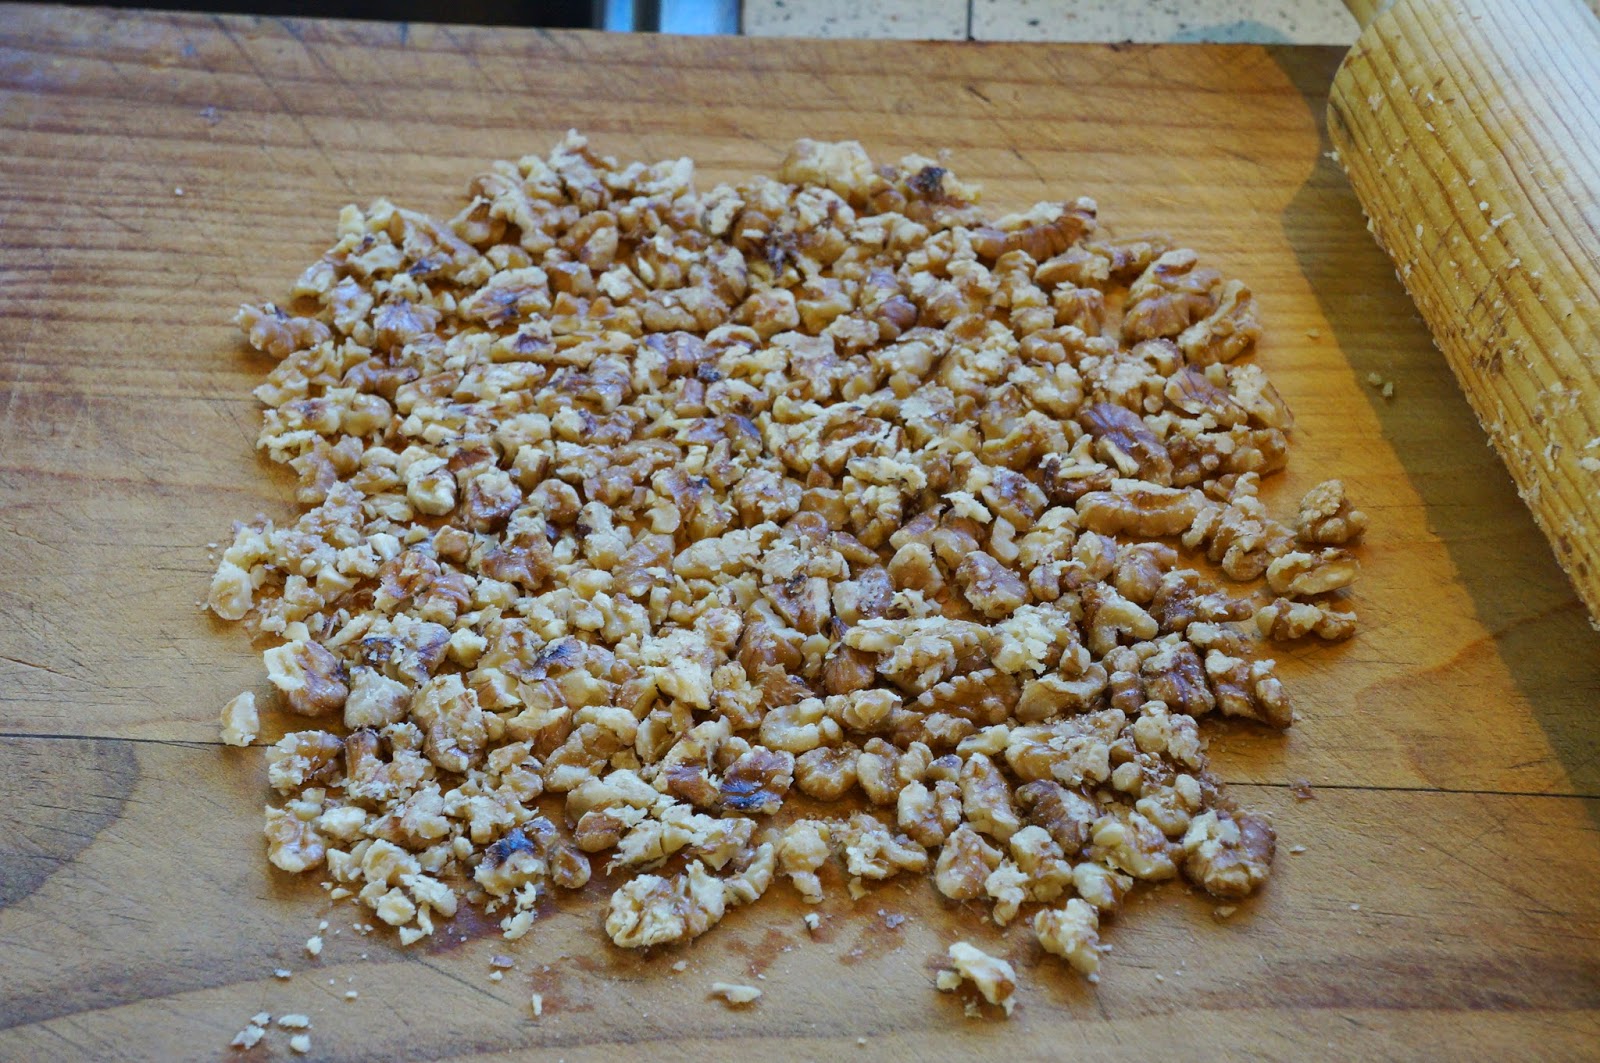
This is a more efficient way then slicing, and just as effective.


In a large bowl mix the rolled oats, flour, brown sugar, walnuts and pumpkin seeds.


In a measuring jug mix the oil and golden syrup. Microwave for 20 seconds to warm.

Mix the boiling water and baking soda together in a separate bowl. Add the soda and water to the oil mixture and stir to combine. It will start to froth.

Mix the liquid ingredients into the dry ingredients and stir to combine.


Spread the mixture into the slice tin and smooth over the top.


Bake for 20 to 25 minutes until golden and risen.

Leave in the tin to cool and harden for 15 minutes before using a serrated knife to slice into squares. This is best done when the slice is still warm.


Now that the school term is about to start, this slice also makes a great lunchbox filler.

Thursday, 13 June 2013

My Mother's Recipe for Date Chocolate Slice

This is my mother's recipe for Date Chocolate slice. It's actually the first time I have ever made it because we usually eat it when we visit our family on the farm. A market goer that Mum knows liked it so much he requested the recipe. 

One of the great advantages of blogging recipes is their availability - they are always there to be looked up whenever and wherever required, and sharing them with friends is as easy as giving out a web address or looking up a facebook page. 

I am not sure of the origin of the recipe, as Mum has been making it for years.


Little Miss 4 helped me with baking the square. The picture doesn't do justice to the actual amount of flour spread around the kitchen! 

Date Chocolate Square

Filling:
3/4 cup dates
1/2 cup water
1 tablespoon cocoa
1 tablespoon butter

Put into a pot and cook until thick. Stir occasionally so the dates break up and a thick paste is formed.


Cake:
4 oz butter
4 oz caster sugar
1 egg
1 1/2 cups flour
2 tablespoons custard powder
1 teaspoon baking powder
pinch salt
1 teaspoon vanilla essence

Preheat the oven to 175deg. C


Cream the butter and sugar. Add the egg and beat until light and fluffy.
Sift the dry ingredients together and fold them into the butter and sugar mixture.


Roll the mixture out between two pieces of baking paper - it is too delicate to roll directly onto the bench and the baking paper makes it easier to get onto the baking tray.


Spread the date mixture onto half of the rolled cake mixture and fold the remaining half over by lifting the paper to enclose the filling.


Bake for 20 to 25 minutes until the top starts to turn a golden colour.


Ice with the following once cold:

1 tablespoon butter melted
the juice of a lemon
approximately 1 to 1 1/2 cups icing sugar
Blend the icing together. Add a little water if it is too dry.


Slice the square up as required to prevent the cake from drying out before it is served.

Happy caking!