Tuesday, 9 July 2013

Egg Free Chocolate Cake

While chatting with one of our Saturday swimming buddies the other day, she mentioned that her daughter, who was going home to do some baking, was allergic to eggs. This just happened to coincide with one of my students giving me a recipe for Vegan Chocolate Cake. I tried the recipe out on the lovely ladies of my Faculty. Without any milk, the cake lacked a little flavour compared with a conventional cake; undeterred, I tried it out again today - different colleagues this time - using milk instead of water. Still egg free, but no longer vegan, the flavour was better.

This is quite a heavy textured cake, best served with cream or yoghurt. I was running short of time prior to our meeting, so I just through the icing on the still warm cake.
If you are catering for vegans, just use water instead of milk and serve with a fruit puree: raspberry would be ideal. With so few ingredients, this cake is super quick to mix.

Egg Free Chocolate Cake

3 cups flour
1 cup brown sugar
2/3 cup cocoa
2 teaspoons cinnamon
2 teaspoons baking soda
1 teaspoon salt
2 teaspoons vanilla essence
2 tablespoons cider vinegar
2 cups milk
1 cup vegetable oil

Preheat the oven to 180deg. C. Line a 20 x 30cm cake time with baking paper.

Mix all the dry ingredients together in a large bowl. Make a well in the centre.


Mix the oil, vanilla and vinegar together.


Pour the oil mixture and milk into the dry ingredients and gently blend using a whisk to slowly incorporate the dry ingredients.


Place in the lined baking tin.


Bake for 25 to 30 minutes until risen and a toothpick inserted in the cake comes out clean.

Leave to cool in the tin for at least 10 minutes before turning out to finish cooling.


Once cold ice with chocolate icing.

I mixed 1 1/2 cup icing sugar with 1/2 cup cocoa, the juice of a lemon and about two tablespoons of water. 


No time to put it on a proper plate.
I whipped off to my meeting, cake and knife in one hand, icing in the other.

With the cake still warm the icing melted a bit. Oh well, never mind!

My afternoon Year 10 class enjoyed the leftovers. Another busy day done.
  

Wednesday, 3 July 2013

A Tasty Little Gift - Nainoma Slice

As some of you may know, I have been going to a jewellery making class at The Silversmith's Guild. They are now based in the Tannery, having been quaked out of the Arts Centre. I've really enjoyed learning the basics of a new craft, and being in the position of student instead of teacher has been an important reminder about the students' experience in the classroom.

Yesterday was our last class of the term; so to show my appreciation I whipped up this tasty treat as a small gift for my tutors. Having a stash of cellophane bags at home is super useful for transforming home baking into a cute gift.

I finally found this recipe in Alexa Johnston's great book Ladies, a Plate. It is full of great traditional baking recipes that are sure to please everyone. I had come across this slice years ago in a cafe and I've been looking for the recipe ever since. It's really very rich, and as such is best served in small pieces.

Nainoma Slice

Base
115g butter
1/4 cup sugar
3 tablespoons cocoa
1 egg
1 teaspoon vanilla essence
200g biscuit crumbs (that's 5 wine biscuits short of a packet) - crushed
1 cup coconut - I used long thread

Filling
55g butter
2 cups icing sugar
2 tablespoons custard powder
2 tablespoons hot water

Topping
125g dark chocolate - I used Whittaker's
1 tablespoon plain vegetable oil

Line a standard 20 x 30cm baking tin with baking paper. Make it a large tin if you want a thin slice, or a smaller tin for thick slice.

Melt the butter, sugar and cocoa over a low heat, stirring.
Remove from the heat and add the beaten egg. Blend until smooth and shiny.


Add the vanilla essence, biscuit crumbs and coconut and mix well.


Press into the lined baking tin and refrigerate while you make the filling.


For the filling: Cream the softened butter, icing sugar and custard powder with the hot water. Spread it over the chilled base and refrigerate again.


For the topping: melt the chocolate and oil together.

You can melt the chocolate in a bowl over hot water, or very carefully in the microwave - 30 second bursts only and only until half the chocolate is melted. Melt the remainder by using the residual heat and stirring until smooth.


Let the chocolate cool before spreading it over the filling. Too hot and it will melt the filling. Set aside to cool and store in an air tight container in the fridge.


Cut into small squares and watch it quickly disappear out of the fridge.

It could also be easily converted to gluten free by using gluten free biscuits instead of Wine biscuits.


Monday, 1 July 2013

Coconut Meringues

I know I have been slightly scathing about resorting to serving Gluten Free people meringues, but on a whim last week I made these with one of my classes: and they are absolutely delicious!

With very few ingredients, and little mixing time, they will be enjoyed by all. They also store really well in an air tight container. The secret is getting really fresh thread coconut. The ordinary dessicated stuff is much too finer texture to get the best coconut flavour.

Coconut Meringues
2 egg whites
a pinch of salt
1/2 cup caster sugar
1 teaspoon cornflour
1 teaspoon vanilla extract
1/4 cup long thread coconut

Preheat the oven to 150deg. C.


Beat the egg whites with a pinch of salt in an immaculately clean bowl - any grease will prevent the egg whites from fluffing up.


Once the whites reach the soft peak stage, combine the sugar and cornflour and add a tablespoon at a time to the whites. 

Beat well in between additions. The whites will become glossy. Once all the sugar mixture has been added, beat for another 10 minutes until the sugar is dissolved. 

The mixture should stand in stiff peaks.


Take from the beater and gently fold in the vanilla and thread coconut. 

Without delay, put dessertspoon lots onto a baking paper lined tray.


Bake for 10 minutes at 150deg. C, then reduce the oven to 100deg. C for 30 minutes. Then turn the oven off and leave the meringues in there until they and the oven have cooled.


This baking regime will give you a delicious chewy texture.

Serve them with cream and berries: or just simply gobble them as they are.

Especially while still wearing pyjamas.


Thursday, 27 June 2013

Apple tArt on A dAy

Fridays are Funky Phonome days at Little Miss 4's preschool. For tomorrow all the children have been instructed to bring something beginning with 'A' that they can tell a story about. As food is such an important feature of our family life, Amelia chose to bring an 'A' treat. Having made it together, she will have plenty to tell her little buddies at sharing time.

Apple Tart

Pastry
4oz butter
4oz caster sugar
1 egg
1 1/2 cups plain flour
1 teaspoon baking powder

Filling 
4 apples
juice of 1 lemon
3 tablespoons caster sugar
1 teaspoon cinnamon
3 tablespoons jam - I used gooseberry, but apricot would be just as good

Preheat the oven to 175deg. C.

Cream the butter and sugar until pale and fluffy. Add the egg and beat again. Fold in the sifted flour and baking powder.
Wrap the pastry and chill while you prepare the apples.


Peel, core and slice the apples.
The Man-of-the-House taught LM4 how to cut things up with a chef's knife.


Put the slices into a bowl of water and lemon juice so they don't brown during preparation time.


Take the pastry from the fridge and roll it onto a sheet of baking paper with plastic wrap on top of the pastry. This will stop it sticking to the bench and rolling pin.


Once rolled to the correct size, remove the plastic wrap and gently press the pastry and baking paper into the tin.


Once the pastry is rolled, dry the apples in a tea towel and combine with the extra caster sugar and cinnamon.


Arrange the apples into the pastry shell and bake for 25 to 30 minutes until the pastry and apples are golden brown.


Check the pastry is cooked in the centre as you don't want a soggy bottom.


Let the tart cool a little. Sieve the jam and liberally spread it over the tart top to give it a lovely glossy finish.


The best parts of all - sampling the mixture and licking the spoon.

LM4 just loves taking tasty treats to share with her buddies.


Sunday, 23 June 2013

Delicious Date and Apple Pudding with Toffee Sauce - Great for any night of the week!


What is it about winter's nights that leave us longing for warm comforting puddings? I've been looking for a good sticky date pudding for a while now, without much success. I adapted this one from a Countdown Food magazine recipe. The original recipe picture looked a little dry, so I adjusted some of the measurements and added some granny smith apples to make this little beauty.
The cake itself makes an excellent pudding served warm or a cake at any other time of the day. The caramel toffee sauce is really easy to make and could be used as an accompaniment for all sorts of pudding options.
Date and Apple Pudding with Toffee Sauce
200g dates - chopped
3/4 cup boiling water
1 teaspoon ground ginger
1 teaspoon baking soda
2 granny smith, or similar cooking apple
150g butter
150g brown sugar
3 eggs
250g flour
2 teaspoons baking powder
Toffee Sauce
50g butter
250g brown sugar
250ml cream
Preheat the oven to 175deg. C and line a large cake tin with baking paper.
In a small bowl combine the chopped dates, boiling water and ground ginger. Stir and set aside to cool and soften.

Cream the butter and sugar until light and fluffy. Add the eggs, at room temperature, one at a time and beat after each addition.
Peel, core and chop the apples. This step needs to be done quickly so the apples don't start to brown.
Stir the sifted flour and baking powder into the creamed butter and sugar. 

Then add the baking soda into the dates and fold into the batter with the chopped apple pieces.
Pour the batter into the cake pan.
Bake for 25 to 30 minutes until a skewer inserted into the centre of the cake comes out clean, the cake is golden in colour and springs back when pressed.
While the cake is baking make the Toffee sauce by combining the butter, brown sugar and cream in a medium saucepan. Stir until the butter and sugar are melted and simmer for about 5 minutes until the mixture thickens a little.
Allow the sauce to cool a little before serving as it will be molten hot. Pour the sauce into a jug or boat and let you friends or family serve themselves.
Let the cake cool for about 20 minutes before taking it from the tin as it will easily break while hot from the oven. 

Serve in squares with the toffee sauce, cream or ice cream.
This a quite a large cake so you might need to invite a crowd. Otherwise, the cake is equally delicious served cold in lunch boxes, or you can re-heat it in the microwave and have another round of pudding.
Happy baking! 

Saturday, 15 June 2013

Gluten Free Double Chocolate Chip Biscuits

 Whenever I make food for groups of people one of my first considerations is what interesting and different foods can I make for the gluten free people. I'm sure they must get sick of rice crackers and meringues all the time!

One of my classes is currently studying the requirements of a gluten free diet. Since the class doesn't usually get the opportunity to make sweet baked items, I thought they might enjoy these little gluten free treats. I adapted this recipe from an early gluten free cookbook. The original called for a mixture of rice, soy and cornflour; I have made it easier with a premixed baking flour from Bakels. These biscuits are super tasty; the GF flour makes the texture reminiscent of chocolate brownie. Made with easily sources ingredients, everyone will be scrambling for more.


Gluten Free Double Chocolate Chip Biscuits 

makes about 24 medium sized biscuits

125g butter
125 brown sugar
1 egg
1 teaspoon vanilla extract
200g Bakels Gluten free Health Flour
1/2 teaspoon baking soda
3 tablespoons cocoa powder
200g chocolate chips

Check the ingredient lists on the vanilla, cocoa and chocolate chips to ensure there is no hidden gluten fillers. Some thickeners can often contain glutenous ingredients.

Preheat the oven to 175deg. C and line a baking tray with baking paper.

Cream the butter and sugar until pale and fluffy. Add the egg and vanilla extract and beat well.


Sift the flour, baking soda and cocoa powder together. 

The gluten free flour mix seems to take longer to sift and it tends to stick together. 

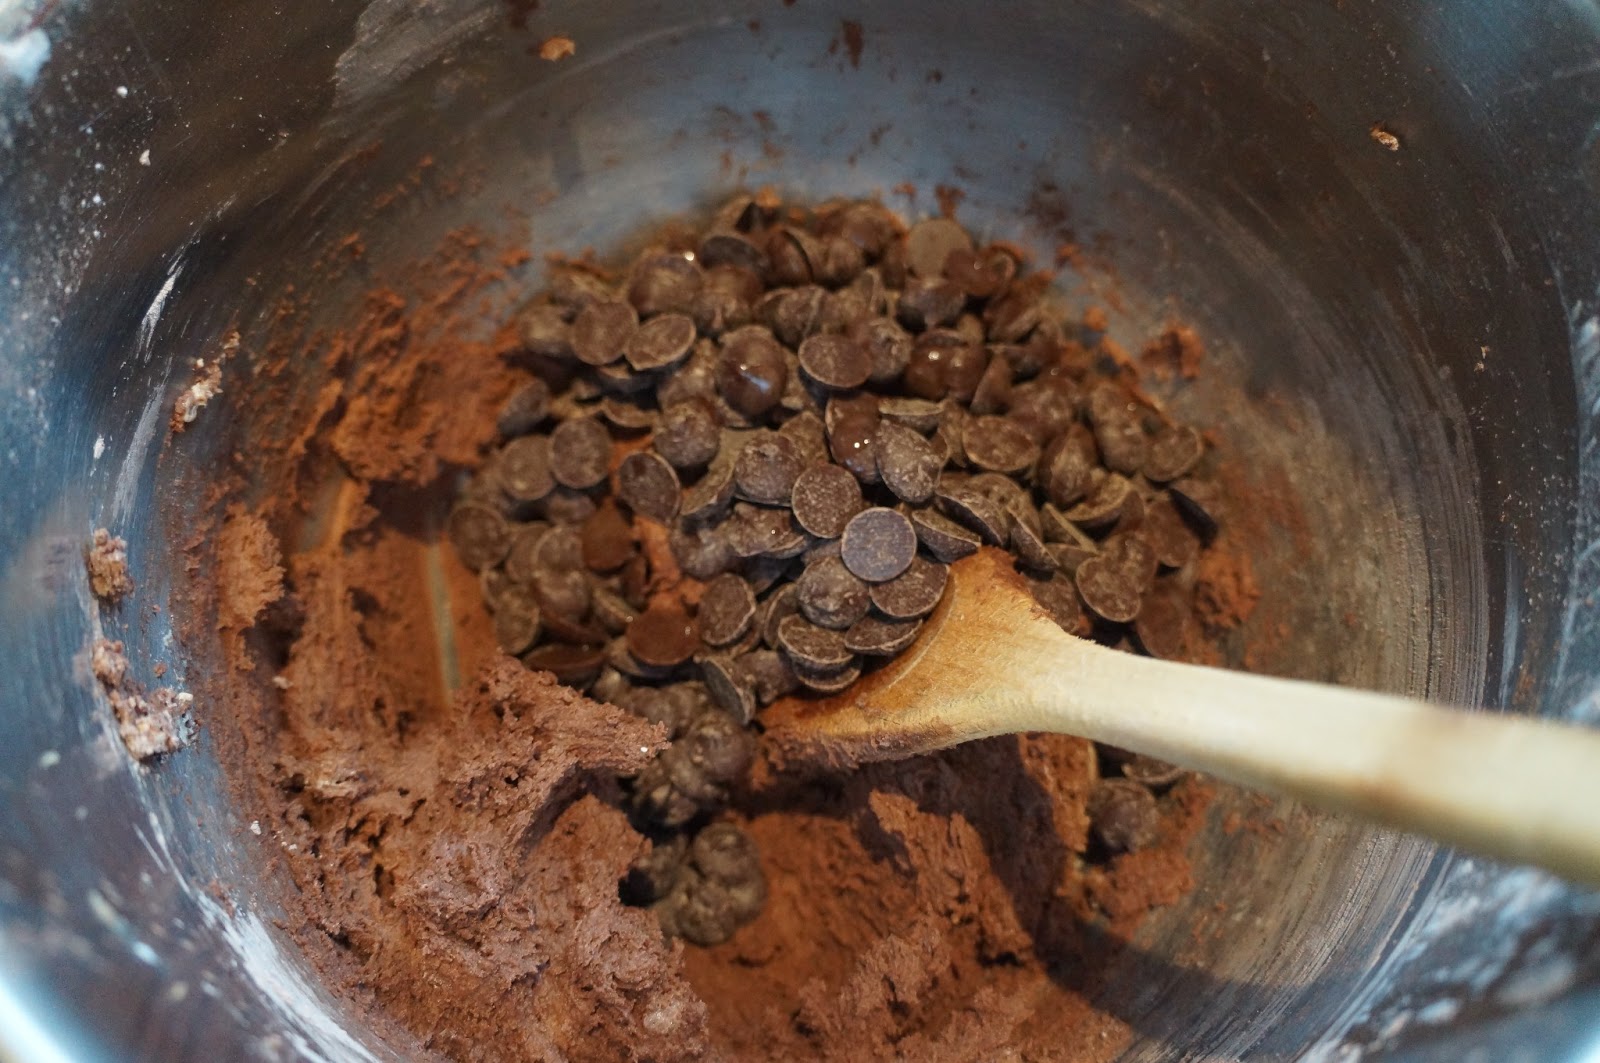
Fold the flour mix into the butter and sugar mix. Lastly add the chocolate chips and stir to combine.

Roll spoonful lots into balls and place on the lined tray.


Gently flatten the balls a little.

Bake for 12 to 15 minutes. 

They will still appear quite soft and wont firm up until they start to cool. Don't try to handle them until they have cooled a little as they are very delicate when hot.


Call up your friends, these are a great morning tea treat to share.