Monday, 18 February 2013

Delicious Plum Jam

The humble plum is much overlooked among today's vast selection of seasonal fruit. Many of the trees that once grew in everyone's back yard have been felled in favour of less maintenance intensive specimens. As such, many of my plum supplier options have dwindled. So when I spotted a case of Black Doris Plums in our local growers market, I knew they just had to be coming home with us. So many plums, so many possibilities, so getting riper by the minute. I just love plum jam. It's generally better to make small batches of jam, however, care of the chef, almost all of the case load was waiting all stoned and ready to make into after work jammy goodness.

I used the old standby recipe ratio of equal parts fruit and sugar by volume: 2 litres of cooked fruit pulp and 2 litres of sugar. Put the clean jars into the oven - set at 120deg. C - for about 15 minutes to sterilise them.


Add a little water to the pan to help the fruit cook down into  pulp. Use a potato masher to encourage the fruit to break up. Once the fruit is pulp, add the sugar and stir until the sugar has dissolved.


My Grandmother would have told you that you shouldn't stir the jam until the sugar has melted, but I am not willing to risk the fruit catching on the bottom of the pan and burning. 
Boil the jam for about 10 minutes.


Take the pan from the heat and test a tablespoonful for setting by putting it on a plate in the fridge.

It will form a skin on top once its sufficiently set.

I also checked the temperature with a sweet thermometer. It should reach 104Deg C. If the jam hasn't reached the setting stage return it to the heat for another few minutes.


Use a jug to pour the jam into the hot jars and seal immediately. Leave to cool before storing in a cool dark place.


I always put a little of the newly made jam into a small container ready for my morning toast. 


At winter's height, there is nothing more satisfying than getting the home made jam out to fill a cake or make a jam tarts.

Sunday, 17 February 2013

Fruity Chocolate Caramel Slice

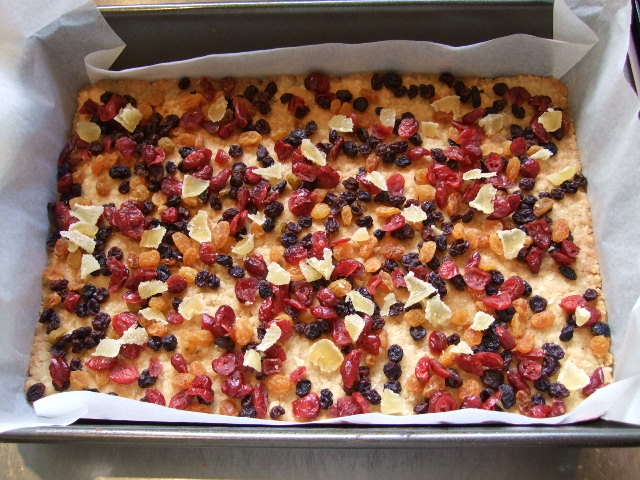
OK, so adding fruit and rolled oats is not going to make this any healthier, but it does make it quite tasty. I have adapted this Donna Hay recipe to make it  bit more interesting; I substituted rolled oats instead of coconut in the base, and sprinkled lots of fruit on the base before adding the caramel.

Fruity Chocolate Carmel Slice

1 cup plain flour
1/2 cup rolled oats
1/2 cup brown sugar
125g butter - melted
approximately 1 cup dried currents, cranberries and crystallised ginger

Caramel filling:
1/3 cup golden syrup
125g melted butter
2 x 400g cans of condensed milk
1 block of dark chocolate
a tablespoon of vegetable oil
Preheat the oven to 180deg. C
Mix the flour, oats, brown sugar and melted butter. Spread into a lined slice tin and bake for 15 minutes or until brown.


Sprinkle the base with the dried fruit.


To make the filling, place the golden syrup, butter and condensed milk into a large heavy based saucepan and stir over a low heat until the caramel thickens.


Pour the caramel over the fruit and base and smooth out. Return to the oven and bake for approximately 20 minutes until the caramel is bubbly. Leave to cool.


Once the base is cold, melt the chocolate, add the oil, and spread it over the base. Leave until cold before cutting into small squares.
The perfect accompaniment to a cup of tea in the garden.

Monday, 11 February 2013

Spicy Fruit Loaf

Our Grandmothers knew a thing or two about domestic harmony. Keeping everything and everyone happily ticking along nicely. Seemingly simultaneously attending to the baby, keeping the coal range stoked, cooking the dinner, and mending the children's jerseys.
Many of that generation's recipe books are packed with recipes for loaves of every description. I've never been one for making fruit loaf. It never seemed enough of a challenge, or even technically interesting enough to worry about. But when I dived into my copy of Recipes from Edna's Kitchen in a desperate search for quick Sunday night lunch box bakes, the significance of the good old fashioned loaf all fell into place: made with good pantry staples, melted and stirred up in a flash, and happily left to bake for an hour while more pressing matters are attended to.

I adapted this recipe from Edna Low's Ginger Fruit Loaf recipe.

Cranberry and Sultana Spicy Fruit Loaf

125g butter
1 cup caster sugar
1 cup milk
2 tablespoons golden syrup
2 cups flour
50g slivered almonds
2 teaspoons baking soda
pinch salt
1 teaspoon ground ginger
1 teaspoon mixed spice
200g dried cranberries and golden sultanas

Preheat the oven to 175deg. C.
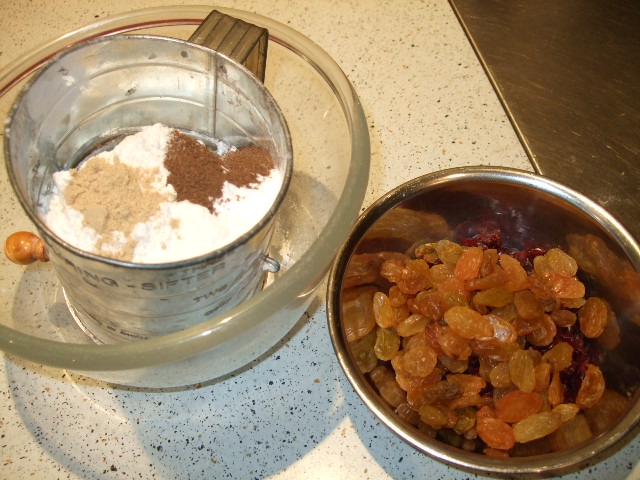
In a saucepan, melt the butter, sugar, golden syrup and milk. Leave to cool then stir in the dried fruit.
Sift the dry ingredients into a large bowl. Add the nuts.


Make a well in the centre and fold in the butter mixture until smooth.


Pour into a greased and lined loaf tin. I used a silicone tin that doesn't require lining as the sides just peel away.


Bake for approximately 1 hour or until a toothpick inserted into the centre of the loaf comes out clean.


When cold slice and butter to serve.
And so on a Monday morning domestic harmony has been restored, and Little Miss 3 heads off to her day job with a tasty snack in her lunch box.

Wednesday, 6 February 2013

Knitted up a Storm

I know it's a strange time of year, in the southern hemisphere that is, to be knitting up a storm, but I am on a mission to complete my  stash of long time unfinished projects. Every crafter has unfinished items lurking in the cupboard. Things started with great enthusiasm then shelved because something more pressing comes along.

This was my Christmas Holiday project; I took it away with us and knitted on the days when the weather wasn't so memorable. Now I have finally got around to sewing it together and crocheting the edges.

I think I got this pattern from a Tender Centre in a box with a whole collection of others. More patterns than I could probably ever knit in a lifetime.

The wool came from my stash as well. I'm not even sure you can still buy this one, or if it's still made in New Zealand. I have it in the cupboard for more than 10 years.
It knits up on 7mm needles. They were quite clunky to work with until I got used to them. It is super quick to knit up and finished in no time.


I used a double crochet stitch on a 4mm needle around the collar and cuffs. Rather than automatically opting for the black, I decided on a bright, cheerful pink. Instead of working the button hole into the cardy, I crocheted a loop on the edge.

Couldn't be bothered making a special trip to the fabric store to find one button, so I turned over my haberdashery stash and found a cool 70s style button.


The mohair fibre is so light and fluffy, and extremely warm on a chilly evening. I have a good few balls left over; Little Miss Three thinks its lovely and now wants a fluffy cardy of her own.

Monday, 4 February 2013

Making Sushi for Lunch

I know that everyone in the civilised world these days knows how to make sushi, but I decided to make some for lunch in the weekend and thought you might appreciate me sharing the process with you. Oh how times change; I think I was in my teens before I even tried it, now Little Miss 3 regards it as a staple.

Sushi Rice

3 cups sushi rice
3 cups water

Dressing
3 tablespoons rice wine
3 tablespoons rice vinegar
5 tablespoons sugar
4 teaspoons salt


Wash the rice in a sieve under running cold water. Place into a rice cooker with the water, cover with the lid and switch on to cook.
Place all the dressing ingredients in a small saucepan and gently heat until the sugar and salt are dissolved.
If you have a wooden sushi bowl, fill it with water and allow it to soak in so the rice doesn't stick when you get it out of the cooker.


Once the rice cooker has switched off, lift the lid and cover with a clean tea towel. Put the lid back on and leave to steam for about 10 minutes.


Using a large flat wooden spoon, place the rice into the empty wooden rice bowl. Pour the dressing over the hot rice and use the wooden spoon to blend it in.
Allow to cook before making the sushi.


Marinated Chicken

2 boned chicken thighs - skin removed
soy sauce
rice wine vinegar
1 tablespoon sugar

Place the chicken into a bowl and add the marinade ingredients. Leave to rest in the fridge until your ready to cook the chicken.
Cook the chicken on a hot grill for approximately 8 minutes each side. I always use a meat thermometer to test its done-ness. It should reach 75deg. C internal temperature when measured in the thickest part. Leave it to cool before cutting into thick strips.

Sushi Rolls

4 or 5 nori sheets
1 sliced capsicum
1 sliced spring onion
wasabi paste and pink pickled ginger

Spread some rice onto a nori sheet, leaving a gap at each end. Make a grove along one end in which to place the filling.


Line up your spring onion, capsicum and chicken. Using a sushi mat roll the sushi as tight as you can. Dampen the outside edge so it sticks the roll together.


A good tip for cutting even sized pieces is to cut the roll in half then into quarters, and again into eighths.


Arrange on a plate with pick ginger and wasabi. Sushi is traditionally served immediately after it is made.
If you don't want to make all the rice into sushi rolls it will keep in the fridge until the next day, and is quite delicious served on its own - deconstruction style.
Sushi rolls make a great snack to serve a crowd as well as a nice lunch snack for the family.

Sunday, 3 February 2013

Blueberry Muffins Lunchbox Filler


We went blueberry picking today. Such a great thing to do on a lovely hot fine day. I'm always unwilling to pay $4 for 125g of blueberries in the supermarket, so $13 a kg 'pick your own' sounded marvellous. Turns out I now know why they are so expensive to buy - it takes a long time to pick a kg of those little purple beauties. However, with the weekend drawing to a close, time was not pressing this afternoon and we happily passing our time amongst the many rows at Blueberry Bliss on Robinson's Road in Broadfields. Little Miss 3 was overjoyed to be surrounded by all these blueberries.
With school now well underway, the need for Sunday night lunchbox baking has again arisen. With so many blueberries in the fridge, its seemed a shame to not try something Blueberry themed. I adapted this from an Apple Muffin recipe of Edna Low's. Her recipes are always reliable when you need a sure thing to start off the working week.

Blueberry Muffins

1 1/2 cups blueberries
1 teaspoon ground cinnamon
1/2 teaspoon ground cloves
1 1/2 cups flour
3 teaspoons baking powder
1/2 teaspoon salt
1/2 cup sugar
100g butter - melted
1 egg
3/4 cup milk

Preheat the oven to 200deg. C.
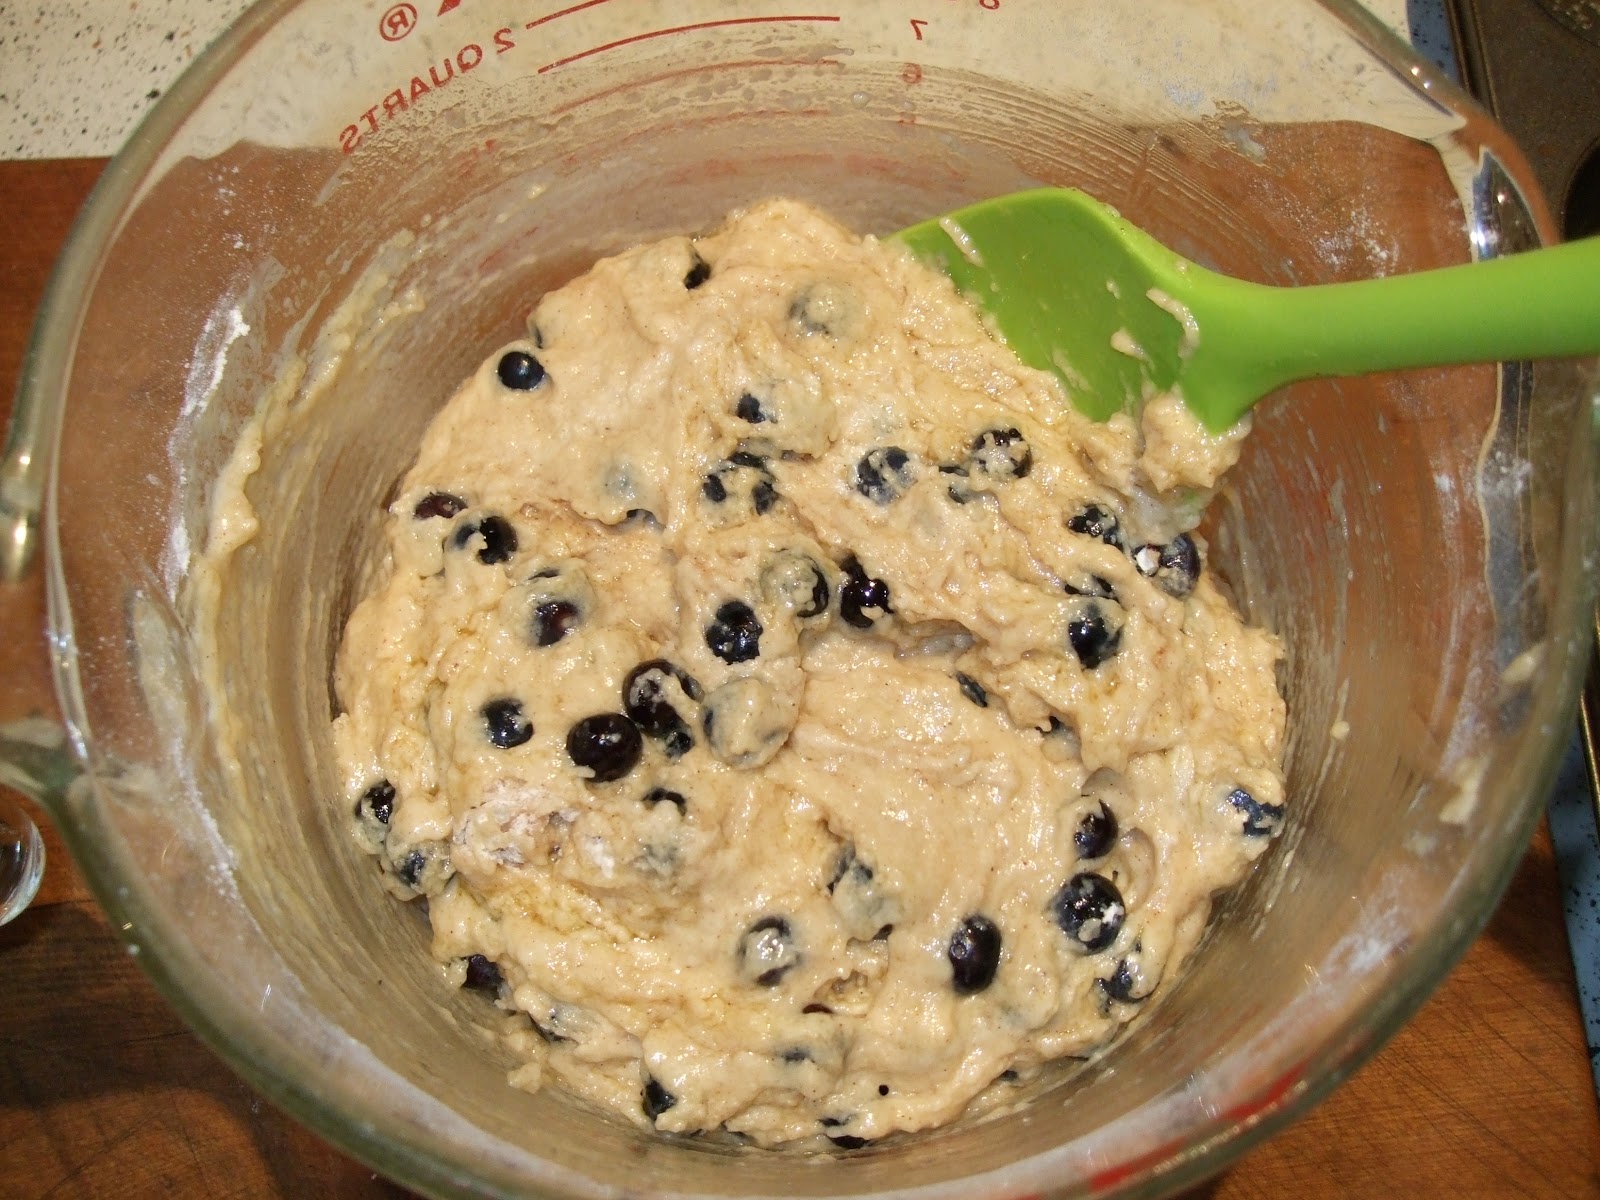
Sift the flour, baking powder, spices and salt into a large bowl. Stir in the sugar and fresh blueberries.

You can use frozen straight from the freezer, but don't add them until the batter is mixed or they will turn the muffin blue.

Mix and egg and milk using a whisk.


Make a well in the centre of the dry ingredients and pour in the egg and milk mix followed by the melted butter. Gently fold the mixture together. Don't over mix or the muffins will be tough.


Spoon the mixture into greased muffin tins.

I sprinkled some extra caster sugar over the muffin before it was baked.

The recipe makes 12 medium sized muffins.
Bake for 15 minutes until the muffin springs bake when pressed.


Leave in the tin for about 5 minutes before releasing from the tins and leaving to cool on a rack.

Store the muffins in the freezer if you want them to last until the end of the week.

That's part of the lunch box dilemma solved for this week. Better get to bed so I'm ready for tomorrow's morning rush...

Sunday, 27 January 2013

Going All Tartan

Still on the subject of previously unfinished projects, I was very happy to wear my latest creation out and about today. This ones been lingering unfinished in the cupboard for quite some time now. The pattern was originally made by me using a basic pattern block and adapting it to incorporate the wide shaped band and gathers. 
The skirt's made in 3 parts with an invisible zip in the centre back. The band is really simple to make as it is faced with an identical set of fabric panels. All that is required is to gather the skirt into the band before sewing the side seams together. I found some perfectly matching red cotton tape and sewed it down each side seam to add a bit of contrast to the busy plaid pattern.
 I didn't line the skirt as the fabric is thick enough to stand on its own. 

Today I am wearing my skirt with a vintage Charmaine Reveley top. The weather obliged us today and it was lovely to enjoy a sunny summer's day together.