Tuesday, 12 March 2013

Patchwork Ballet Bag


What do you get a little girl for her birthday when she actually has everything she really needs? We asked ourselves this question quite a few times recently. After getting really carried away at Christmas - she was shelling parcels like peas - we decided to keep things simple this birthday. Little Miss 4 told us she wanted a paint set and a ballet leotard.  Easy. One quick trip to a stationery store and quite a lot of deliberating in the dance store's changing room and we were all set. I also wanted to give her something else of a more practical nature, and pretty as well of course! Hence the cute, not so little, yet very practical patchwork ballet bag.

I started by selecting a variety of complimentary fabrics from the stash and cutting them into 2 1/2 inch strips. The fabric was all pre-washed so the finished bag will withstand washing. I decided to take the random chance pattern approach, and simply cut the strips into a variety of sizes.
Sew the random pieces together to form one continuous strip.
I decided on a 25cm zip. Because I was using an imperial measure patchwork mat I cut the strips into 11inch sections. I moved the sections around until I had a nice mixture of patterns without too many running into each other. 
Using a quarter inch width sewing machine foot, sew all the sections together to form the body of the bag. I sewed both sides of the bag as one section, so the zip was stitched to each end of the panel.
Having sewed the panel to the correct size I ired the seams down and squared up the panel using the patchwork ruler and rolling cutter.
I needed to reinforce the sides of the bag, so brought some iron on patchwork wadding. I pressed it onto the reverse of the panels and pinned the whole thing to a large panel of lining fabric. The next step is to sew the layers together. Always sew from the left to the right as opposed to back and forth in each direction, as sewing in each direction will distort the size of the panel. Trim the extra wadding and lining away. At this stage I sewed one of LM4's name tags to the outside of the bag.
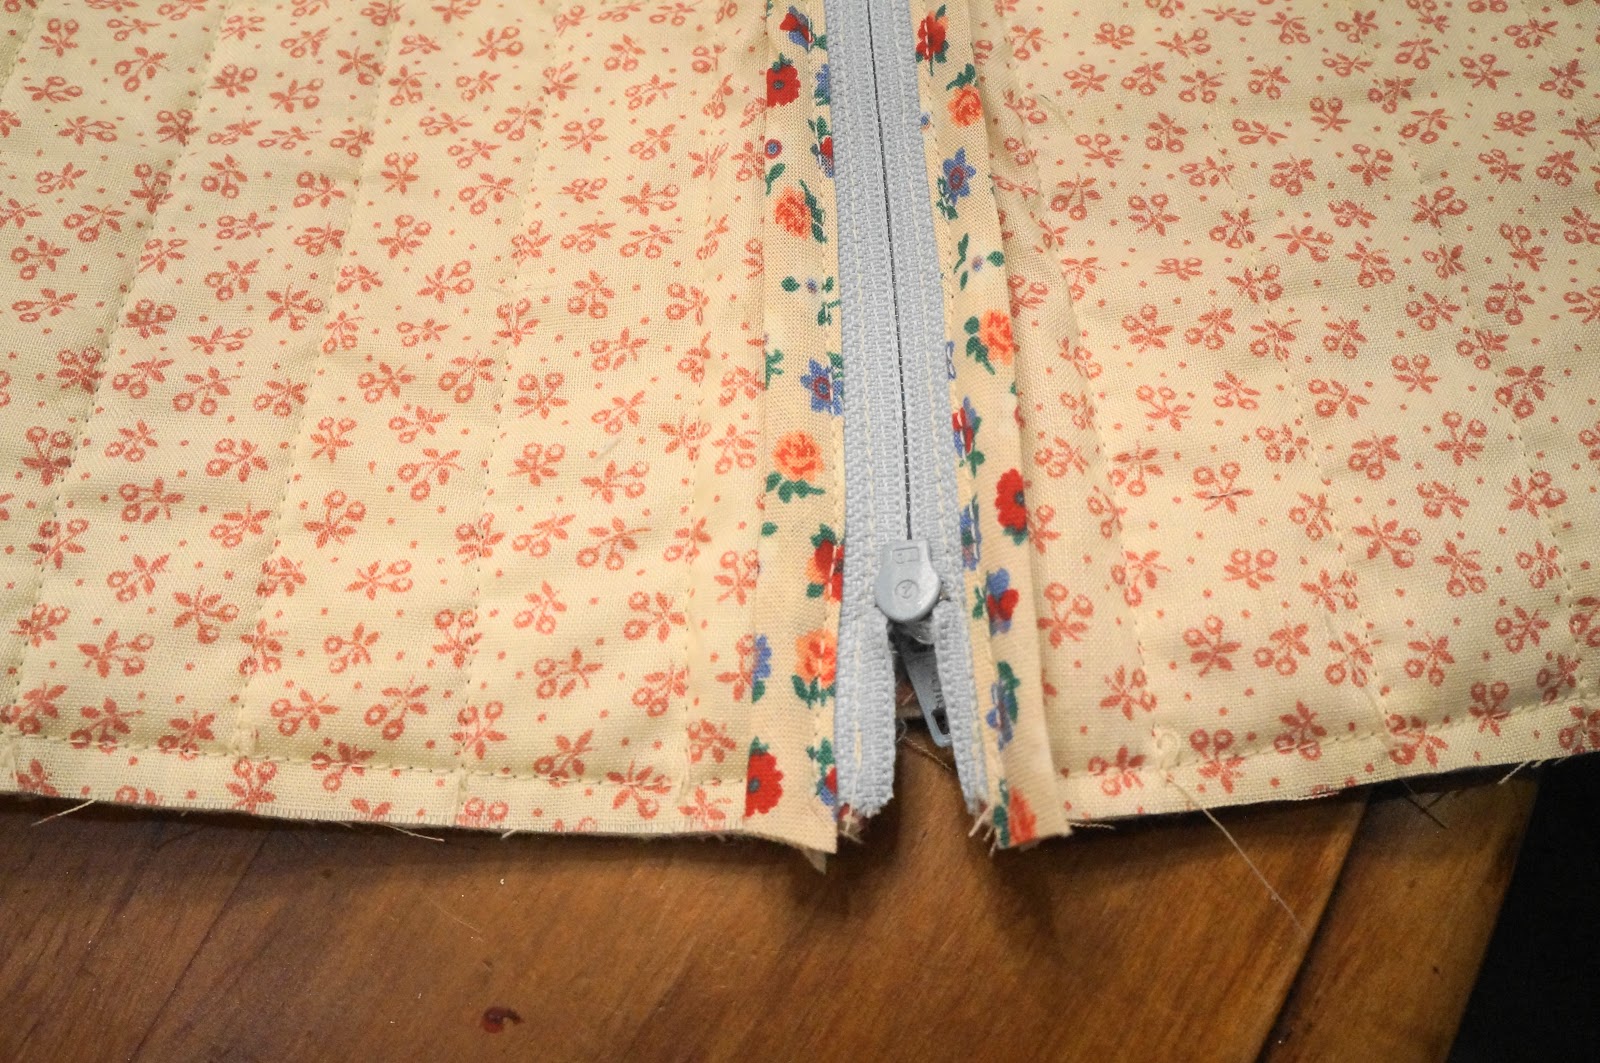
Now attach the zip to one end of the panel by putting the right sides of the fabric and zip together and, using a zipper foot, sew as close to the zip as possible. Attach the other side of the zip to the other end of the panel. Sew bias binding over the raw edges.
Match the right sides of the bag together and pin and sew them. Sew bias binding over the raw edges making sure the ends of the bias are tucked in. 
Turn the bag out to the right side and push the corners out. To make the strap, sew some of the left over strips together along each side to form a tube. Turn it into the right side by attaching a large safety pin to one end and threading it through the centre of the strap. Check the length and fold the ends over before sewing them onto the bag. 
Not bad considering most of the sewing was done between the hours of 8.30pm and 11 o'clock the night before her birthday. 


All ready for stuffing clothes into and safely zipping up before ballet class begins.

Monday, 11 March 2013

Little Miss Party Girl


We had a lovely party on Sunday. Little Miss 4 had a wonderful time with her buddies. They were entertained by Melanie Poppins with face painting, balloon toys, the party rabbits, entertaining puppets and a magic show.


Everyone enjoyed the hospitality. The chef made the sandwiches and sushi - and the impressive centre piece made of fruit and vegetable flowers. I wondered what he was doing carving at a melon, and low and behold, he pops this impressive vegetable arrangement on the table!
This is a small sample of the sweets - with more goodies outside on the children's table.
Little Miss 4 wanted a Barbie Mermaid cake. I made a Carrot Cake using my usual recipe and decorated it with Cream Cheese Icing sprayed with green cake decorating spray. I couldn't bring myself to colour the whole batch of icing green. The image of green tongued little people leaving the party was too terrible to contemplate. I covered the Barbie with pink tinged Bakels Pattinice White Icing to form her tail and bodice. The children all wanted a slice of the tail!
Happy little party girl making friends with one of the party rabbits. We all had a lovely party; thanks to all our wonderful guests for sharing a great party afternoon with us.

Tuesday, 5 March 2013

Cinnamon Kiss Pops


Part three of party baking preparations: more treats on sticks. Many will tell you that there is no such thing as too much chocolate. However, with Chocolate Mud cupcakes on the menu, and inspired by Macaroons presented on sticks, I wanted to trial another flavour possibility. Enter the Cinnamon Kiss Pop. This recipe is adapted from the Chocolate Baby Whoopie Pies in the latest Countdown Food magazine. With the cinnamon instead of cocoa, the little treats are far more kiss than pie. The idea of just tossing all the ingredients into the beater is also very appealing indeed; however I couldn't help myself but cream the butter, sugar and eggs first. 
Cinnamon Kiss Pops

100g butter
2/3 cup brown sugar
2 eggs
1 2/3 cups flour
1 1/2 teaspoons baking powder
1/3 cup milk
1 teaspoon vanilla extract

Preheat the oven to 190deg. C.
Cream the softened butter, sugar and eggs until light and fluffy.
Add the remaining ingredients into the beater and briefly mix.
Put the mixture into a pipping bag fitted with a round, wide nozzle. Pipe out into small rounds on a naking paper lined tray.
Bake for 9 to 10 minutes. They should not brown.  

 Mocked Cream Frosting

100g softened butter
3/4 cup icing sugar
2 tablespoons hot water

Place all the frosting ingredients into the beater and beat until light, pale and fluffy. 
Pair up the kisses.
Place teaspoon lots of frosting onto one of the kiss pairs.
Make an indentation in the centre of each one, and fill with a half teaspoon of jam.
I used the Plum jam I made a couple of weeks ago. Don't put too much in or it will squirt out when you sandwich the kisses together.
Push an ice cream stick into the frosting filling and leave to set before attempting to stand the pops up.

They got the birthday girl approval, and Little Miss was very happy to take them to preschool in her lunch. All part of the pre-party excitement!

I think I will be making these on the day as they are definately better fresh.

Monday, 4 March 2013

Elderberry Jelly

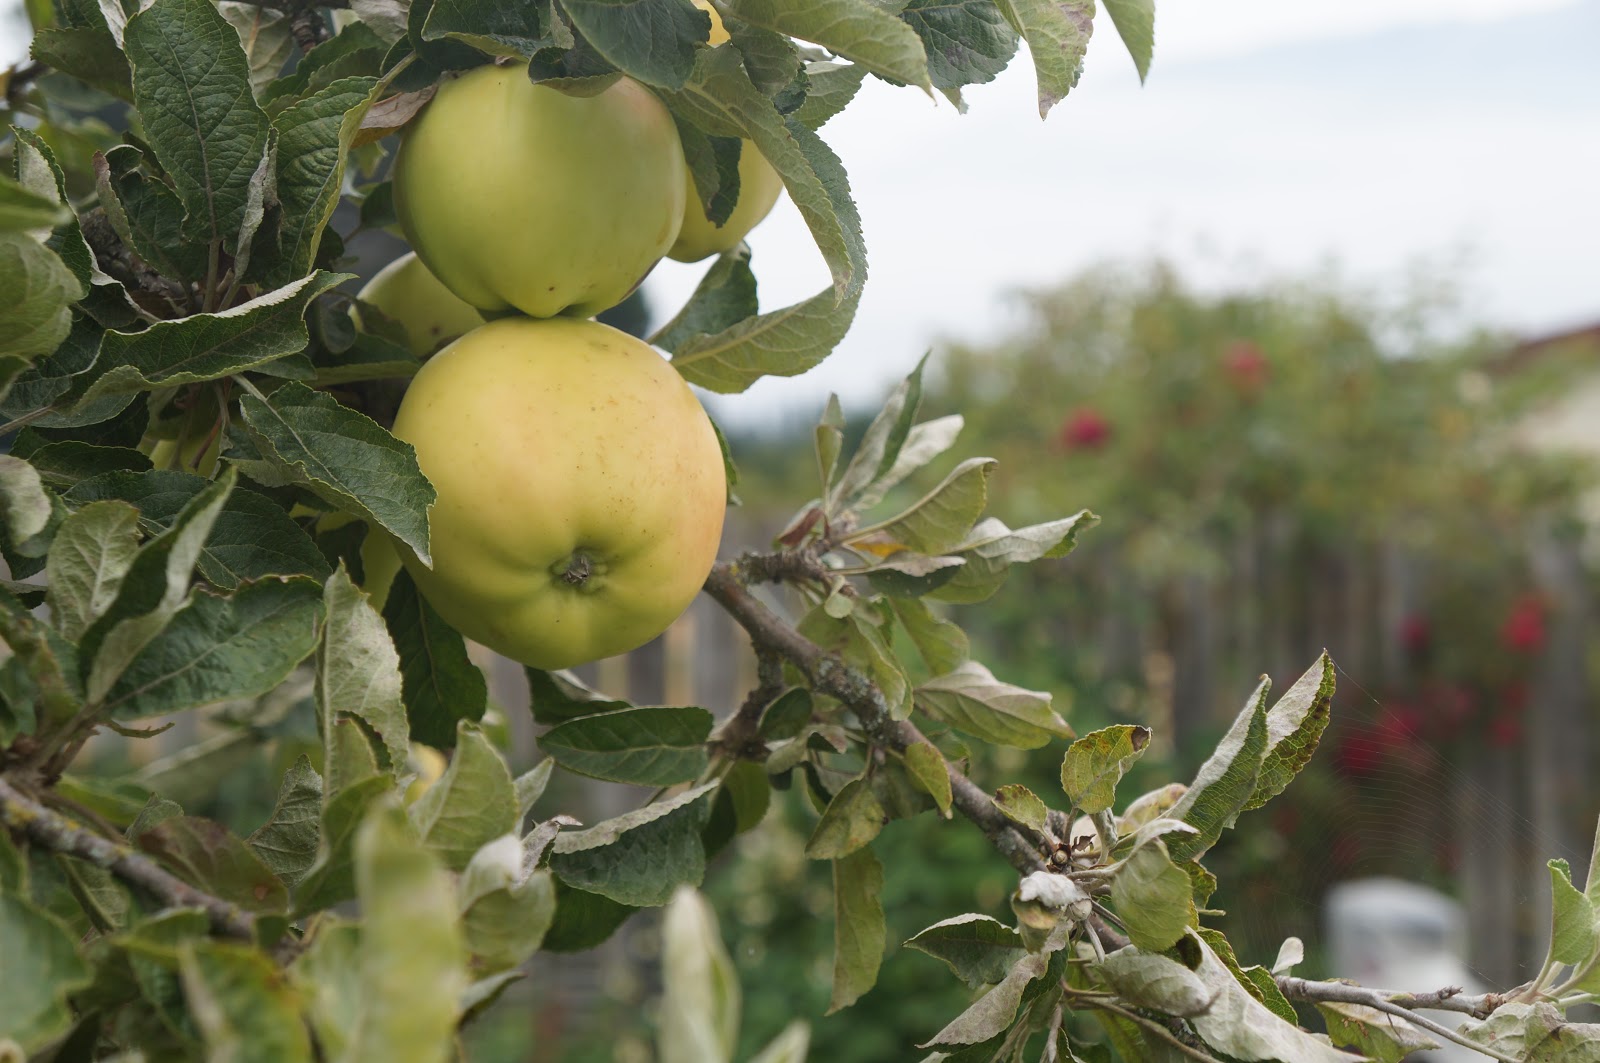
Autumn is creeping in and the humble and much maligned Elderberry trees around Mum and Dad's place are weighed down with fruit. The blight of anyone who has hung white washing out lately, the fruit are vibrant and enticing. Having missed out on making Elderflower cordial this year, I decided to put these lovely fruit to work.

Yes, that is me in the ridiculous, yet very cosy, woollen 'round the farm' hat. I got totally carried away with my clippers and picked way too many heads of berries. In need of a recipe I consulted with that age old oracle of cooking knowledge: The Aunt Daisy Cookbook, first published 1968. The recipe calls for apples to aid the jelly setting; lucky the tree in the garden had plenty to spare.

Elderberry Jelly

Gather berries while dry. Pick off stems and clean. Leave the smaller stems on. 
To the amount of berries add one third the quantity of apples. Cut the apples up, pips, skin and all; add to berries and barely cover with water - leave over night.


Next day boil until soft and pulpy then strain through a clean tea towel.

If I was my grandmother I would have left it overnight and undisturbed to drain.


Put cup for cup of juice and sugar into a large pan and boil until a small amount put onto a plate sets with a skin on top. Pour into sterilised jar and seal while still hot.


Everything went swimmingly until the next day when I realised my beautiful red jelly had not set according to plan. 

While I contemplated offloading it to relatives as elderflower ice cream topping, the only real solution was to pour it back into the pan and try again.


Luckily I had a packet of jam setting mix in the pantry. 
A bit of mixing and five more minutes of boiling and I had a much better setting result.  

The jelly turned out really well. The colour is really vibrant and the fruit gives the Jelly a nice balance of acid. I'm thinking this will make great gifts for friends and family. 

Tuesday, 26 February 2013

Chocolate Mud Cupcakes for a Little Party Girl

When did small girls' parties become such a big old deal? I'm not sure I know the answer to that question; but I can tell you that the food for Little Miss nearly -4s party is shaping up to be quite a big deal indeed. She is so excited that we have had to keep playing it down.
"Is it my birthday tomorrow Mummy?"
"No, not tomorrow; not for a long time yet. Don't worry we will remind you when it arrives"
"We will have party hats wont we Mummy?"
"Sure will"
"And all my Buddies will come to my party"
"Sure will"

This is the second part of my food auditioning exercise. It's one thing to bring out all the old favs, but I don't want to be making the same old thing as last year. The Man-of-the-house got me this recipe from one of his Baking Colleagues after we were lucky enough to sample them. The had intended them to be much smaller, but the mixture rose and rose. Its a great recipe for a crowd as it will makes at lease two dozen smaller cup cakes. Not sure how many actual cupcakes will be eaten, as icing licking is often the order of the day!

Chocolate Mud Cupcakes with Chocolate Butter Meringue Frosting

250g butter
250g dark chocolate
1 double shot of espresso coffee topped up to 185ml hot water

290g flour
10g baking powder
60g cocoa powder
2g baking soda
500g caster sugar

3 whole eggs + 1 egg yolk
30ml oil
125g sour cream

Preheat the oven to 160deg. C
Combine the hot water and coffee in a double boiler; add the butter and chocolate. Melt over a low heat until smooth. Allow to cool a little.


Whisk eggs, oil and sour cream to combine - be sure to beat the lumps of sour cream out or they will show up as white spots in the mixture.

Yes that's my little kitchen helper on whisk duty!


Add sieved dry ingredients to the egg mixture with a spatula.
Lastly stir in the chocolate mixture.


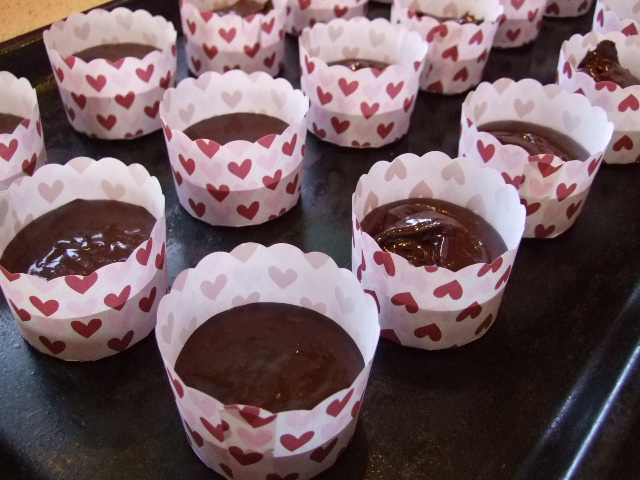
Pour into the cupcake cases and bake for approximately 35 to 40 minutes until a skewer comes out clean. Don't over bake or the cupcakes will be dry.


 Chocolate Butter Meringue Frosting

4 egg whites
2 cups sugar
a splash of water
4 tablespoons cocoa
500g butter

Yes this recipe is huge! But you will need it all to decorate all those cupcakes.


Beat the egg white with a pinch of salt until they form stiff peaks. Don't over beat; they shouldn't look dry.
Put the sugar into a large pot and add the water. Melt over a medium heat, stirring until the sugar is melted. Stop stirring once the sugar is dissolved or the syrup will turn grainy.
Boil the sugar until it reaches 120 deg C on a sweet thermometer.
With the mixer running, gradually pour the sugar syrup onto the beaten egg whites to form an Italian meringue. Once all the syrup is added, beat for a few minutes longer until the mix starts to cool. Add the cocoa to the mix and beat again. Be careful not to start the beater too fast or the cocoa powder will fly everywhere.
Lastly add the cubed, softened butter, and beat into a soft, light butter cream.
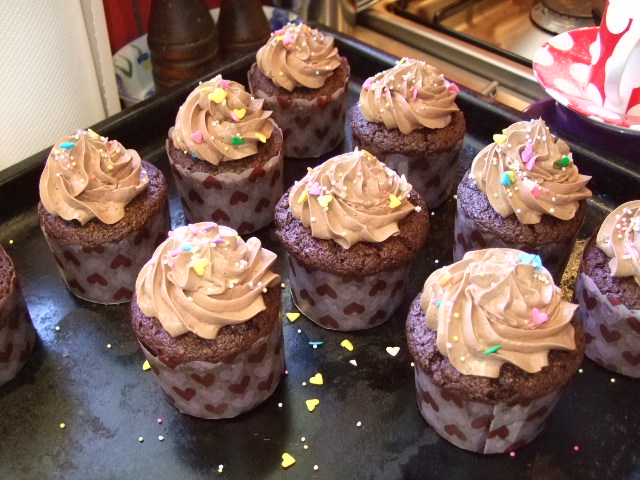
I used a piping bag to pipe rosettes onto each cupcake. You can just spread the mixture on with a knife, but I find piping quicker and easier to get a professional finish.

Little Miss nearly-4 helped to decorate them by adding the sprinkles, and we served them to our friends for an all important taste test. I will definitely make them smaller for the party; with less mixture in each case so they don't rise over the edges.
They have made great lunch box treats this week, with plenty of icing licking opportunities. 

Sunday, 24 February 2013

Auditioning the Party Food

This was a bowl full of delicious Bacon Wrapped Beef and Goat Feta Meatballs. As often happens when we have guests, I forget to get the final shot before the dish goes to the table. The proof of all dishes is in the eating, and these, as you can tell by the almost empty plate, were delicious. Little Miss 3 has a birthday soon - much excitement in our house - and with lots of her little buddies and their parents coming to the party, I need to try out some possible yummy cocktail food solutions.

Some lovely friends of ours came around this morning for coffee and a catch up - the perfect guinea pigs for a bit of party food.

Bacon Wrapped Beef and Goat Feta Meatballs

750g beef mince
150g fresh white bread crumbs
2 cloves garlic
2 tomatoes 
1 onion
a handful of fresh herbs - parsley, basil, mint
1 tablespoon oil
1 tablespoon chilli sauce
2 teaspoons salt
75g goats milk feta
approximately 28 strips of streaky bacon 

Preheat the oven to 200deg. C. Line an oven tray with cooking foil.
Put the peeled onion and garlic into the food processor; cut a cross into the top of the tomatoes, squeeze out the seeds and add to the processor with the oil, chilli sauce and salt. Blend into a semi-smooth paste. Crumble the feta.
Combine the mince, crumbs and tomato mix.


Lastly mix in the feta - you don't want it to crumble too small, so try not to over mix.


Roll the meatballs about the size of a small walnut. Cut the streaky bacon slices in half, and wrap each meatball in a section of bacon. Skewer two meatballs onto each small cocktail stick and place them onto the oven tray. At this stage the meatballs can be stored in the fridge until required.


I baked them for about 20 minutes in total, turning them half way through the cooking process. The bacon should be crispy and the meat balls cooked through.


Then just serve them up and enjoy. Lucky last ones left. Yes I had eaten two previously - quality control of course!

I'm thinking of just serving one per stick for the party, as there will be plenty more treats on offer for our little guests.


Wednesday, 20 February 2013

I Spy Plum Pie

"Each peach pear plum, I spy Tom Thumb..."
Little Miss 3 just loves this book; and as autumn is nearing and all the joys of late summer fruit are upon us it's time for one our favourite seasonal treats: Plum Pie. Part of the attraction is the opportunity to take the pie and the book to Preschool to share with her buddies. She was so excited and just couldn't wait to get out the door with her pie.

I adapted this pie from a recipe I found on-line at www.thekitchin.com

End of Summer Plum Pie

1 recipe of sweet pastry (previously blogged here - just leave the walnuts out)
20 Black Doris Plums
1/2 cup caster sugar
1/2 cup flour
1 teaspoon ground cinnamon
1 teaspoon ground allspice
1/4 teaspoon salt
2 tablespoons butter

Preheat the oven to 200 deg. C.
Roll out the pastry between two sheets of plastic food wrap.

Peel off the top layer and lay the pastry into the tin. Once in place peel off the second sheet of plastic wrap and place the lined tin into the fridge to chill.


Mix the dry ingredients together in a small bowl. Sprinkle a 1/4 of the dry mix over the bottom of the pie. Lay the plums into the pie, cut side down.


Sprinkle the remaining dry ingredients over top of the plums, letting it settle in between the plums. Dot the butter over the top of the pie.


Bake for 10 minutes, then lower the heat to 180deg. C for approximately 30 minutes until fruit is bubbling and the pastry is golden brown.

Serve warm or cold. It makes a lovely lunch box filler too.


All ready to go.
At preschool they read Each Peach Pear Plum at story time and shared the pie.
Happy little girl.