Friday, 4 July 2014

My new tailored pants - inset pocket sewing tutorial

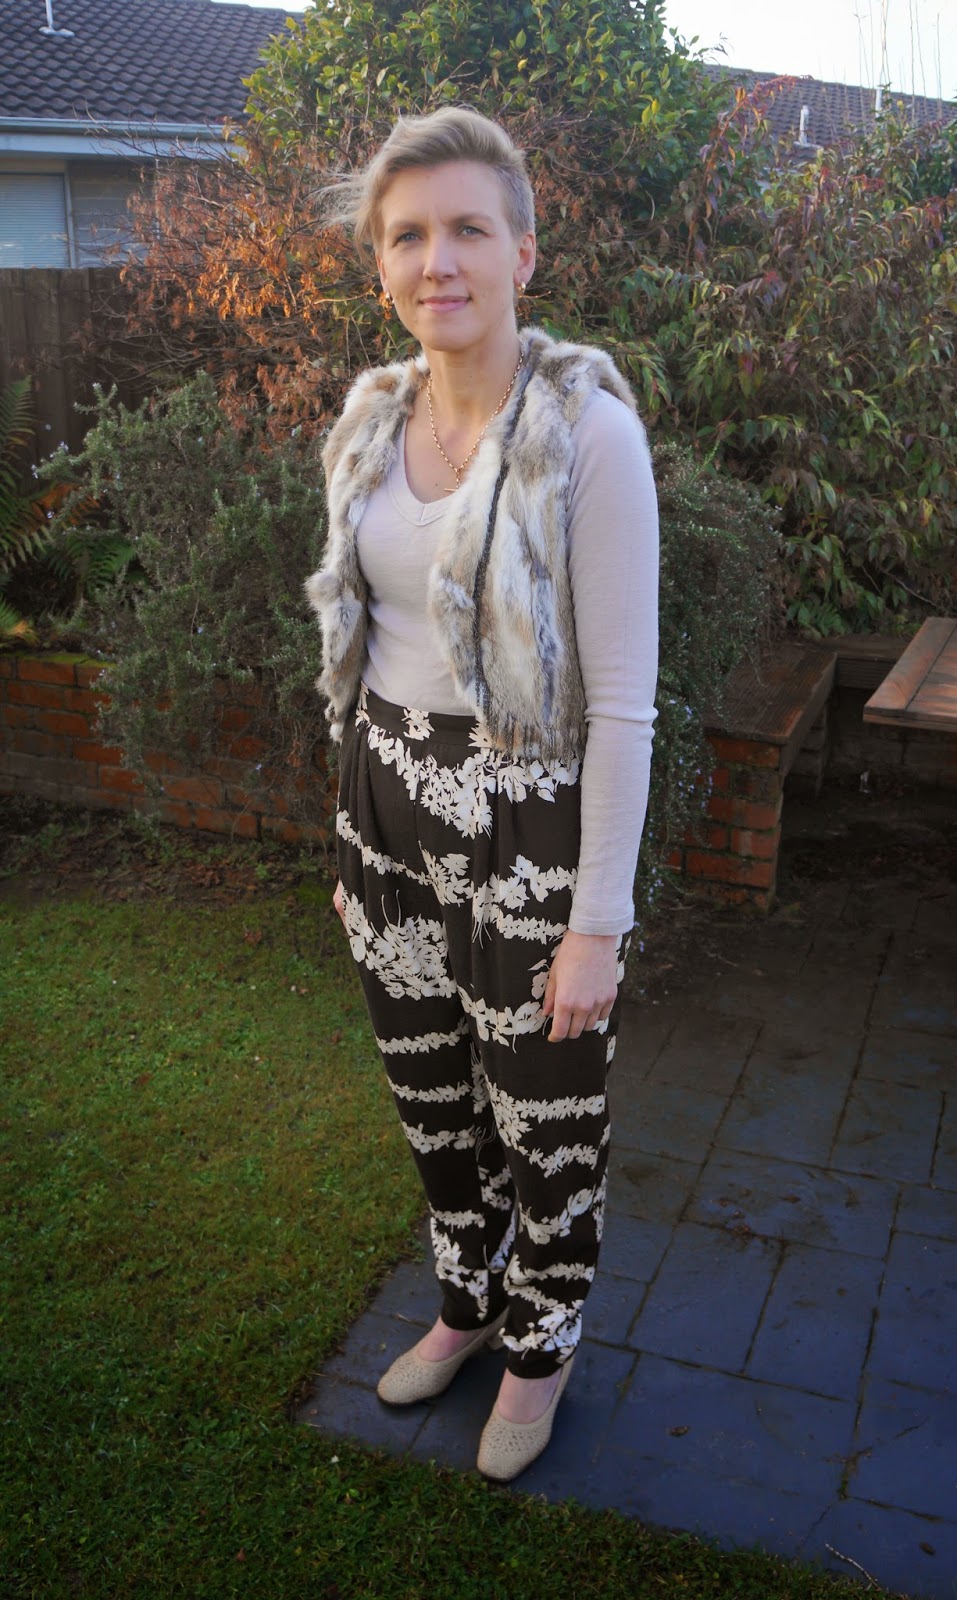
With all the current trends heading the way of geometric patterns, I was a little concerned my new floral pants were too slow off the sewing table to be relevant. I've had this piece of fabric in the stash for so long I can't remember where it came from! Time to make some new work threads.

I used a simple gathered into the waist band style pattern , but changed it slightly by concentrating the gathers into where the darts would normally be sewn.

I put an invisible zip in the centre back and inset pockets into each side seam.

I'm rocking these pants with a Glasson's merino top, Loobie's Story fur vest and vintage basket weave shoes.


Here's the sewing tutorial!

I'm assuming you have cut our your pattern pieces.


Place the pocket bag against the front panel side seam and sew a 1.5cm x 13cm 'frame' for the pocket opening. 
 Cut a notch into the corner of the frame. Then turn all the seams to the right side to form the pocket opening.

I overlocked a small section of the front panel side seam first.
Under-stitch the pocket bag to the seam, sewing only as far as the edges of the frame.
Ensure the sides of the pocket opening are turned out as per the photo and pin then. Iron flat. 
Place the other half of the pocket bag over the sewn-in one and pin the bag only into place.

Sew around the pocket bag. 

Overlock or zig-zag the raw edges of the bag.

Repeat the process for the other side of the pants. 
Match the front panels together and sew the centre front seam. Overlock the centre fronts together.

Overlock the centre back seams separately, then sew an invisable zip into the centre back seam.

Match the front and back panels at the side seam and pin into place.

Take care to pin the front panel pocket opening out of the way so you don't sew the pocket shut.


Match and pin the inside leg seams. 

Sew down the side seams; then sew the inside leg seams.


Now try the pants on to check the sizing!
Unless I have made the pattern before, I also always have to alter the sizing. It takes a little time but is well worth it for getting the required look and fit.

Once your happy with the fit and any alterations made, overlock or zig zag the seams.
 Using the longest stitch your machine will do, sew two lines of stitching around the waist. One is 1 cm from the raw edge, the other is 2 cm. This gives the most even gathers once the 1.5 cm seam is sewn. 

Once sewn, pull the thread from one side of the fabric only to form the gathers. Once even, push the gather into groups in the centre of each front and back panel.
Fuse the waist band with iron-on interfacing. 

The waist on these pants was a little too high, so I moved the band down by a cm. Leave a 1.5cm overlap on the right end of the band and 3 to 4cm on the left end. This will form the button overlap.

Pin into place then sew right around.
Once sewn, press the seam into place. 
At each end of the band, fold the zip out of the way, then fold the band right sides together, matching all the raw edges. 

Pin in place.

On the right hand side, sew across the end of the band close to the zip. 
On the left hand side, fold the zip out of the way, then sew as shown in the picture to form the button tab. Be careful not to sew into the zip. 

Clip the corner seam, then turn in the right way.
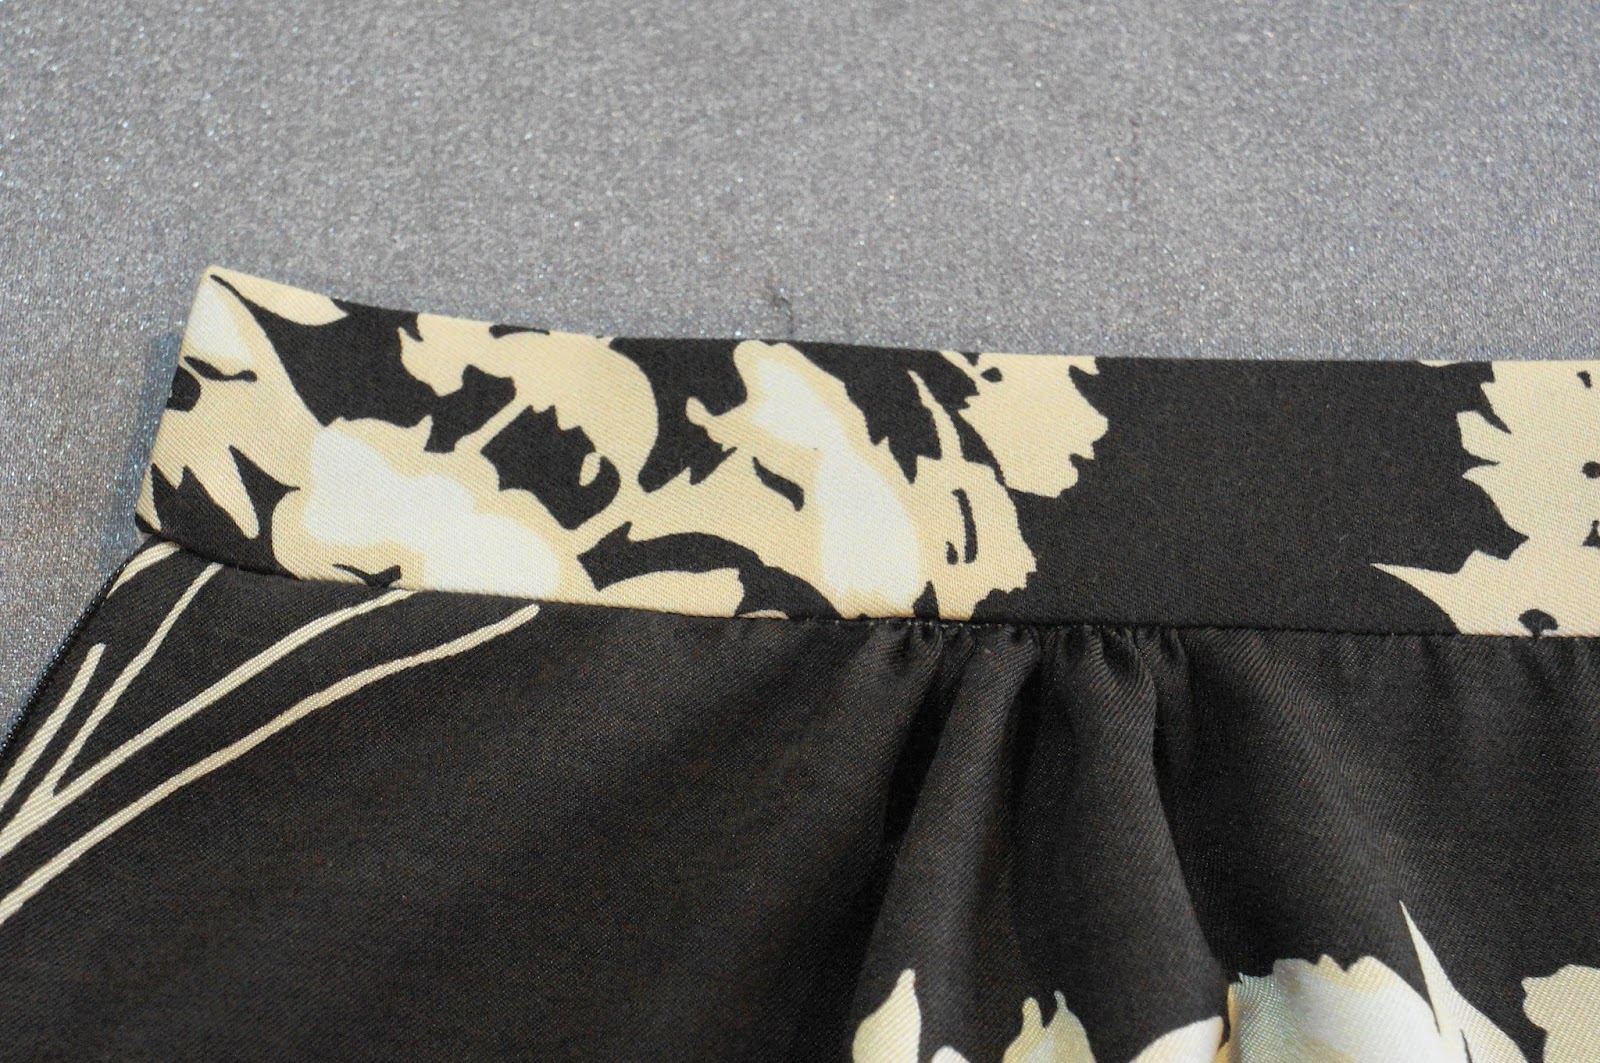
Fold the band in half longways and measure to ensure it's even all the way around. 


Check that the inside edge of the band over-laps the stitched edge by approximately 1.5cm.

Press and pin into place.

I placed the waist band pattern against the selvage edge of the fabric, so did not need to overlock the edge before sewing.

 Now 'stitch in the ditch' around the outside of the band. The stitch is positioned in the ditch formed by the join in the fabrics.

This sews the inside edges of the band to the pants and forms the waistband. 


Now overlock the hem, turn it up, pin, press and sew into place. 

Sew a button hole into the button table and attach a button. Give the pants a good press and they are all done and ready to wear.


There is nothing like sharing one's space with a little crafter (and all her stash). 
Happy sewing. 

Sunday, 29 June 2014

A snack in a hurry - Cheese Puffs

After just a little too much of a sleep in yesterday, I needed a super quick and tasty baking solution to gift as a small token of appreciation. With only half an hour on the clock before we needed to leave the house these were perfect. 

Cheese Puffs


2 cups grated cheese
1 cup flour
1 teaspoon salt
2 teaspoons baking powder
1/2 teaspoon smoked paprika
a good handful of parsley - finely chopped
2 eggs
5 tablespoons milk

Preheat the oven to 210deg. C and line a large tray with baking paper.


Sift the dry ingredients into a large bowl. Add the grated cheese and finely chopped parsley.


Stir the milk and eggs together using a fork. 


Make a well in the centre of the dry ingredients and pour in the milk and eggs. 

Stir together using a table knife. 


Place tablespoon lots of the mixture onto the lined tray. 


Bake for 10 to 12 minutes until golden brown and puffy. 

These tasty little morsels are at their most delicious eaten straight from the oven. 

Sunday, 22 June 2014

Hand Made Kids Clothing Swap 2014

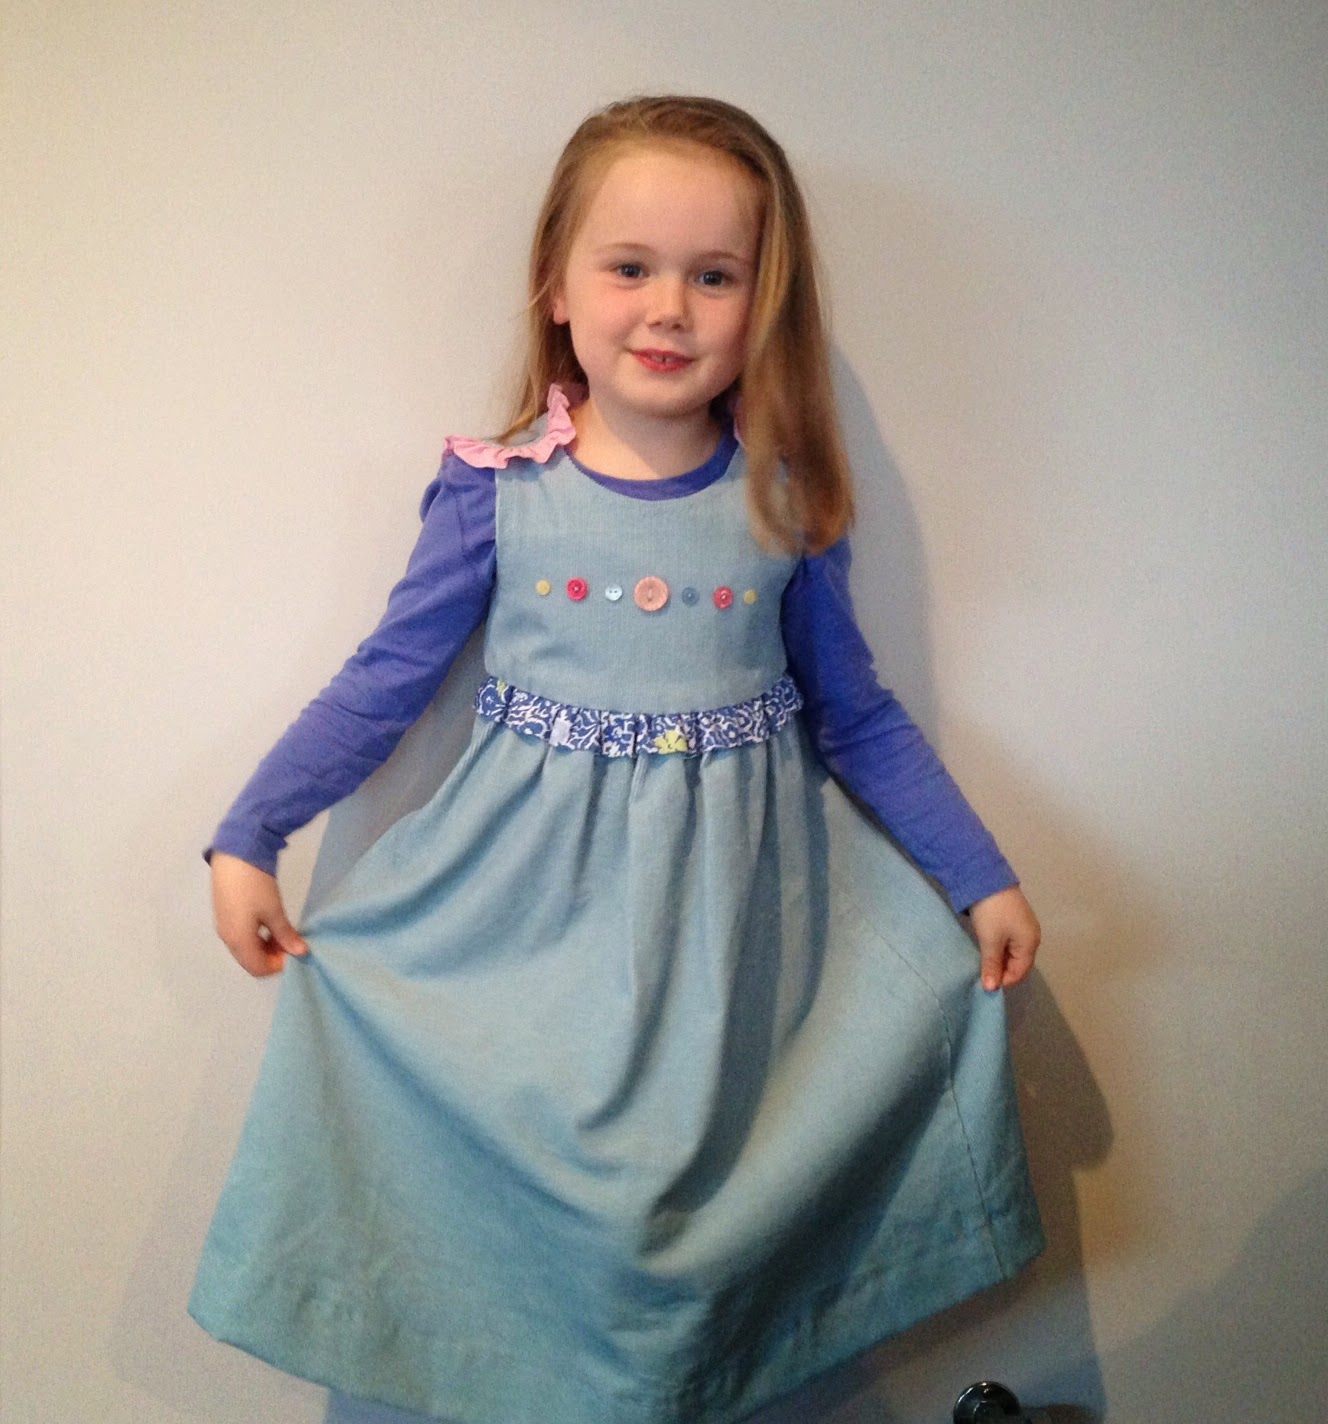
This is the first time I've taken part in a blog swap, and what a great thing its been. Thanks to Jen at Mend and Make New for organising and coordinating the whole thing. I wasn't out of my comfort zone with my swap partner Anne's girls being a similar age to our little blossom. Having a month to make my item also made it more achievable. With two girls, I wanted to make something big enough to fit the oldest now and the younger one later. I didn't want any disappointment when the parcel arrived. I used a Burda pattern made in a size 6 and trimmed the dress with ruffles, zig zag stitching and buttons.


In return Anne made our Little Miss a beautiful bag. LM just loves bags of all shape and description; I think it's because she loves dragging huge amounts of stuff around wherever she goes. Anne told me the pattern is from one of her favourite sewing books: Little Things to Sew by Liesl Gibson (Oliver & S). Just like Anne and her children, we also call it the 'sparkle forest bag'. It's just lovely. Thanks so much Anne for making it for us.

We took it out with us to coffee in the weekend. LM was stoked to discover that it is the perfect fit for her ipad: which she sneaked out with us! And it also has plenty of little pockets for all those little girlie essentials.

Here is the lovely photos Anne sent to me. She said her girls were thrilled with the dress. I deliberately made it 'ice blue' following the generally safe assumption that all small girls are mad about Disney's Frozen. Little Miss was equally thrilled with the colour of her bag now that blue is her new favourite colour.
It is great to receive these lovely pics of two happy girls modelling their new dress. 

Hope you have all had a great weekend!

Sunday, 15 June 2014

The last of the Feijoas: Sticky Roly Poly Pudding

 We had some great friends over for tea yesterday. As is the custom in our house, I was responsible for the dessert offering. I wanted to make something seasonally appropriate for a cold winter's night. With the last of the feijoas starting to sag in the fruit bowl, I came up with this lovely warming and wintry creation. Taking inspiration from the old fashioned roly poly pudding I combined the feijoas with granny smith apples and cinnamon. 

Feijoa and Apple Roly Poly Pudding

1 1/2 cups peeled and sliced feijoa flesh 
1 granny smith apple, peeled and sliced
4 tablespoons caster sugar
the juice of 1 lemon

3 cups plain flour
1 1/2 teaspoons baking powder
200g chilled butter
300ml cream
a dusting of ground cinnamon

Syrup:
1/2 cup apple juice
3/4 cup caster sugar
the juice of 1 lemon

Butter a 25cm round oven dish and line the bottom with baking paper if you intend to turn the pudding out to serve.


Start with the fruit: Place the prepared fruit, first measure of caster sugar, and juice of 1 lemon into a small pot. Cook over a medium-high heat stirring constantly until the fruit is cooked, pulpy and thickened. Set aside to cool.


Now prepare the dough: Sift the flour and baking powder into a large bowl. Cut the butter into small chunks. Using your fingertips, rub the butter into the flour until the mixture resembles crumbs. 

Make a well in the centre and pour in the cream. Using a table knife, fold the mixture together, taking care not to over-mix. 


Turn the mixture out onto a large sheet of baking paper. 


Place another sheet over the top and roll the dough out to measure approximately 25 x 40cm. Place into the fridge and chill for about 10 minutes. 

Preheat the oven to 180deg. C.


Prepare the syrup: Combine the apple juice, second measure of caster sugar and juice from the second lemon in a small saucepan. Bring to the boil and cook for about 5 minutes.


Assemble the pudding: Take the dough from the fridge and spread the cooled fruit mixture evenly over it. 


Sprinkle with cinnamon and roll from the long edge. 


Cut into 5 cm slices and place, cut side up, into the buttered oven dish. 

Leave small gaps in between the rolls to allow for rising. 


Pour the hot syrup over the pudding and bake for 50 minutes until the dough is well risen and the pudding is golden brown. 


Once cooked leave the pudding to rest for 15 minutes before turning out onto a serving dish. I browned the top using a blow torch. The pudding can be served in the baking dish if you prefer. We served ours with vanilla ice cream. 

Friday, 13 June 2014

Cheesy French Stick Melts

A great friend and colleague brought a bag of French bread flutes into school the other day. We had some left over, so I whipped up these tasty cheesy melts using a few ingredients that were lying around the fridge.

Cheesy French Stick Melts

2 small French bread stick flutes
1 cup grated tasty cheese 
4 tablespoons tomato and capsicum chutney
1/2 onion
a handful of basil leaves
1/2 teaspoon salt 
ground black pepper

Preheat the oven to 200deg. C.

Finely chop the onion and basil leaves, and grate the cheese. 

Combine all the ingredients in a bowl. 

Cut the flutes length wise and fold open. 


Spoon half the filling into each flute, spreading evenly.


Place onto a lined oven tray and bake for 15 minutes until crisp, golden and bubbly. 
Cut into diagonal slices and serve to the masses. Happy cooking!

Saturday, 7 June 2014

Beautiful Cable Knit Scarf Pattern

It's not too late to knit yourself this stylish and practical winter scarf. Knitted on just 20 stitches using 12mm knitting needles and a simple cable sequence, it wont take too many nights in front of the fire to complete. 

As you have probably gathered from my previous posts I only knit New Zealand wool that's manufactured on-shore. For this project I chose to use Crucci's new Natural Wonder Chunky 100% wool yarn. This colour is called Silver, but it also comes in Charcoal, Dark Brown, Cream and Oatmeal. I purchased mine from The Main Skein, a little independent wool store located at Bush Inn Centre, but its also available on-line and nationwide from Knit World. If you're looking for brighter colours, Skeinz new Texas yarn is a great alternative -it's also a New Zealand product, 70% wool, 30% alpaca and really beautiful. You will require 4 balls of Texas though. Skeinz also has a great on-line ordering system. Just be prepared to get tempted by all the other yarns in their range!


Chunky Cable Knit Scarf

What you need:
- 3 balls of Crucci Natural Wonder Chunky Yarn, or a similar chunky knit yarn. 4 balls if you're using Skeinz Texas.
- a pair 12mm knitting needles - I got wooden ones as they are much nicer to use than plastic.
- 1 cable needles in the biggest size you can get. A V-notched needle is easier to keep in place if you can't fine a chunky enough one. 
- 1 large darning needle to weave the loose ends in.

Using the 12mm needles cast on 20 stitches. Start straight into the pattern.
1st row: knit (k) 3, purl (p) 6, k2, p6, k3
2nd row: p3, k6, p2, k6, p3
3rd row: k3, p6, k2, p6, k3
4th row: same as 1st row
5th row: same as 2nd row
6th row: Cable row: p3, slip 3 onto the cable needle and place at back of work, k3, k3 from the cable needle, p2, slip 3 onto the cable needle and place at back of work, p3.
These 6 rows form the pattern. Repeat until desired length is reached or until all 3 balls have been worked. Allow a couple of metres of yarn to cast off with. 
Using the darning needle, work the loose ends into the scarf. Give the scarf a press with a warm steam iron, concentrating on the edges.

If you want a wider scarf, just cast on another 8 stitches (28 in total) and work 3 cable rows: the first row would be p3, k6, p2, k6, p2, k6, p3. Thus giving three cables. Obviously you will need at least another ball of wool to get the desired length. 

If all this seems too much, or you're just too time poor to think about this right now, you can find my scarves for sale at Charmaine Reveley and Co in Dunedin. 

Happy knitting xx