 I used a simple gathered into the waist band style pattern , but changed it slightly by concentrating the gathers into where the darts would normally be sewn.
I put an invisible zip in the centre back and inset pockets into each side seam.
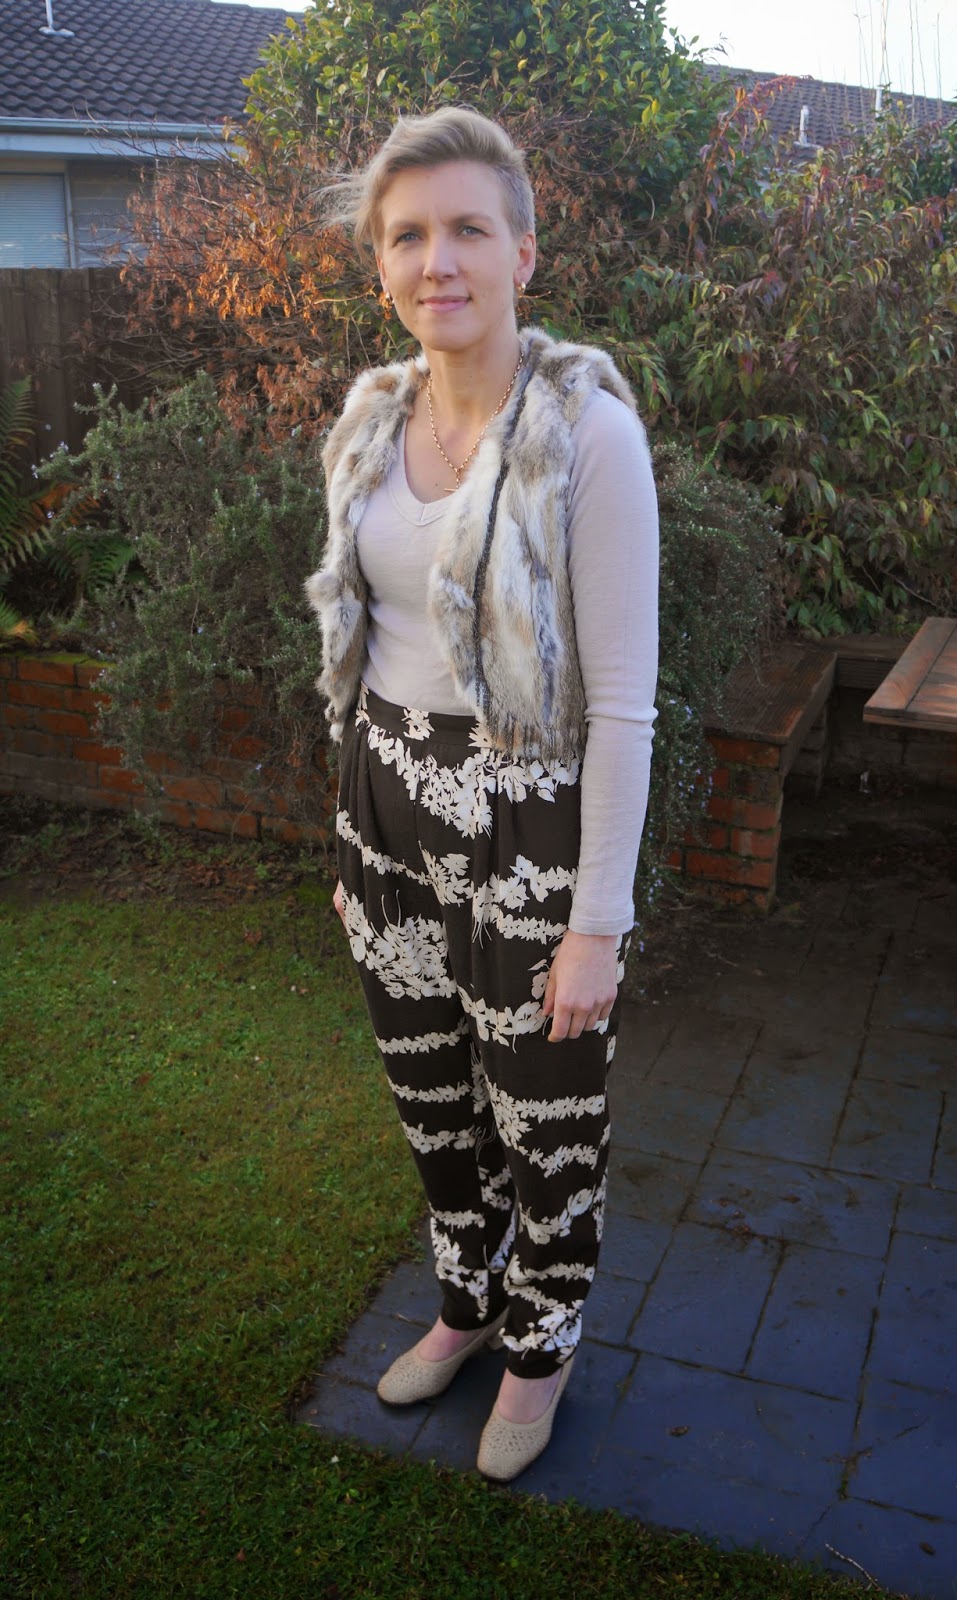
I'm rocking these pants with a Glasson's merino top, Loobie's Story fur vest and vintage basket weave shoes.
Here's the sewing tutorial!
I'm assuming you have cut our your pattern pieces.


I overlocked a small section of the front panel side seam first.


Sew around the pocket bag.
Overlock or zig-zag the raw edges of the bag.
Repeat the process for the other side of the pants.

Overlock the centre back seams separately, then sew an invisable zip into the centre back seam.

Take care to pin the front panel pocket opening out of the way so you don't sew the pocket shut.

Match and pin the inside leg seams.
Sew down the side seams; then sew the inside leg seams.
Now try the pants on to check the sizing!
Unless I have made the pattern before, I also always have to alter the sizing. It takes a little time but is well worth it for getting the required look and fit.
Once your happy with the fit and any alterations made, overlock or zig zag the seams.

Once sewn, pull the thread from one side of the fabric only to form the gathers. Once even, push the gather into groups in the centre of each front and back panel.

The waist on these pants was a little too high, so I moved the band down by a cm. Leave a 1.5cm overlap on the right end of the band and 3 to 4cm on the left end. This will form the button overlap.
Pin into place then sew right around.


Pin in place.
On the right hand side, sew across the end of the band close to the zip.

Clip the corner seam, then turn in the right way.
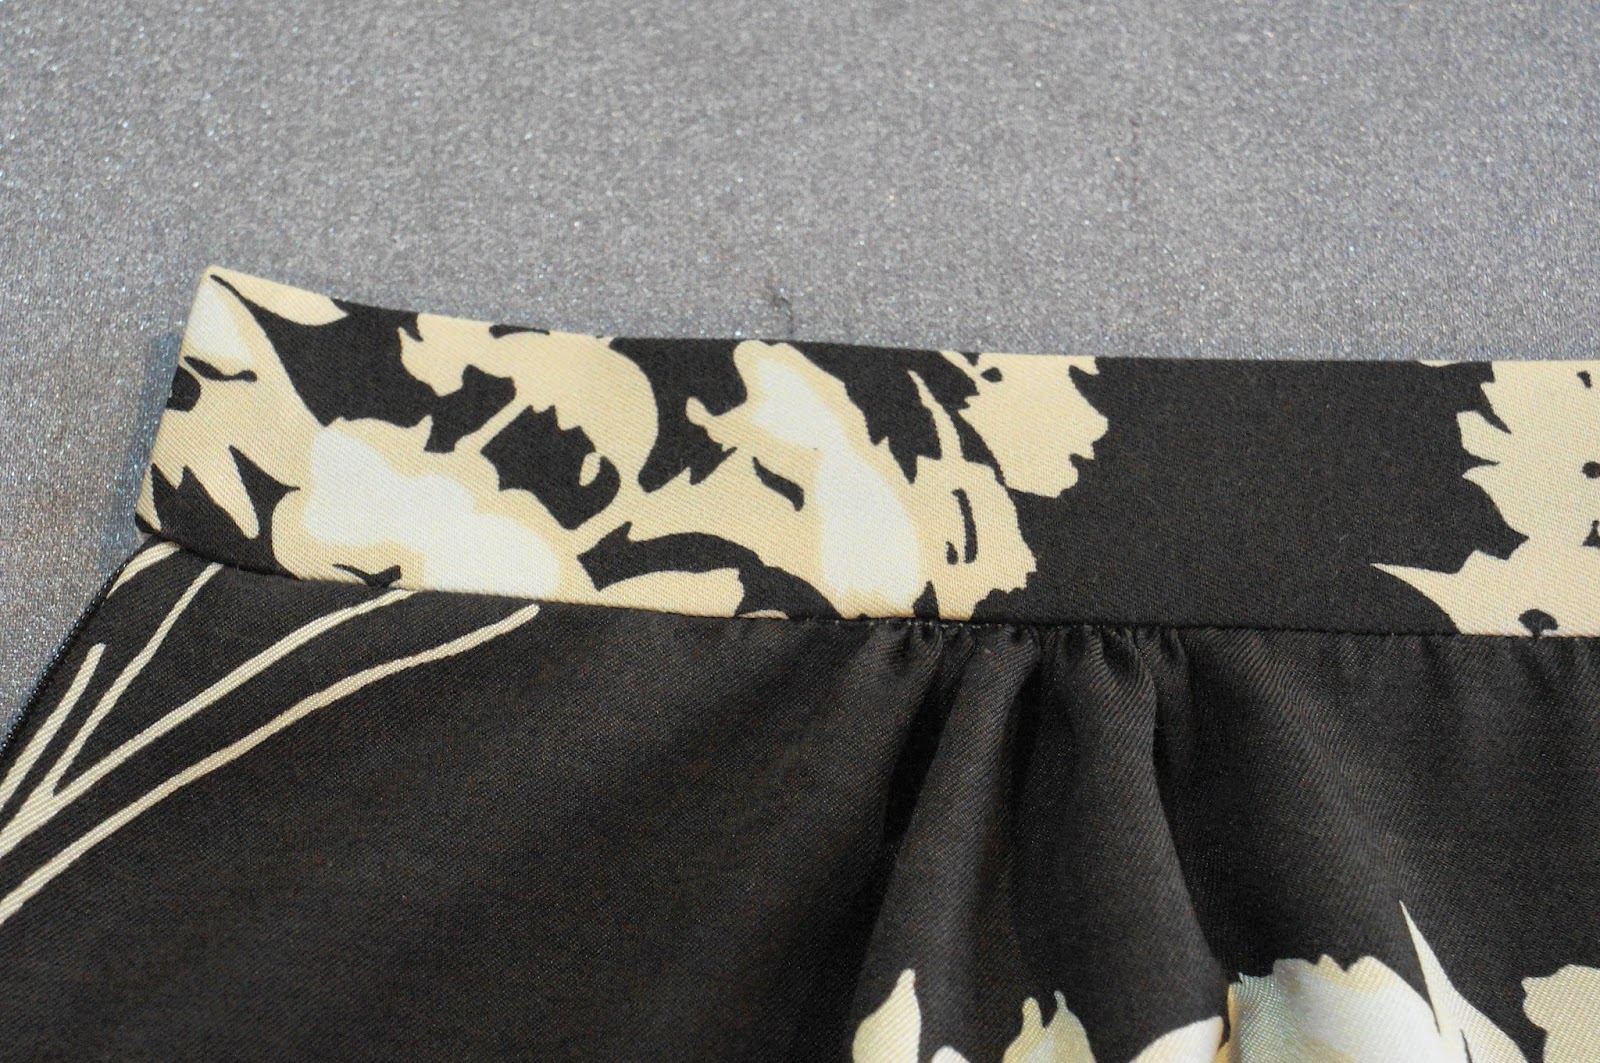

Check that the inside edge of the band over-laps the stitched edge by approximately 1.5cm.
Press and pin into place.
I placed the waist band pattern against the selvage edge of the fabric, so did not need to overlock the edge before sewing.

This sews the inside edges of the band to the pants and forms the waistband.

Sew a button hole into the button table and attach a button. Give the pants a good press and they are all done and ready to wear.
There is nothing like sharing one's space with a little crafter (and all her stash).
Happy sewing.

No comments:
Post a Comment