We were both equally taken by this cute knit deer and bunny fabric from Spotlight. Being a knit fabric it was also very quick to construct with the overlocker. No surprises that in the absence of any matching rib, our little blossom chose the 'ice blue' option instead. The whole thing only required 1 metre of 145cm wide knit fabric and 30cm of ribbing fabric.
I adapted a old 1980's knit tee shirt pattern by shortening the bodice pieces, then using the left over fabric to cut two rectangles for the skirt.
I measured one of LM5's Icebreaker jerseys to check the width was correct.
Lay the fabric out with both selvage sides folded in far enough to accommodate the bodice pieces on one side.
And the sleeves on the fold of the fabric on the other side.
I then cut the remaining fabric into two 50cm deep rectangles.
Here are the cut out dress panels.
Start by matching, pinning and stitching the shoulder seams using the overlocker.
Check the overlocker tension before beginning to ensure the tension is tight enough to hold the panels together.
Pin the sleeves into the armhole openings matching the centre of the sleeve with the shoulder seam.
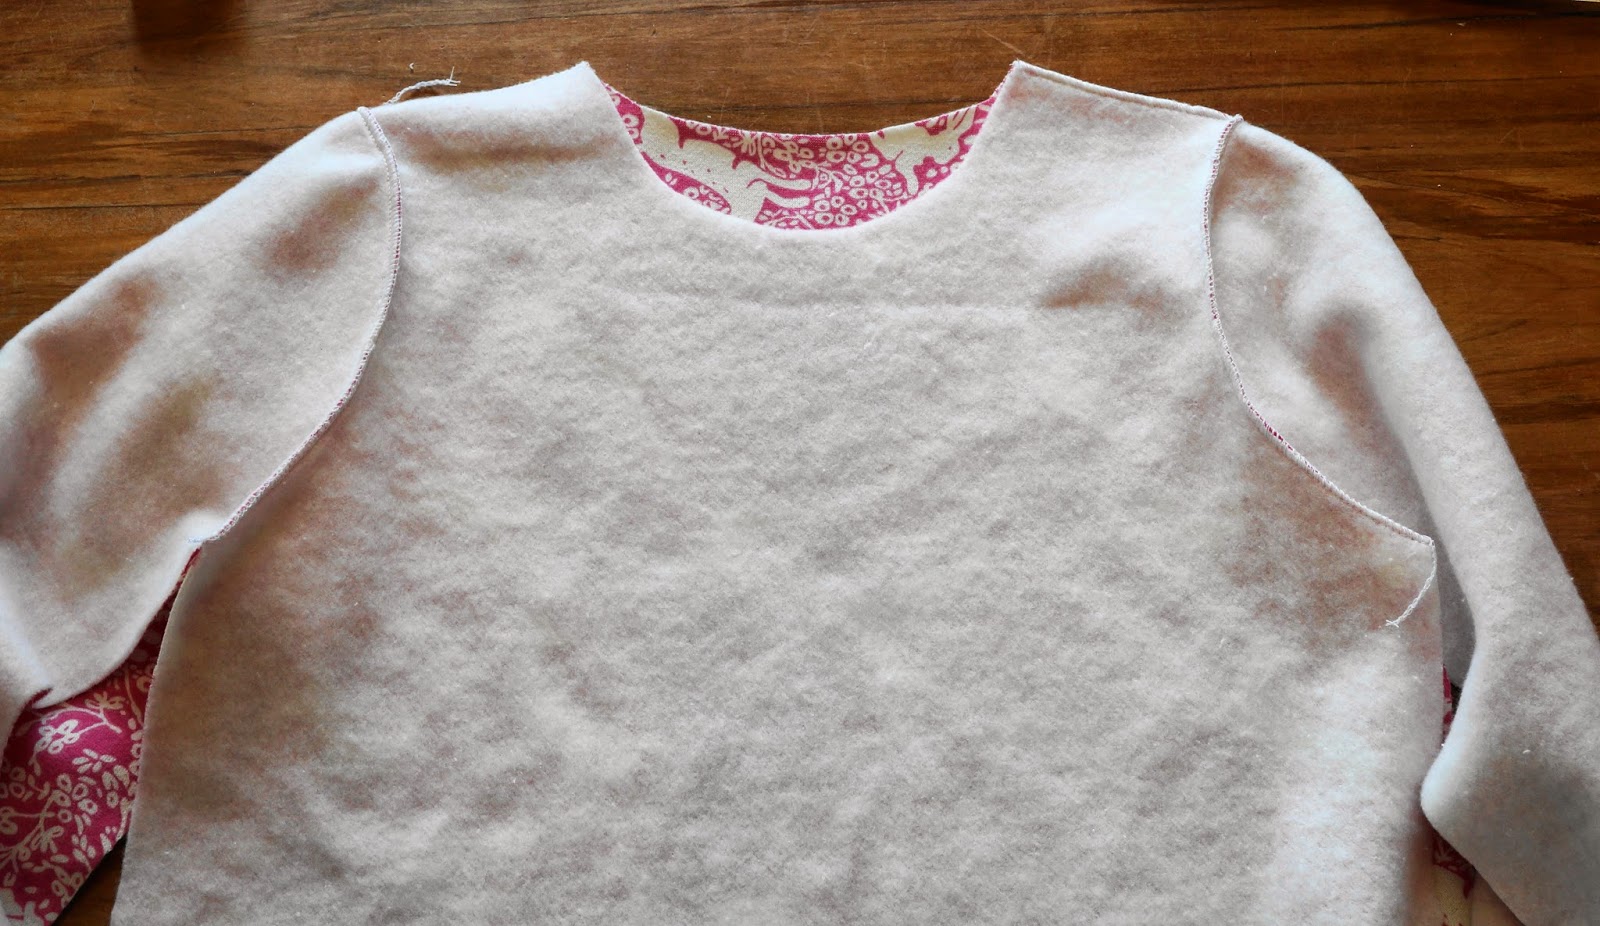
Overlock the seam together.
Now is the time to check that the neck hole is big enough for the child. If it's too tight, trim a half cm from the edge and try again.
Measure the neck opening. Calculate 2/3 of the measurement, plus 1 cm for seam, and cut the ribbing to that length and 8cm width - wide enough to allow for the rib folded in two and seam allowance on each edge.
Overlock the short edge together to form a circle.
Fold the raw edges of the loop together, pin, then match to the neck edge, stretching the ribbing to fit.
Pin and overlock together as shown.
Neck edge done.
The seam in the ribbing should be matched to one of the shoulder seams.
Turn the bodice inside out and pin the side and sleeve seams together.
Overlock together.
Constructed bodice - waiting for the ribbing on the cuffs.
Measure the circumference of the cuffs.

Cut the ribbing to 2/3 the circumference of the sleeves, plus 1cm for seams and 8cm wide.
Match the short edges and overlock together.
Fold the raw edges together.
Pin onto the sleeve cuffs; stretch the ribbing to match the sleeve.
Overlock the edges together as shown.
Match, pin and overlock the side seams of the rectangular skirt pieces together
Measure the circumference of the bottom edges of the bodice and cut another strip of ribbing to match.
Overlock the short edges of the bodice rib together then fold the raw edges together to form the band.
Match, pin, then overlock the rib onto the bodice.
I did this step first, because it is sometimes quite tricky to overlock 4 layers together securely. My old overlocker is prone to skipping stitches if the fabric layers are too thick.
Overlock the bottom and top edges of the skirt panel.
Match the skirt to the bodice and pin evenly around.
Evenly distribute the gathers.
Using the sewing machine on a stretch stitch, push the gathers into place and sew down using a 1.5cm seam.
Measure a 4 cm hem and pin into place.
Using the sewing machine and a stretch stitch again, sew a neat and even hem seam.
All done in less than an afternoon. The man of the house took her out to feed the ducks so I could get some uninterrupted sewing time.
Little Miss was stoked with her new dress when she got back. The inside is fleecy and perfect for winter.
I made it extra long for our tall bean; I also have a faint hope it might do next winter as well.
Happy sewing, Prudence xx


No comments:
Post a Comment