
What do you get a little girl for her birthday when she actually has everything she really needs? We asked ourselves this question quite a few times recently. After getting really carried away at Christmas - she was shelling parcels like peas - we decided to keep things simple this birthday. Little Miss 4 told us she wanted a paint set and a ballet leotard. Easy. One quick trip to a stationery store and quite a lot of deliberating in the dance store's changing room and we were all set. I also wanted to give her something else of a more practical nature, and pretty as well of course! Hence the cute, not so little, yet very practical patchwork ballet bag.
 I started by selecting a variety of complimentary fabrics from the stash and cutting them into 2 1/2 inch strips. The fabric was all pre-washed so the finished bag will withstand washing. I decided to take the random chance pattern approach, and simply cut the strips into a variety of sizes.
 Sew the random pieces together to form one continuous strip.
  I decided on a 25cm zip. Because I was using an imperial measure patchwork mat I cut the strips into 11inch sections. I moved the sections around until I had a nice mixture of patterns without too many running into each other.
  Using a quarter inch width sewing machine foot, sew all the sections together to form the body of the bag. I sewed both sides of the bag as one section, so the zip was stitched to each end of the panel.
 Having sewed the panel to the correct size I ired the seams down and squared up the panel using the patchwork ruler and rolling cutter.
 I needed to reinforce the sides of the bag, so brought some iron on patchwork wadding. I pressed it onto the reverse of the panels and pinned the whole thing to a large panel of lining fabric. The next step is to sew the layers together. Always sew from the left to the right as opposed to back and forth in each direction, as sewing in each direction will distort the size of the panel. Trim the extra wadding and lining away. At this stage I sewed one of LM4's name tags to the outside of the bag.
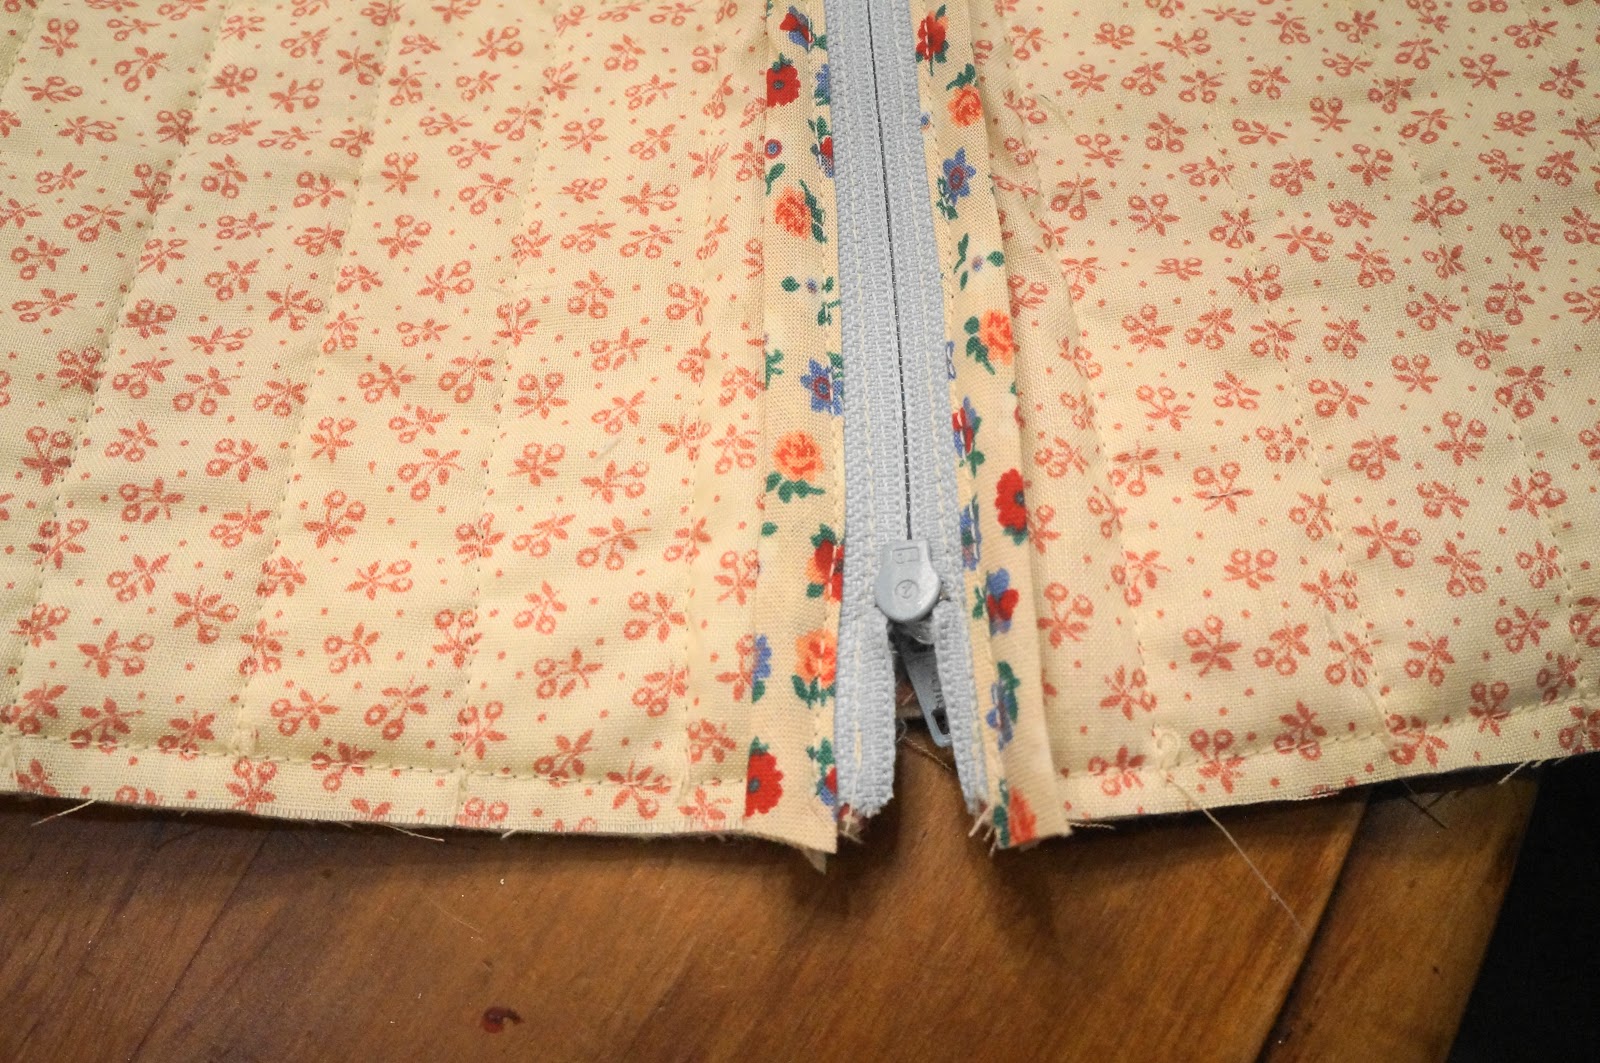 Now attach the zip to one end of the panel by putting the right sides of the fabric and zip together and, using a zipper foot, sew as close to the zip as possible. Attach the other side of the zip to the other end of the panel. Sew bias binding over the raw edges.
 Match the right sides of the bag together and pin and sew them. Sew bias binding over the raw edges making sure the ends of the bias are tucked in.
  Turn the bag out to the right side and push the corners out. To make the strap, sew some of the left over strips together along each side to form a tube. Turn it into the right side by attaching a large safety pin to one end and threading it through the centre of the strap. Check the length and fold the ends over before sewing them onto the bag.
Not bad considering most of the sewing was done between the hours of 8.30pm and 11 o'clock the night before her birthday.

All ready for stuffing clothes into and safely zipping up before ballet class begins.
No comments:
Post a Comment