Cute Fat Quarter School Reading Bag
The crafty side of this blog has been rather silent for quite some time. An unfortunate side affect of being way too busy at work. This is a project I've had in the back ground for a while. Little Miss chose the main fabric from the bargain bin at Bolt of Cloth and the lining came from a competition I won from Debs at Works in Progress.
Her old reading bag was getting really tatty with the lining all cracked and breaking off in pieces. I got the cute bias binding from Fabric Vision. The mix of colours in the floral binding goes with almost everything, so I find myself using it as a trim on all sorts of projects.
To make this bag all you need is 2 fat quarters of fabric, some paper to draw out your rectangles for the pattern, about 1.7m of bias binding, a couple of centimetres of Velcro, and some matching thread.
Here is the pattern I drew out. The dimensions are not crucial.
This one is 32.5cm x 27.5cm for the smaller inside of the bag, and 41cm x 27.5cm for the larger side with the flap.
Just draw out your rectangles, then round off the corners of the fold over flap. The flap measures 8.5cm from the fold line.
The pieces fit neatly onto a standard fat quarter. I positioned these in order to make the most of the birds.
Fat quarters are available at almost all fabric stores, but they are the speciality of the patchwork and quilting set. They are usually 50 x 56cm square.
Cut one set of the pattern from the main fabric and one from the lining.
Start by sewing the matching fabric panels to each other using a half cm seam.
This will stop them from moving around later.
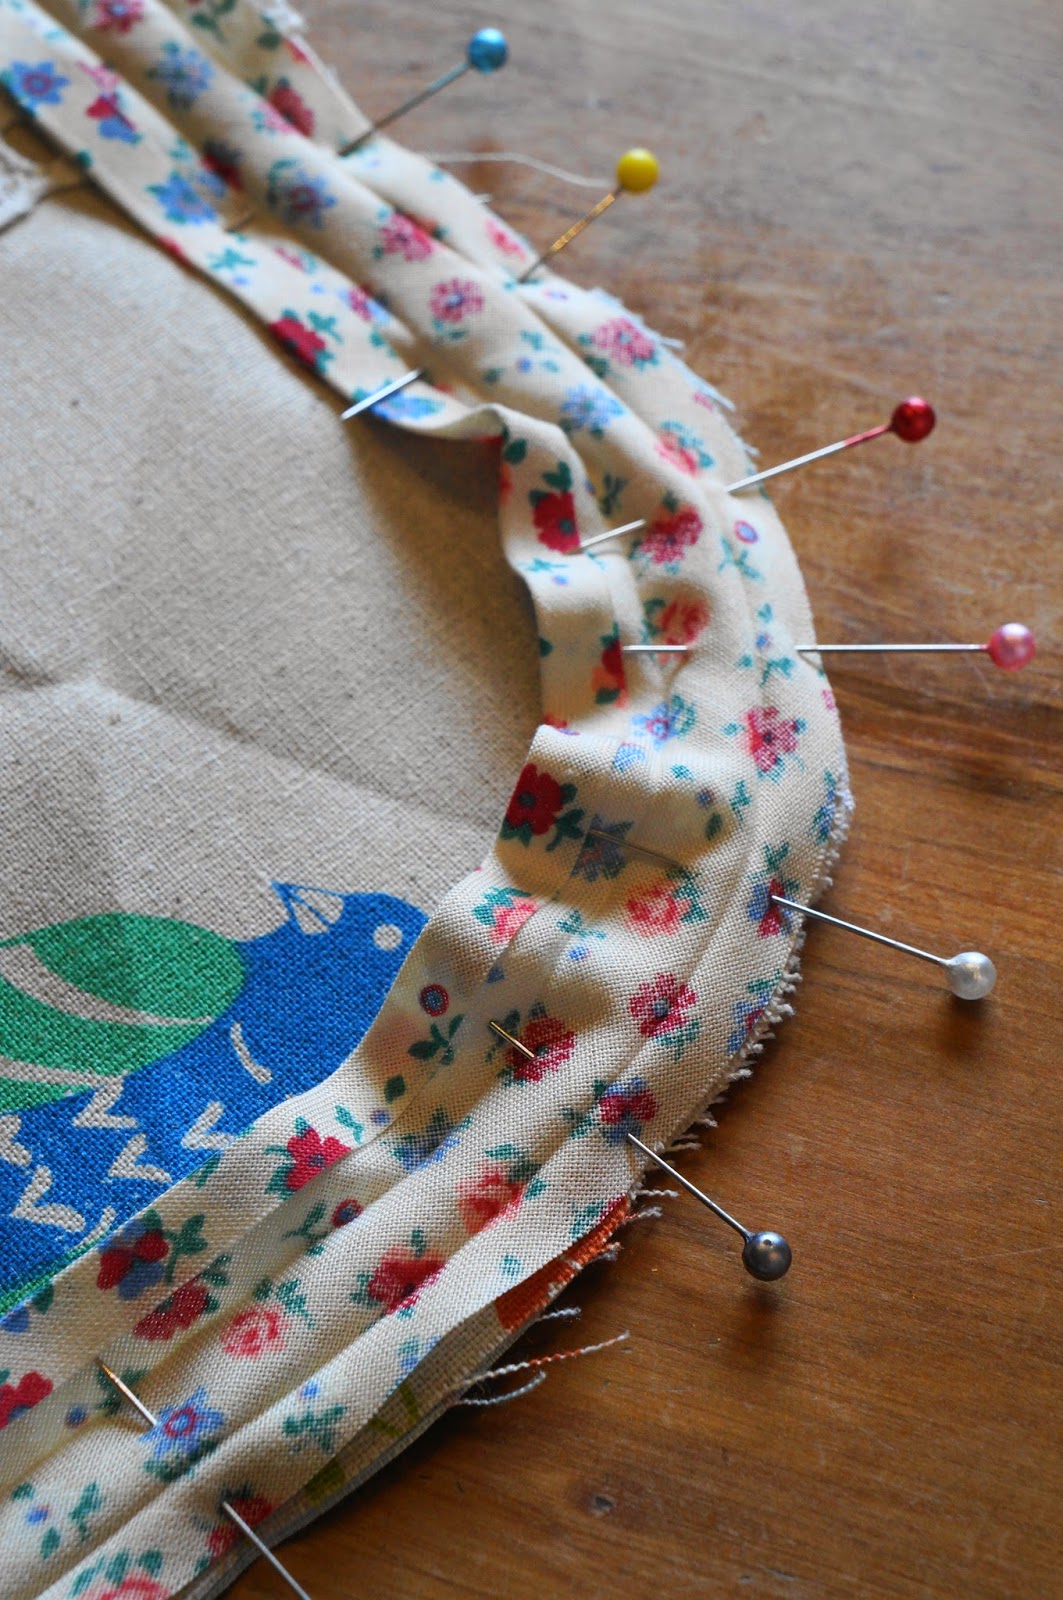
Next pin and sew the bias binding onto the opening of the smaller inside panel.
Open out the bias binding and making sure the longest edge will end up at the back of the seam, sew along the fold of the binding.
Trim the fabric a little, then fold the bias over the edge of the seam.
The un-sewn edge of the bias should overlap the first row of stitching so that it will be caught by the final row of stitching.
With the top side of the fabric facing upwards, 'stitch in the ditch' beside the binding. This will sew the fabric onto the overlap from the binding: thus leaving the outside of the binding perfectly neat.
Now sew on any extra trim you might want to add. Little Miss wanted an extra row of lace on the outside of her bag. I just sewed a row of straight stitch along each side of the lace to attach it.
Now pin both panels of the bag together and pin another row of bias binding along the bottom edge of the bag.
Sew as before. The bias will cover the raw edges and attach the front and back together.
I sewed a cloth name label onto the panel before pinning them together.
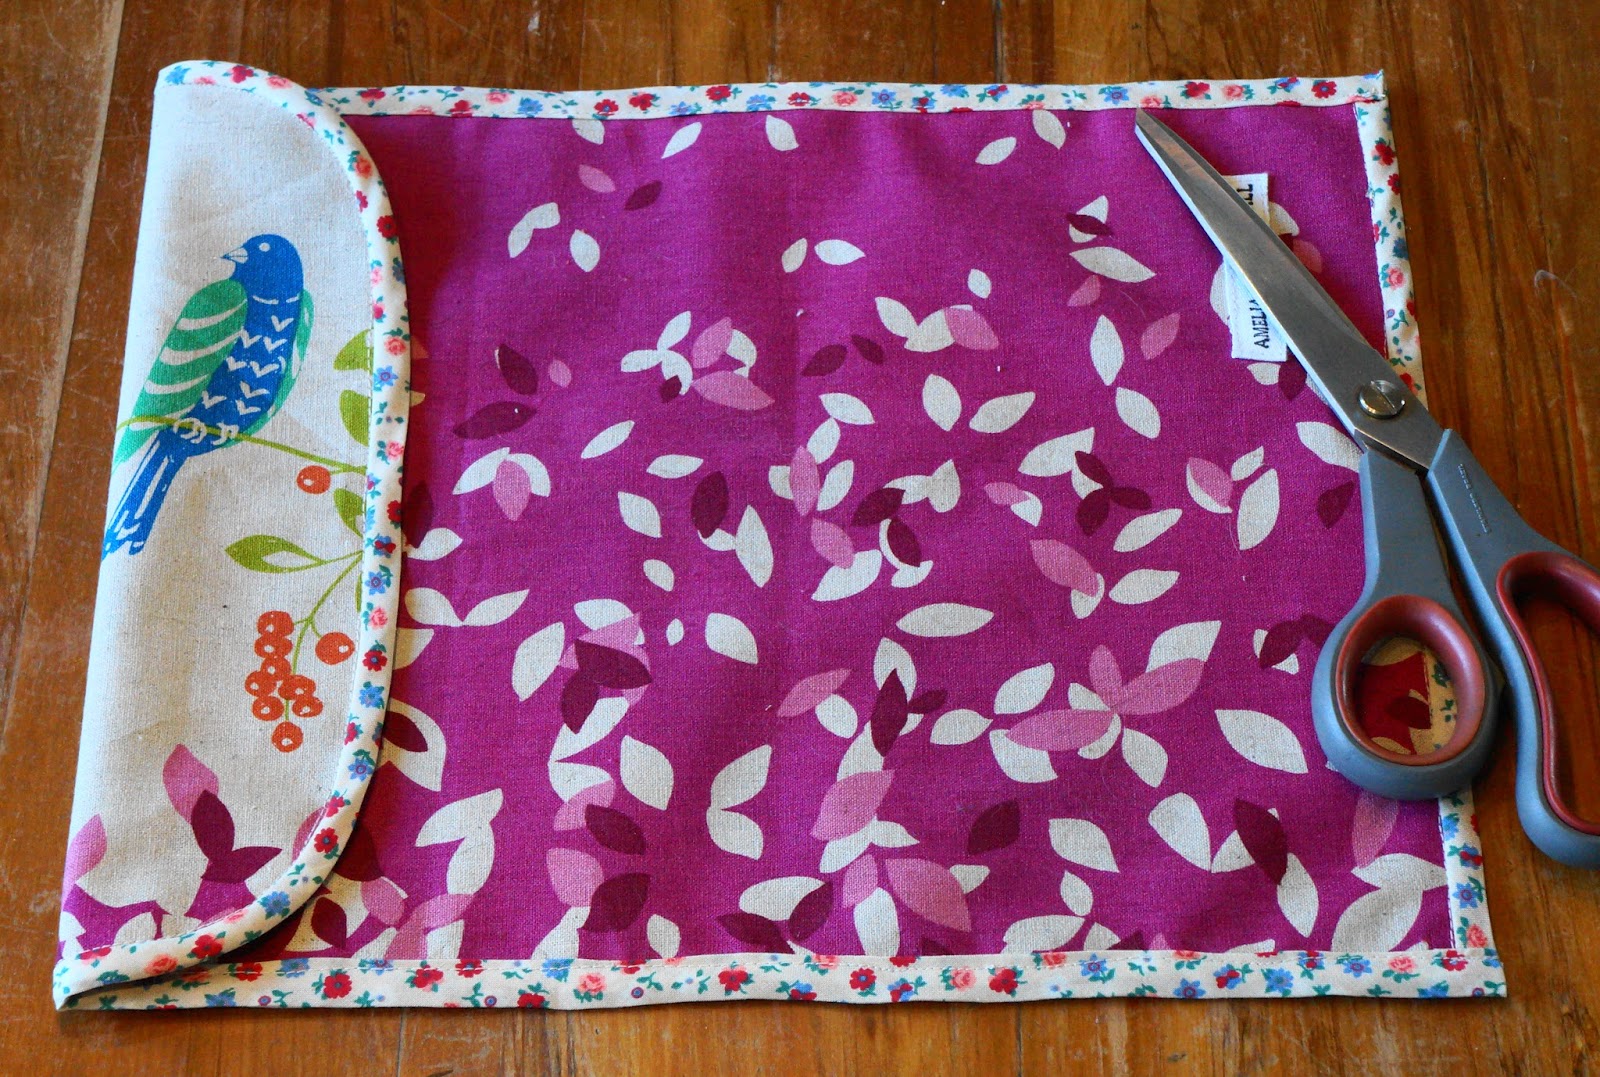
With the bottom edge sewn, pin the bias binding around the remainder of the bag.
Leave extra bias on the ends.
Sew the bias as before, taking care to ease it neatly around the corners.
Neaten the ends by folding and tucking in the extra overlap of bias binding before making the final row of stitching.
 Check the seam to see that all the overlapping bias has been caught by the 'stitch in a ditch'. If you have missed any, then just unpick the affected section and stitch again.
Nearly all done.
Check the seam to see that all the overlapping bias has been caught by the 'stitch in a ditch'. If you have missed any, then just unpick the affected section and stitch again.
Nearly all done.
Now position the Velcro and top stitch into place.
Sew the teeth to the flap, and the fluff to the bag panel.
I sew the teeth in first, then fold over the flap in order to correctly position the fluffy section.
Despite being tired and as grumpy as a bear, she was quite happy to try out her new school reading bag with a bit of poetry reading at bed time.


No comments:
Post a Comment