Making my Puletaha for Tonga
As I have mentioned earlier, I'm off on an outreach trip to Tonga in a couple of weeks time. We are going to a small, relatively rural town called Lapaha
, to visit our sister school Takuilau
Collage. In keeping with the local custom we will all be wearing Puletaha
to the formal occasions. Our school set will all be blue. I put this one on to show the girls and wore it all round school showing everyone who was even vaguely interested.
I drafted this pattern from a top and skirt that one of the Sisters of Mercy wore while she was over there, and then graded up to all the sizes required for our group. This is the sample I made to test my pattern. The weather in Tonga is going to be hot by Christchurch standards, so the thin, floaty 100% cotton layers will keep us cool.
Having cut out the pattern, pin and sew the shoulder seams.
Iron fusing onto the facings. Mark the centre back line in using tailor's chalk.
Now sew and overlock the shoulder seams, press the seam towards the back, then overlock all the way around the outside of the facing panels.
Placing the right sides of the fabric together, pin the neck facing onto the neck of the garment.
Pin in place.
New sew around the outside of the neck front and back.
Sew down into the back-of-neck opening, leaving enough room to cut the fabric down to the bottom of the opening.
Cut the opening open, then trim the edges from the corners to make them easier to turn out.
Turn the facing into the inside of the garment.
Now under-stitch the front neck edge by sewing the facing to the seam underneath. Sew this with the right side up. This ensures the facing wont poke out from the seam.
Press the seams.
Now top stitch the back neck edge and opening to keep it in place. We top stitch because it would be almost impossible to under-stitch this section.
Now spread out the body of the garment and pin the sleeve onto the sleeve opening. Spread out any extra ease.
Stitch the sleeve seam then overlock the raw edges.
Now put the trim onto the top by first pressing the strips into two.
Match the band to the bottom of the sleeve pattern. Pin, then sew and overlock.
Here is the completed trim ready for the side and underarm seams to be sewn.
Match the side and sleeve seams then sew, and overlock.
Complete the top by overlocking then pressing the hem and the side seams.
Top stitch the hem and small side seams into place.
Make a chain of thread and sew it to the left side of the back of neck opening. Sew a button onto the opposite side.
And the top is done.
To make the wrap around skirt:
The skirt is essentially a long rectangle of fabric with darts and a bottom band attached. To make yours, just cut a length of fabric that's roughly twice your hip measurement, and the length you require.
First mark in, then sew the darts into the back of the skirt panel. Don't worry about finishing the selvage waist of the skirt. Sew down the top of the dart.
Now sew the side seams of the skirt panel by folding the seam over twice and ironing into place.
Now top stitch into place.
Attach the bottom band by pinning the band onto the bottom edge and sewing into place.
I had to join the fabric for the band as I wanted the pattern of the band to run in the opposite direction to the main skirt panel.
Fold the ends of the band over, placing the right sides of the fabric together as shown in the picture. Stitch the end in place.
Fold the band in the right way as shown. Tuck the seam in along the length of the band. Pin and press into place.
Use a ruler to check that the width of the band is correct all the way along its edge.
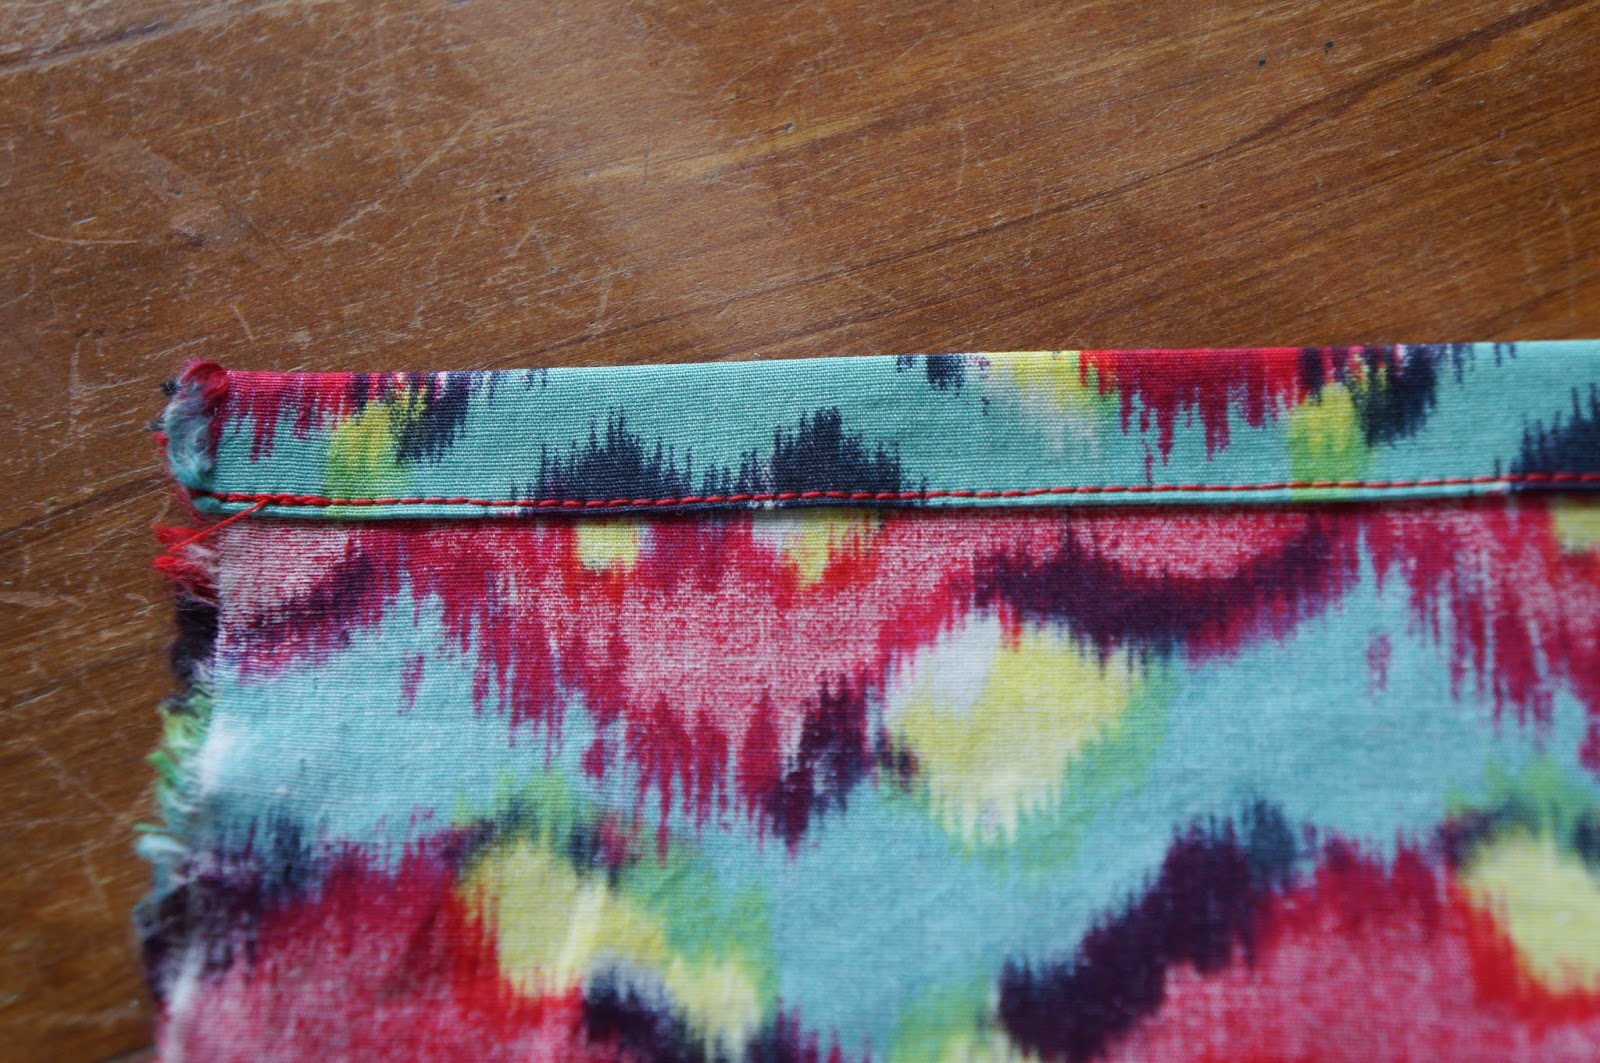
Top stitch the band into place, taking care that the inside edge is overlapping the first row of sewing so the top-stitching catches it.
Here's the close up showing both sides of the band.
Attach a metre of cotton tape to both ends of the top of the skirt, and you're ready to tie the skirt around yourself.
So simple and easy to make!

Here's the back view showing the loop and button.


No comments:
Post a Comment